Introduction

| At a Glance | |
|---|---|
| Product | Dropcam HD [Website] |
| Summary | Wireless HD quality IP camera with two-way sound, night vision and cloud-based viewing and recording |
| Pros | • Very good image quality • Nice compact design • Dead simple to set up and use • No settings to tweak |
| Cons | • Can severely affect your internet connection, both up and downstream • No option for local viewing/recording • No settings to tweak |
When I saw Dropcam’s new HD model at a CES press event in January, I couldn’t wait to get my hands on it. The concept was very appealing, a simple-to-use HD-quality wireless IP camera with an attractive web interface, night vision and DVR features. I was so impressed that I put my pre-order in right after returning from the event. Then Dropcam missed its end-of-January ship date, delaying to “late March”. My Dropcam HD finally shipped on March 29, just making the delayed ship date promise.
Setup
Setting up the Dropcam HD is very easy, with everything you need to know printed on a Quick Start card that you can’t miss when you open the box, because it sits right on top of the camera. In the box are also a sturdy metal stand with plastic wall-mounting plate, screws, a cute little ice cube sized 5V/2A power adapter and 10 foot USB to micro USB cord.
You connect the Dropcam to a USB port on a machine running Win XP/Vista/7 or Mac OS, browse to the mounted folder and click the installer file. After a bit, the program will open as shown below. The other installer screens are shown in the gallery that you’ll find a little later on. Setup is pretty easy and you should be up and running in no time.

Dropcam HD installer start
Two things that I learned during setup were that the 10 foot cord is pretty heavy and can pull the camera and base over quite easiy if you don’t tie off the cord somehow. The other thing was to check that the camera is fully snapped into the base before you start moving it around or it will go tumbling.
I found, however, even if the camera was fully snapped in, it still could be pulled loose from the base too easily. Good thing the little sucker is sturdy, because it had to survive more than a few bounces off tables and floors during testing.
Inside
The FCC ID docs were no help since they reference only the Qualcomm Atheros wireless module. So I removed the four screws for a look-see. The main camera chip must be on the other side of the board and I didn’t want to risk not being able to reassemble it, so I didn’t probe further.

Dropcam HD inside
What I could see was the Qualcomm Atheros AR6103 ROCm 802.11n single stream 2.4 GHz module, an AKM Semi AK4642 Stereo Codec w/ Line, Speaker, Headphone out chip and a few other devices that handle power and IR LED driving.
Note the twelve (!) IR LEDs. When these guys are on, the Dropcam HD’s temperature rises significantly from its usual very warm to downright toasty! With no heatsinking, no ventilation and a plastic case, I’m wary of the HD’s long-term reliability.
Features
Once you’ve completed your install, when you hit the Dropcam website you’ll be automatically redirected to log in. When you do, you are presented with a live view of your camera. The screenshot below is Dropcam’s SF Transbay Terminal HD demo camera that you can view from its Public Dropcams page.

Dropcam HD GUI
The interface is attractive and intuitive, with the DVR timeline integrated right into the bottom of the view. In the screenshot above, the DVR function is disabled, as it will be for you until you buy one of Dropcam’s DVR plans shown below.

Dropcam DVR plans
I think $10/month for a minimum 7 day recording plan is twice what it should be. The jump from $10 to $30 a month for 30 days of recording is also too much. Perhaps Dropcam will come out with more affordable plans is they don’t get enough sign-ups. Unfortunately, if you just go with the free plan, you don’t get any recording time. So I’d like to see one day of recording bundled into the basic plan, or at least a 30 day trial of one of the DVR plans!
In the web interface, selecting a motion event is as easy as mousing over the indicators marked on the timeline. Depending on the time scale, you may get a cluster of events, which are presented as shown in the screenshot below. Clicking on a thumbnail brings up that motion event.

Selecting a motion event
Each motion event generates an alert email, which you can disable. You can also generate alerts on sound events.

Motion alert email
You also get alerts when the camera has been offline for 30 minutes. You don’t, however, get a similar alert when the camera comes back online.
Settings are accessed from the web view. You can find shots of each page in the the gallery below, but here is a summary of what’s available:
- Camera on/off
- Status light on/off
- Night vision auto/on/off
- Audio on/off
- Mic sensitivity
- Pan/zoom control
- Alert control
- Sharing control
- Public access control
First page of the Dropcam HD install
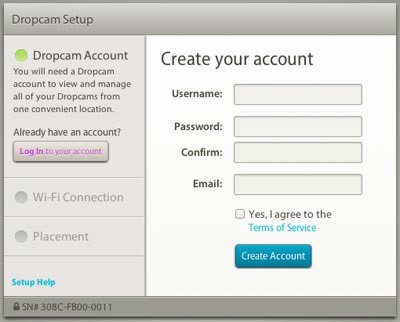
You first create an account
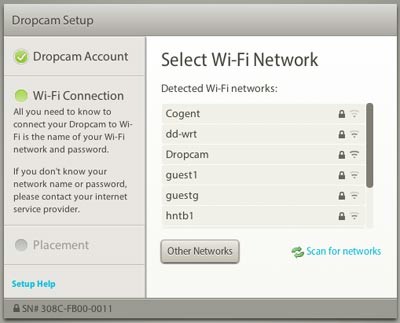
Then scan for wireless networks
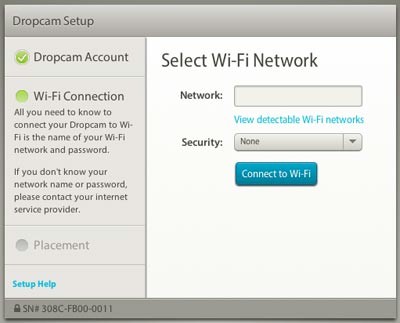
Then connect to one
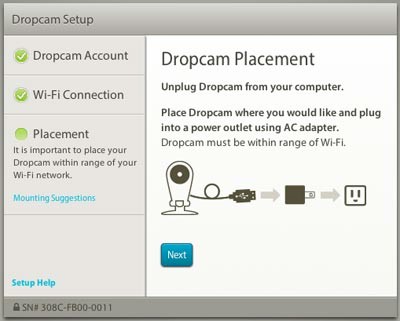
Put your camera where you want it
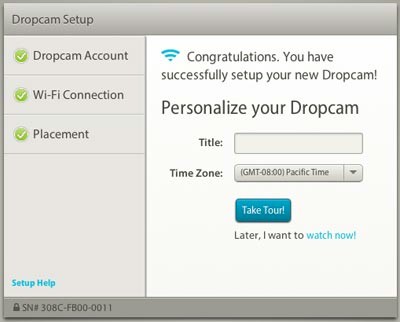
Name it and you are done
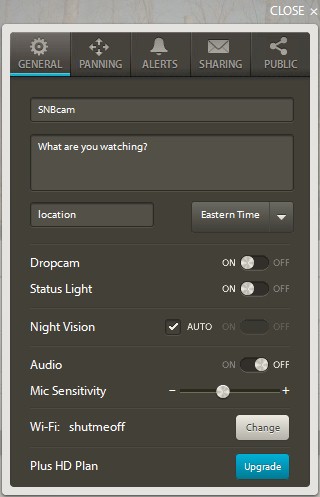
Note that you cannot change the WiFi network from here. Clicking the Change button just directs you to connect the Dropcam to USB and rerun the installer
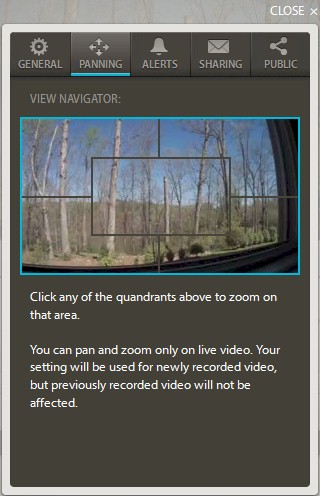
Pan/zoom is very limited.
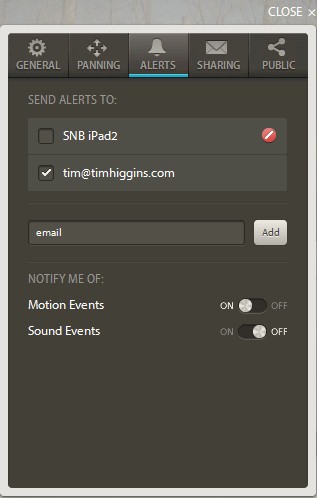
Set up email alerts here.
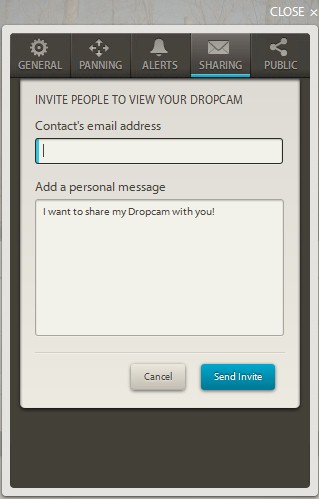
Send email links to view your camera from here. Email is the only sharing option. No Facebook, Twitter, etc.
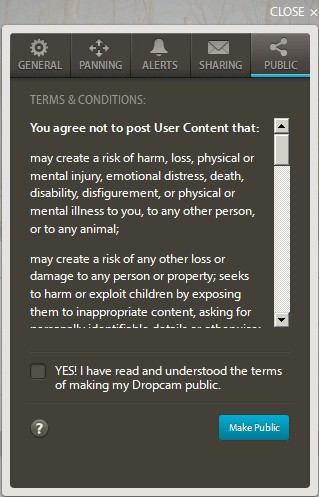
Make your camera public here
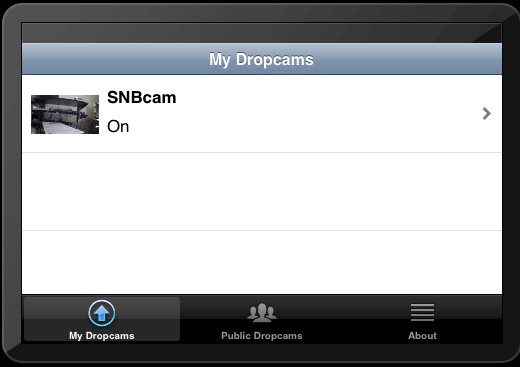
Initial view of the iOS app
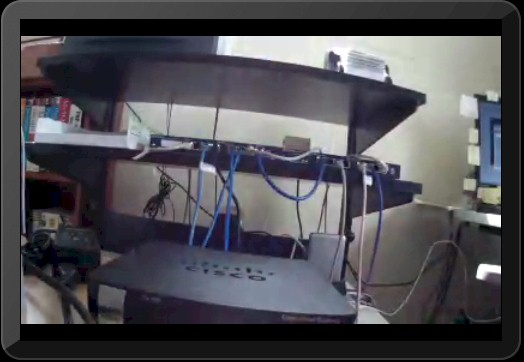
Live view in the iOS app
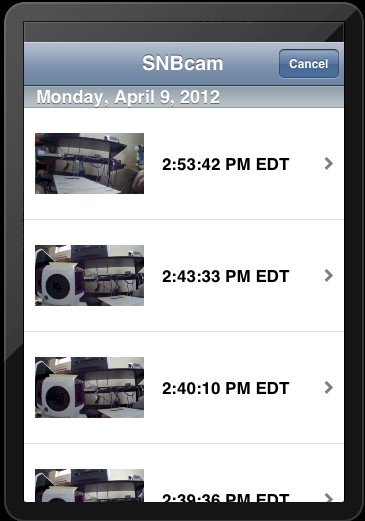
Selection of motion events

Select settings are available
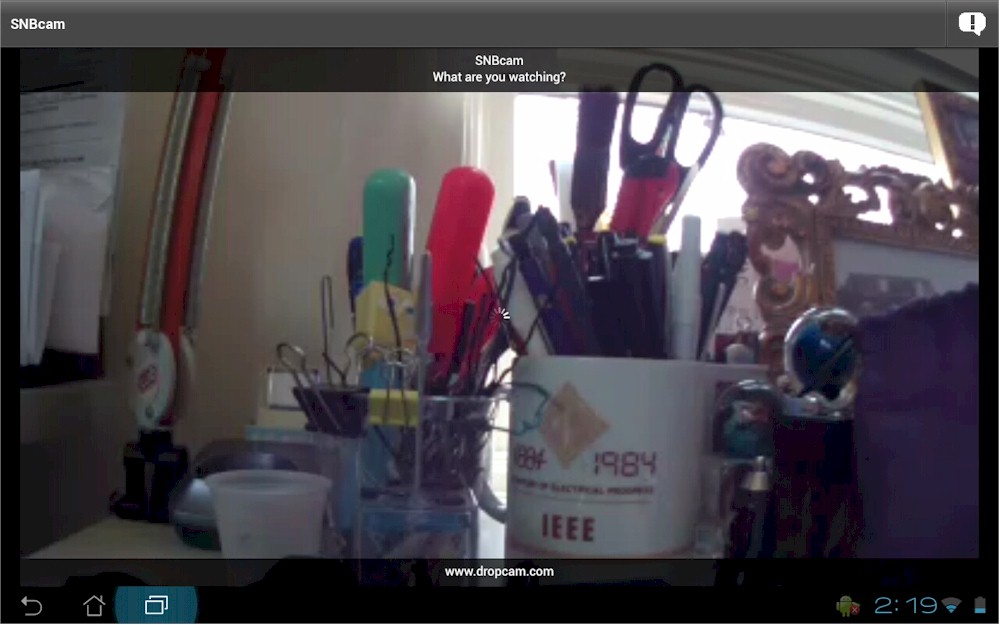
Live view in the Android app
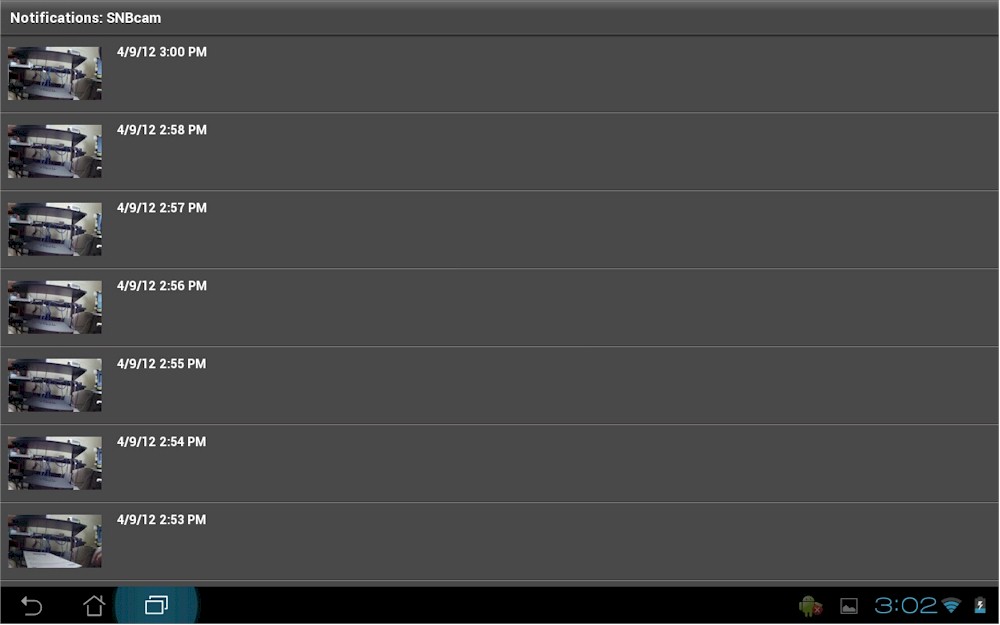
Motion event selection

You can have Dropcam bundle up some video and send it to you.
In Use
I initially thought the Dropcam was pretty cool. But the more I used it, the more its flaws surfaced. But first the good points. I really liked the big, clear view I could get with the browser interface. And being able to select motion events to watch was very easy. The built-in mic was surprisingly good, with the default sound level blasting me out of my chair. It was also fun using the built-in speaker to tease our dog.
When I tried out the iOS and Android apps, however, my initial good feelings started to fade. The iOS app is iPhone only, so didn’t take advantage of the larger screen on the iPad 2 I tried it on. The small image wasn’t very clear either and didn’t improve any by using the iPad 2X button to enlarge it. Pinch-to-zoom didn’t work, either. At least the iOS app provided access to a few settings and a Talk button, which you can see in gallery screen captures.
iOS app on an iPad
In contrast, the Android app (shown below) was very basic, providing only a live view and access to stored motion events. I suspect it also is a phone app. But since I tested it on an ASUS Transformer running Android 4.0.3 (Ice Cream Sandwich) the smaller phone app was automatically resized to fill the tablet’s larger screen. This no-frills approach could be because Android devices support Flash, which is what the browser interface is based on. The web interface did load on my Android tablet noted above, but it had a very difficult time giving me a constantly-updated live image.
Android app on ASUS Transformer running ICS
My experiment with the night viewing feature was a bust, but more due to me than the camera. Setting it close to a window only got me a nice image of all twelve IR LEDs, which, as noted earlier, made the camera uncomfortably warm. I tried it the next evening on a covered porch, but some plants close to the camera got most of the illumination, preventing me from seeing anything in the driveway behind. I will say that the automatic IR switching was smooth and silent, with none of the constant back-and-forth switching (and clicking) we experienced with the D-Link DCS-942L.
The real deal killer, however, was Dropcam’s effect on my internet performance. Dropcam recommends you have at least 512 Kbps upload bandwidth on your internet connection, but says that “average use” will consume only around 200 Kbps. In the end, the uplink bandwidth consumption didn’t bother me as much as the drop in download bandwidth the Dropcam caused.
The two sets of bandwidth tests shown below tell the tale. On the left are three runs taken without the Dropcam running and on the right, three taken with it in operation. There is definitely a significant reduction in download throughput in addition to upload.

Dropcam effect on Internet bandwidth
The effect seemed to vary depending on how much motion the camera was capturing, and, of course if I had a browser viewing the live video feed. What makes this worse is that there is no option to not consume internet bandwidth when using Dropcam. The camera has no local IP address that you can use to even access camera settings, let alone monitor video.
Another annoyance was that the camera sometimes would not relink to my wireless network when I powered it up. Power cycling the Dropcam seemed to bring it back online when this happened, however. I learned to keep a tablet with me when moving the Dropcam around, to make sure it came back on the air when I plugged it back in.
I also noticed considerable lag in the video feed from time to time. Even under best-case conditions, there was at least a three second delay in the live video. But sometimes this would go as high as 12 seconds.
One last thing I found is that there isn’t a way to deregister the Dropcam. I tried pressing the reset button on the camera, but that didn’t seem to do anything. The Dropcam FAQ says you can give your Dropcam to someone else, but that you need to contact them to “verify the transfer”.
Closing Thoughts
Many of us seem to have an aversion to any networking product that requires a paid subscription. I’ve seen consumer networking companies for years try to bundle antivirus protection, parental controls and other “value-adds” with very limited success.
So perhaps many of these cheap value-conscious consumers will steer clear of the Dropcam HD just on principle. $149 for an IP camera that constantly sucks up a good chunk of your Internet bandwidth, doesn’t allow you to tune that or any other settings and charges a minumum of $10/month to save even a snippet of video doesn’t seem like a very good deal, no matter how sexy its user interface. Geez guys, at least throw in 30 days of free 7 day DVR trial to go along with that 30 day moneyback guarantee, so people don’t have to pay $10 to check out the DVR function, like I did.