| At a Glance | |
|---|---|
| Product | WD TV Play (WDBMBA0000NBK) [Website] |
| Summary | Inexpensive streamer with wide format support for local playback |
| Pros | • Easy setup • Supports any TV (HDMI and AV outputs) • Supports lots of local media types • Smartphone remote apps for iOS and Android • Plays local media from USB and DLNA servers |
| Cons | • Relatively small number of apps that can’t be user expanded • Does not support playback from network shares |
Introduction
Updated 2/27/2013 – Added component details. Call out missing cables.
In mid-February, Western Digital announced the newest member of its WD TV line of media players – the WD TV Play. Though positioned as the entry-level product in WDs media player product line, the WD TV PLAY is a full-featured streamer that’s positioned to give the competition a run for the money. As compared to its more expensive sibling, the WD TV Live, the WD TV Play shares most of its features but costs about $29 less. Here’s how Western Digital compares its offerings:

Western Digital Media Product Line Comparison
Product Tour
The WD TV Play shares a lot of features with the WD TV Live including its physical design. Both are encased in similarly-designed plastic housings. The “Live” has a black matte finish on the top, and the sides are gray matte. The top of the “Play” is also a black matte finish, but the sides have a shiny (fingerprint magnet) black finish. The bottom of the Play is a “Robin’s egg” blue and has no ventilation or mounting holes. The Live has both ventilation holes a well as mounting slots so that you could mount the device to a wall.
Both products feature a front panel LED indicator. In addition, the “Live” has a front panel USB port to supplement the USB port found on its rear. The image below calls out the Play’s ports.

WD TV Play ports
The rear panel on each device has the following: Power jack; composite analog AV jack; Ethernet port; HDMI port and S/PDIF (optical) audio port. In addition, on the rear panel of the Live you’ll find the USB port and the PIN reset hole. On the Play, the pin reset is on the bottom, and its single USB port is on the right side as shown below.
Worthy of special note: The Ethernet ports on both devices have individual link status and activity indicators. In addition, both have a S/PDIF optical audio port that you use to connect to your A/V receiver. Both of these features are missing on the competing NETGEAR NeoTV Max. The image below shows the rear panels of the WD TV Live (l), WD TV Play (c) and the NeoTV MAX (r)
, WD TV Play (c) and the NeoTV MAX (r)")
The rear panels of the WD TV Live (l), WD TV Play (c) and the NeoTV MAX (r)
WD doesn’t include Ethernet, Toslink or HDMI cables with the Play. But they do throw in the cable you’ll need if you decide to use the composite analog AV jack.
The WD TV Play ships with the fairly simple IR remote shown below. Of the three dedicated application keys, the Netflix key is locked down. However, the “blue” Vudu and the “green” Hulu Plus keys are programmable—a nice touch. Since I don’t often use Vudu, I changed that key to Pandora.

WD TV Play Remote Control with key callouts
In addition to the remote that comes with the product, there are also remote control apps for both iOS and Android that control both the Play and Live. This gives you the advantage of having an “RF” remote control rather than a infrared control which requires line of site. When you launch the remote control app, it searches for WD TV devices. On my network, it found both the WD TV Live and the Play since I had both of them powered up for comparisons. For iOS, it’s an iPhone app – it won’t show up in the apps store if you filter for iPad apps. On both platforms, search for WD TV Remote.
During the testing process, I had both the WD TV Live and Play devices running on my network, and the apps on both platforms found both devices and let me switch between them. The screenshot below shows the navigation landing page.

WD TV Play Remote app for Android showing navigation and services panes
You can also switch to the Services view. Services is what WD calls Apps on the Live platform and on the remotes. The remote control apps on both platforms performed identically and let me control either device via Wi-Fi. If you plan to bury either of the WD devices inside an entertainment center, you definitely want the remote control for your smartphone or tablet.
On the Inside
The top and the bottom of the case appear to be welded together, so I was unable to open the case without destroying the product. So I looked up the FCC ID (RRK-C2H) instead and retrieved the fuzzy photo below. About the only thing I could tell from the internal photo file is that the Play has two antennas, so it’s an N300 device (2.4 GHz only). The wireless SoC is the one at the upper right of the photo.

WD TV Play PCB photo from the FCC
This Wikipedia article has a good summary of WD TV devices. WD has used Sigma Designs SoCs in all its WD TV players, so it’s reasonable to assume that that’s what lies under the heatsink in the photo above. For reference, the Live uses a 700 MHz Sigma Designs SMP8670AD processor with 512 MB of DDR2 memory.
Updated 2/27/2013
Figured out how to open it up by removing one T8 Torx screw hidden under the bottom cover product label and prying off the cover. The wireless SoC is a Ralink RT5372L 2T2R 802.11bgn and there is 512 MB of Hynix flash (H27U4G8F2DTR) and 512 MB of DDR3 Hynix RAM (H5TQ2G63DFR x2). The main device heatsink is epoxied on, so the guess remains that it’s from Sigma Designs.
Setup
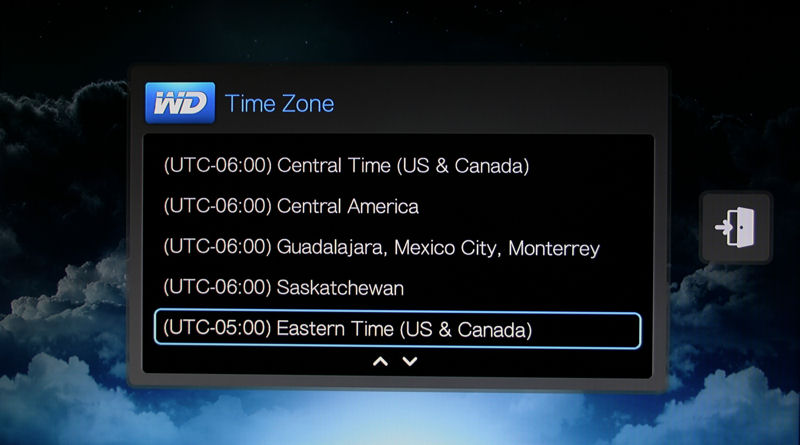
The printed, illustrated quick start guide shows you how to connect your WD TV Play to your TV and to your network. You don’t have to do any setup on the remote control – it just works after you insert the batteries. Setup is a simple four step process. If you use the wired Ethernet port on your WD TV Play to connect to your network, very little input is required from you, just select language and time zone.
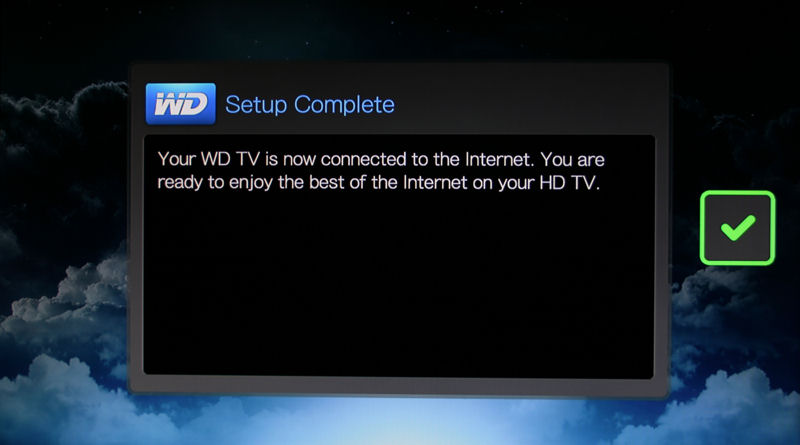
If you connect to your network wirelessly, you’ll need to perform a few additional steps. The good news is that the WD TV Play is Wi-Fi certified, so you have the convenience of using WPS (Wi-Fi Protected Setup). All you have to do is select WPS setup, and press the WPS button on your router. In just a couple of moments, you’ll get a confirmation message that your WD TV Play is connected to your wireless network. I tested WPS and it worked as described. The gallery below shows the simple setup sequence using a wired Ethernet connection.
Upon initial startup, the WD TV Play will automatically determine and set the best screen rsolution.
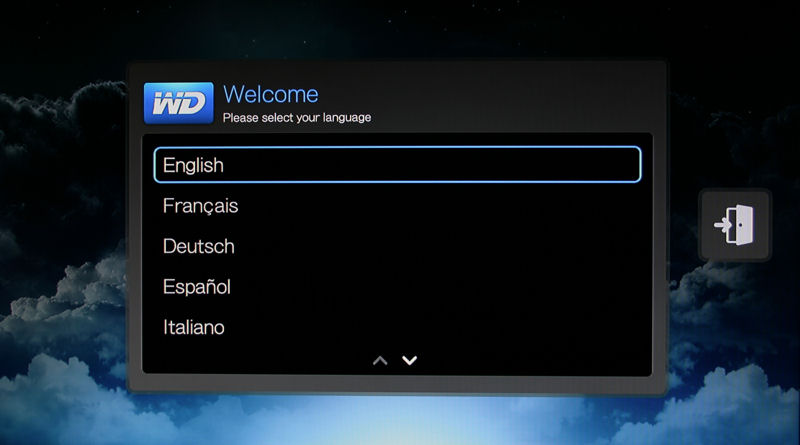
Here you choose your language from a list of 30 supported languages
Home page for music
Just click OK on the remote, and the WD TV Play will reboot with your new settings.
The WD TV Play initializes with your new settings.
Though not included in the box, Western Digital provides a comprehensive 171 page user guide online. It’s not particularly easy to find on the website, so here’s the link. It provides detailed setup and usage information for 12 of the most popular included apps as well as full instructions for setting up and configuring advanced features. It’s well worth the download.
As you set up your accounts, such as Netflix, Pandora, Hulu Plus, etc., you can speed up your input by attaching a wired USB keyboard to the USB port on the rear of the device. Pages 27 and 28 of the user guide detail how the keys on the USB keyboard map to the keys on the remote control. The data sheet on Western Digital’s website also indicates that you can use a wireless keyboard. The gallery below includes some setup screenshots.
Hands On
When you first power on the WD TV Play, you land at My Favorites. I’ll have to admit that the default configuration of My Favorites was a pretty selection good for me. However, if you don’t like what you find on this landing page, you can select the All My Apps icon that’s located just below the time in the upper right-hand corner of the screen. From there, you can select any from one of the 33 available apps. When you select an app, by clicking on the Option key on the remote, you can pin the selected app to either your My Favorites page, or one of six other category pages.
You expose the category pages by pressing the left arrow key on the remote. Alternatively, you can use the Prev Page/Next Page keys to scroll through the categories. There are category pages for My Favorites, Movies & TV, Web Videos, Music, Photos, Sports & Games, and Social & News. You can also move individual apps around within each category.
Similarly, you can edit the icon selection for each category name by selecting from a choice of different icons, letters and numbers. If you don’t like a category name, or, for example, want to personalize “My Favorites”, you can change any of the category titles, too. Browse the gallery below to get a feel for navigating through the apps/channels.
Upon initial startup, the WD TV Play will automatically determine and set the best screen rsolution.
Here you choose your language from a list of 30 supported languages
Home page for music
Just click OK on the remote, and the WD TV Play will reboot with your new settings.
The WD TV Play initializes with your new settings.
The WD TV Play ships with 33 apps. Unfortunately, unlike the Roku platform, WD doesn’t provide a mechanism where you can download additional apps. However, the included apps cover the mainstream services that many, if not most, consumers will use. Twelve of the apps are extensively documented in the online User Manual. Below, I’ve included a gallery with screenshots from some of the major apps, and will comment on them briefly.
For each of the apps that I tested, I confirmed that they were identical on the WD TV Live and the WD TV Play platforms. For all of my tests, the WD TV Play was connected wirelessly to my network with a strong signal. None of the streaming video or audio apps exhibited any signs of jitter, pauses, or buffering issues. Check the gallery for screenshots of each of these apps.
AccuWeather – This app resides in the upper left corner of the “My Favorites” screen. Like an icon in the Windows 8 metro interface, this icon updates with the current temperature and toggles between a screen that shows a 5 day forecast.
Netflix – This is the identical interface that you’ll find on the WD TV Live. It’s adequate, but I’ve seen newer, fresher UIs on both my Samsung blue ray player and my Vizio TV.
Pandora – This is an older style interface for Pandora. As I mentioned in my comparison of the WD TV Live to the NETGEAR NeoTV MAX, I preferred the newer style interface found on NETGEAR’s product.
YouTube – The YouTube interface on both WD products is the same as NETGEAR’s NeoTV MAX. However, the new Neo TV Prime [reviewed] has an updated Youtube interface that makes better use of screen real estate.
Hulu Plus – This familiar interface worked as expected.
Vudu – Vudu is the only streaming service that does a speed test on the first launch to confirm what quality level of video to send. While the other streaming services also evaluate your bandwidth, Vudu shows you what yours measures. I watched one of their two minute free video clips in HDX – 1080P and it looked great. (but I still didn’t rent or buy it….).
Upon initial startup, the WD TV Play will automatically determine and set the best screen rsolution.
Here you choose your language from a list of 30 supported languages
Home page for music
Just click OK on the remote, and the WD TV Play will reboot with your new settings.
The WD TV Play initializes with your new settings.
Local Media
Even though My Storage is an app just like the rest of them, I felt that it deserves special attention. While many people purchase a media streamer to view online content, they also want the ability to view their own local content, whether it’s their music library, family videos, or photo albums, on “the big screen”.
Both the WD TV Live and the WD TV Play excel at local content playback. In fact, both devices smoke the competing NeoTV MAX. Shown in the two figures below are the supported media types supported by the NETGEAR NeoTV MAX and the WD TV Play. You can see that the WD TV Play is the hands-down winner.

NETGEAR NeoTV MAX media file format support

WD TV Play media file format support
According to Western Digital, the WD TV Play handles all of the same file types as the WD TV Live and the WD TV Hub products with the exception of DTS audio and MPEG2 video. The other major difference between the WD TV Play and its more expensive siblings is support for network shares. Unfortunately, the WD TV Play can’t browse network shares to access content to play. But it will detect UPnP-AV and DLNA servers and play content from them. Both the WD TV Live and Live Hub can browse and play from SMB shares.
In my testing of the WD TV Play, it played all of the following formats without a problem:
- Movies:.m4v,.avi,.mp4,.wmv,.mov, &.3gp
- Music:.m4a,.mp3
- Photos:.jpg,.png,.bmp, and.tif
The gallery below will give you an idea of the My Storage interface
Upon initial startup, the WD TV Play will automatically determine and set the best screen rsolution.
Here you choose your language from a list of 30 supported languages
Home page for music
Just click OK on the remote, and the WD TV Play will reboot with your new settings.
The WD TV Play initializes with your new settings.
Closing Thoughts
There’s a lot of competition for mid-priced media streaming devices. Part of the competition comes from, of course, the PLAY’s more expensive sibling, the WD TV Live. We took a look at both the WD TV Live as well as Roku’s 2XS in this head-to-head comparison. We also took a more recent look at NETGEAR’s NeoTV MAX here.
To help make sense of the products on the market, I built a chart of offerings from NETGEAR, Roku and Western Digital. I looked at products priced around $69.99 – the price of the WD TV Play. I included pricing from both Pricegrabber and Amazon.

Mid-priced media streamer pricing comparison
Let’s get to work and start to eliminate the competition. First, we can eliminate the WD TV Live and the Roku 2XS. They are priced too high to be fair competition. Next, we eliminate the Neo TV Pro – that’s an older version that’s surprisingly priced higher than the more well-featured NeoTV MAX. Next, we eliminate the Roku 2XD. It lacks a wired Ethernet port as well as a USB port. You have to connect wirelessly, and you can’t connect a flash drive. That leaves us with the NeoTV MAX and the WD TV Play.
Frankly, I was surprised at how aggressively NETGEAR has priced the NeoTV MAX. If you read through the review linked above, you’ll see that it’s a full-featured media streamer that even has a QWERTY remote control. The MAX has a lot going for it including support for Intel WiDi and a larger number (108 vs 33) of internet content providers than the WD TV Play. And, it’s $10 cheaper. Unfortunately, its file support for local content is fairly minimal.
On the other hand, the WD TV Play has excellent file support not only for significantly more video types, but image files, too. And, if you plan to connect your streamer to your AV receiver, the S/PDIF (optical) audio port gives you an option that you don’t have with the NeoTV MAX. Both devices have an AV output so that if you intend to connect it to a legacy TV without an HDMI port, either will work for you.
For me, it’s a toss-up between the NeoTV MAX and the WD TV Play. If you’re stuck at the $70 price point it all comes down to how you intend to use the device. If streaming internet content is most important to you, go with the NeoTV MAX and save yourself $10. But since I have a large library of media files with a wide variety of video file types, the excellent local file playback support tips the balance to the WD TV Play for me.