Introduction

| At a Glance | |
|---|---|
| Product | TRENDnet TV-IP572PI HD Network camera [Website] |
| Summary | Budget minded HD network camera |
| Pros | • Relatively inexpensive for HD • 802.3af PoE support • Motion detection works perfectly • Basic features work well |
| Cons | • Very short power cord • May lack features some may deem as important • Manual focus |
TRENDnet recently sent us two of its IP cameras for review. The first we’ll be looking at is the TV-IP572PI. I’ll be following up in a bit with a shorter comparison review on the TV-IP551WI.
If you take a look at the camera area of TRENDnet’s site it can be a little confusing. The TV-IP572 alone has four different models, the TV-IP572P, the TV-IP572PI, the TV-IP572W, and the TV-IP572WI. The decoder ring is: “P” indicates Power over Ethernet (802.3af); “I” indicates a day/night (InfraRed) and “W” indicates wireless.
The TV-IP572PI can be found for about $143 shipped if you do some smart shopping, while the TV-IP551WI can be purchased for $88 shipped. This makes both cameras some of the most economical cameras we have reviewed to date.
Setup
The TV-IP572PI box includes the camera, 5VDC-1.2A wall-wart power adapter with very short power cable, manual, software CD, network cable, and mounting hardware. With the P and PI versions, the short power cable can, of course, be left in the box if you have an 802.3af PoE-capable switch or injector.
TRENDnet’s instructions warned not to install or mount the camera until the software installation steps had been followed. I had set up the TV-IP551WI first using the software CD and decided to live dangerously when setting up the TV-IP572PI. I plugged it in to power and network, found it in Overlook Fing, and went to the camera’s web interface. I then logged in with the standard admin/admin and was in business. The software installation does strongly suggest changing the admin password, so it may be beneficial for first time users to go through those steps.
Inside
The TV-IP572PI was very easy to take apart, 4 case screws and one board screw. Inside I found 16 MB of Winbond flash and 128 MB of Hynix DDR2 RAM.

Figure 1: Flash and RAM memory of the TRENDnet TV-IP572PI
The processor appeared to be a Grain Media variant. However it was hidden under some shielding and not immediately identifiable.

Figure 2: Partially hidden Grain Media processor of the TRENDnet TV-IP572PI
The image sensor is a 1/4″ CMOS sensor. The lens has a 4mm focal length with a horizontal field of view of 51.8 degrees. I found out through trial and error that the lens is manual focus, which really wasn’t a big deal.
Four IR LEDs are supplied for night vision, which did well compared to other cameras with an equal number of IR LEDs as we’ll see later. Rounding out the rest of the internals are a built-in microphone, an audio out jack (no speaker included), and a Micro SD card slot. Figure 3 below shows this detail.

Figure 3: The front panel callouts of the TRENDnet TV-IP572PI
Features / In Use
Maximum resolution of the TV-IP572PI is 1280×800 in H.264 and MPEG4 formats, making it an HD camera. It can supply that at a 30fps framerate, which I verified it can handle beautifully in Blue Iris. Four video profiles are provided for different configuration options. Stream 3 transmits in MJPEG format at a reduced framerate for higher resolutions.
The web interface was functional and practical, especially considering the budget-friendly price tag of the camera. The camera’s Live View page has options for configuring the camera, indicating if motion detection is tripped, indicating if recording is on, stream selection, snapshot capture, local recording, Listen and Talk functions, and also Digital Zoom.
The “Setup” configuration pages were much less detailed than other cameras I’ve reviewed, but still had adequate functionality. Recording could be configured to write to the camera’s SD card or to a Samba network share and recording could be triggered based on Motion, Schedule or simply all the time. Video clips and Snapshots could be configued the same way, although the target options in that case were FTP or Email. Recording could not be done on events such as audio detection.
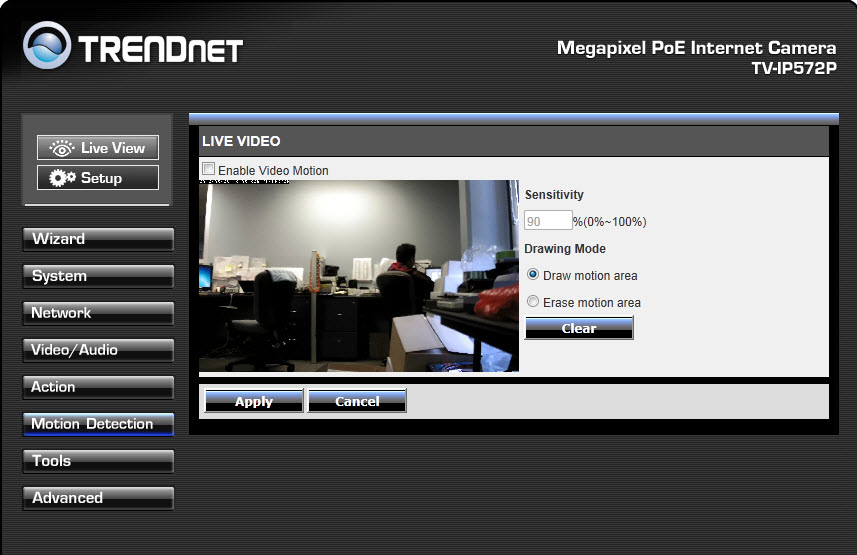
Configuration of motion detection was, uh, “ok”, but not nearly as user friendly as I found on Axis’ M1054 and M1031-W. Motion area could be drawn in sort of a “window” format as many other cameras have and sensitivity could be set between 0% and 100%,with a default of 90%. This is shown in Figure 4 below.

Figure 4: Motion detection screen of the TRENDnet TV-IP572PI
However, as we’ve seen with many network cameras, sensitivity is trial and error, with no real indication of current levels on the motion detection screens. If you want to see a great example of motion detection done well, take a look at the AXIS M1054 review.
That said, once I got motion detection dialed in, I didn’t receive one false positive from this camera, which is something that doesn’t happen often when testing network cameras. I set up Motion Detection, then configured a five second pre-event buffer, 10 second maximum video of the H.264 1280×800 30fps video stream to my email. This resulted in about a 5.5MB AVI file that was spot on with how I had configured it.
The TV-IP572PI also seemed to transition well from day to night mode and vice versa without getting “confused” and clicking back and forth at borderline thresholds like the D-Link DCS-942L. I had the TV-IP551WI sitting right beside the TV-IP572PI for most of the testing and I found the TV-IP551WI would often be in night mode during the day when plenty of light was available. Fortunately it didn’t continually click either, it was simply stubborn at times.
The complete screen captures of the TV-IP572PI admin screens can be seen in the gallery below.
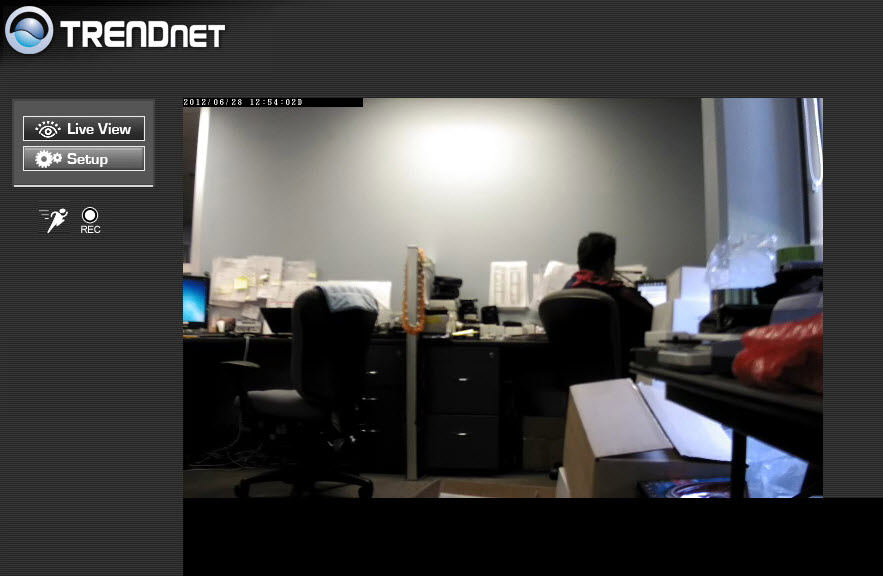
Live View Screen
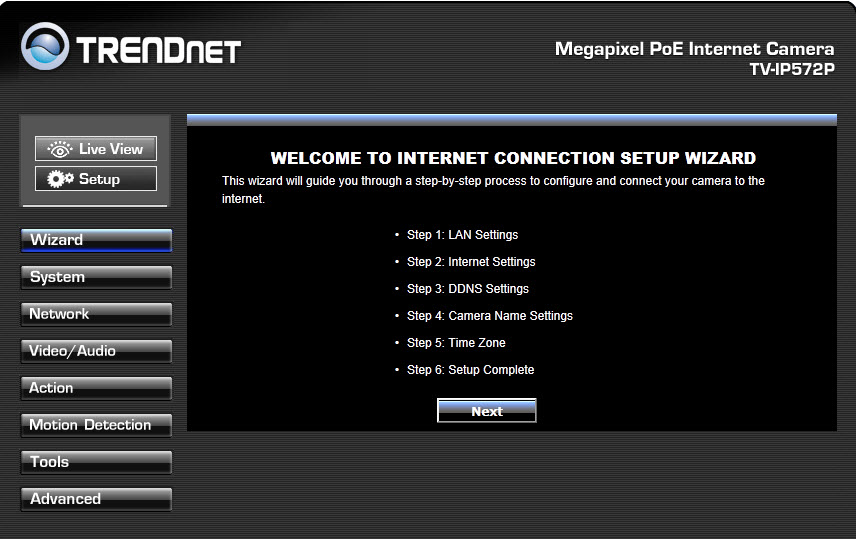
Wizard Screen
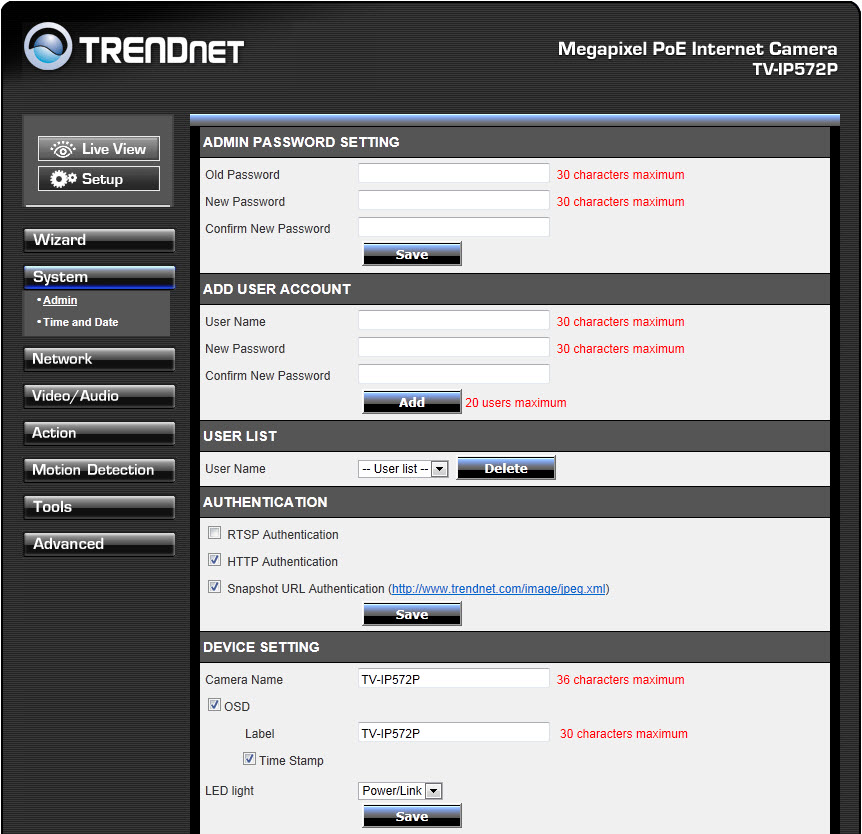
Change passwords and other functions

Time and Date Settings
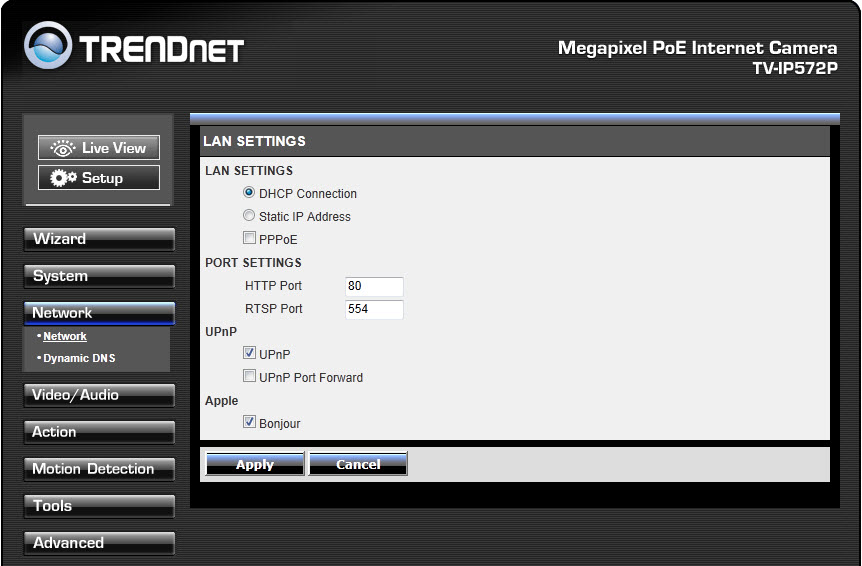
Typical network configuration
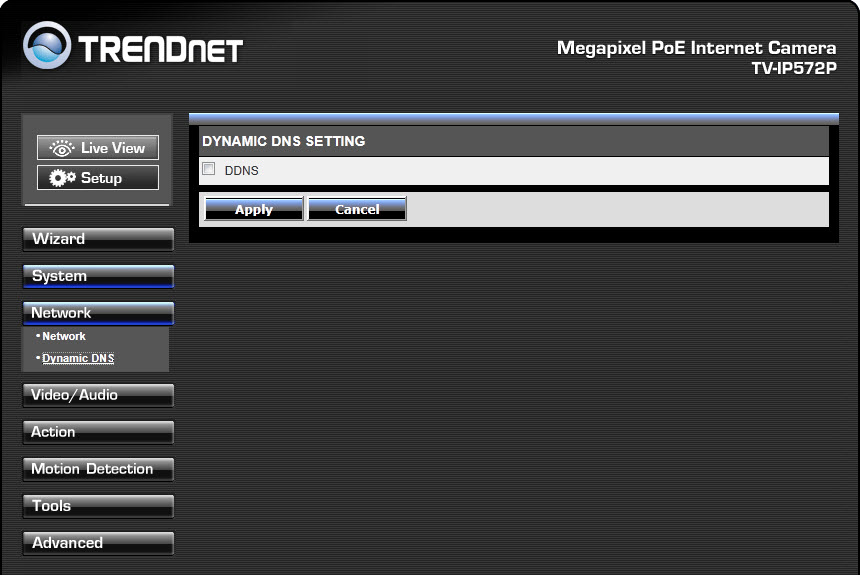
Enable and configure Dynamic DNS
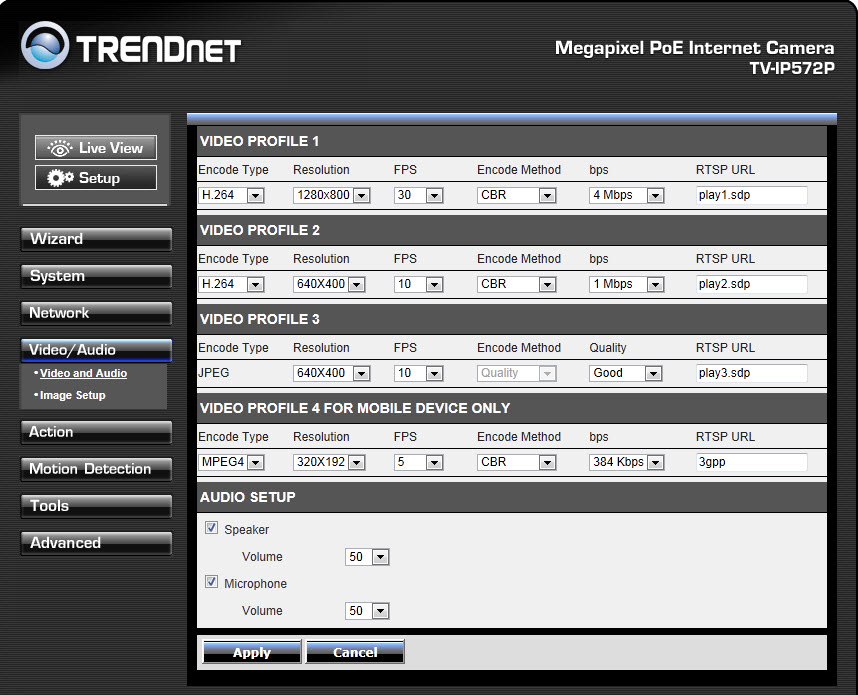
Configure media streams
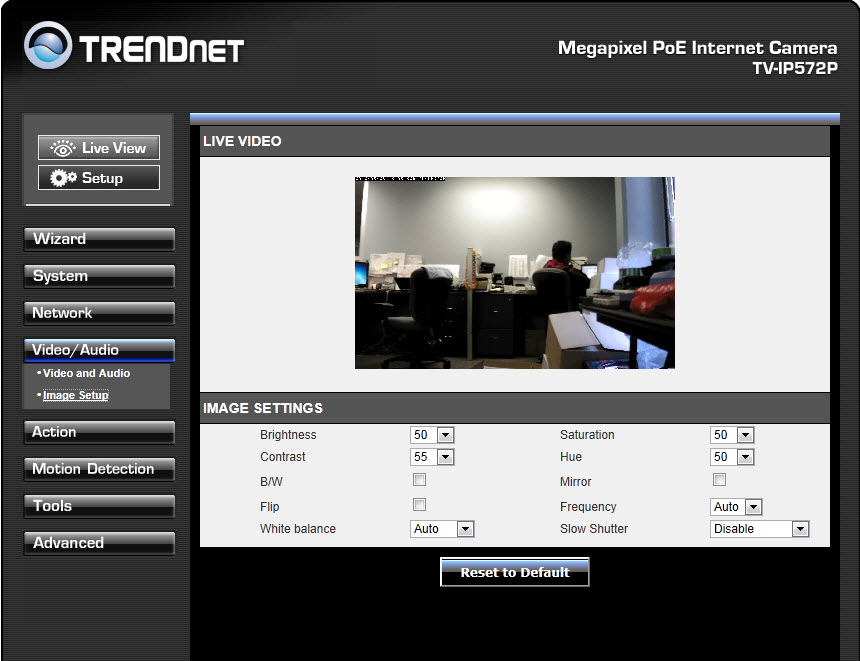
Adjust image settings
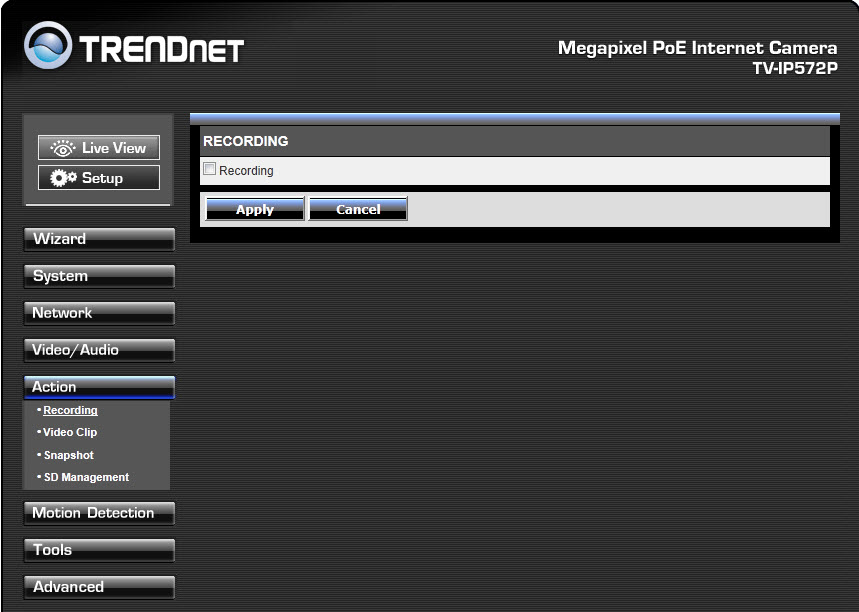
Set up recording to an SD card or network share
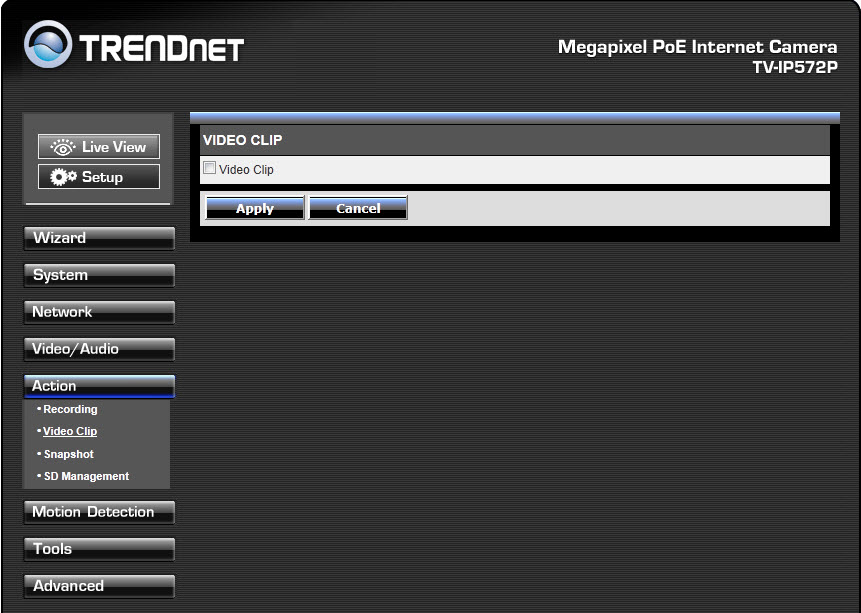
Send a video clip to FTP or Email
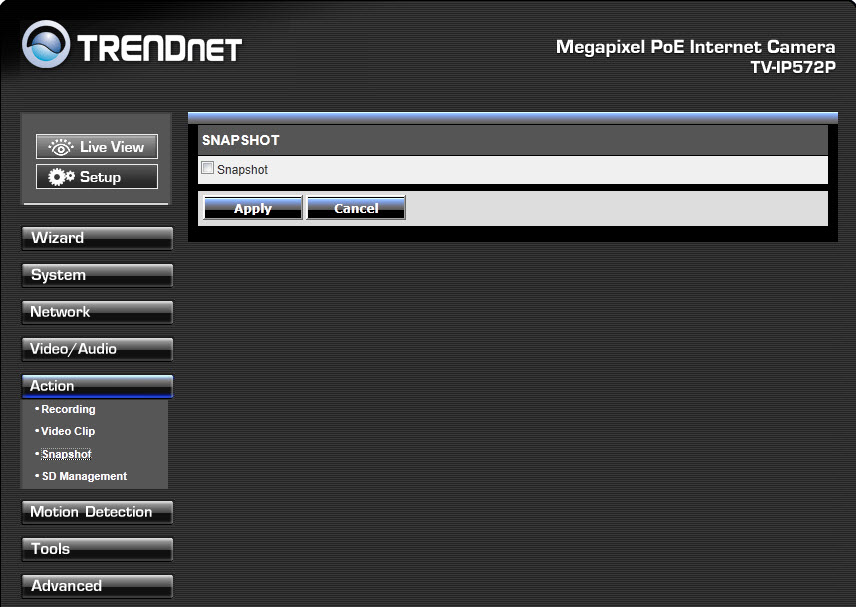
Send a snapshot to FTP or Email
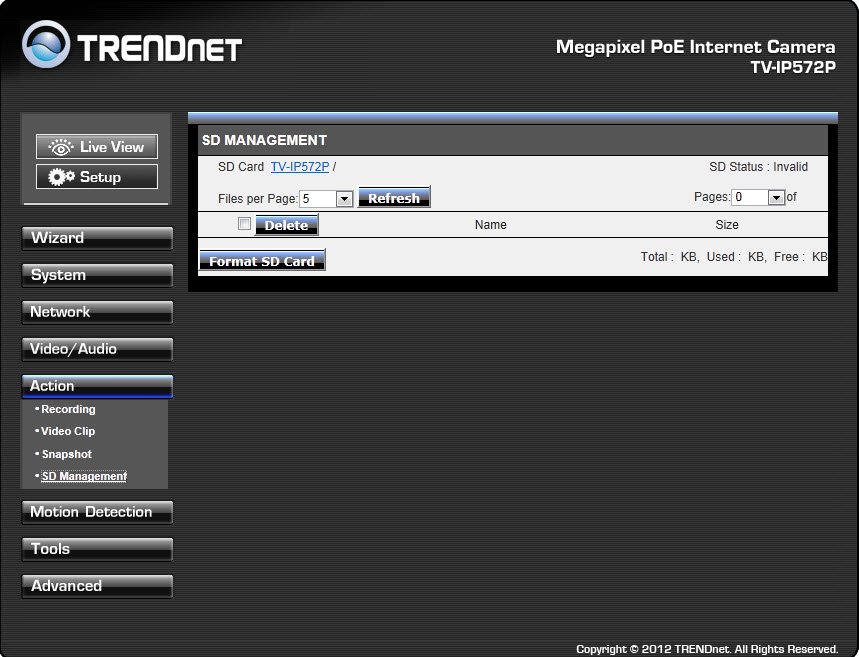
Manage an SD card
Enable and configure Motion Detection
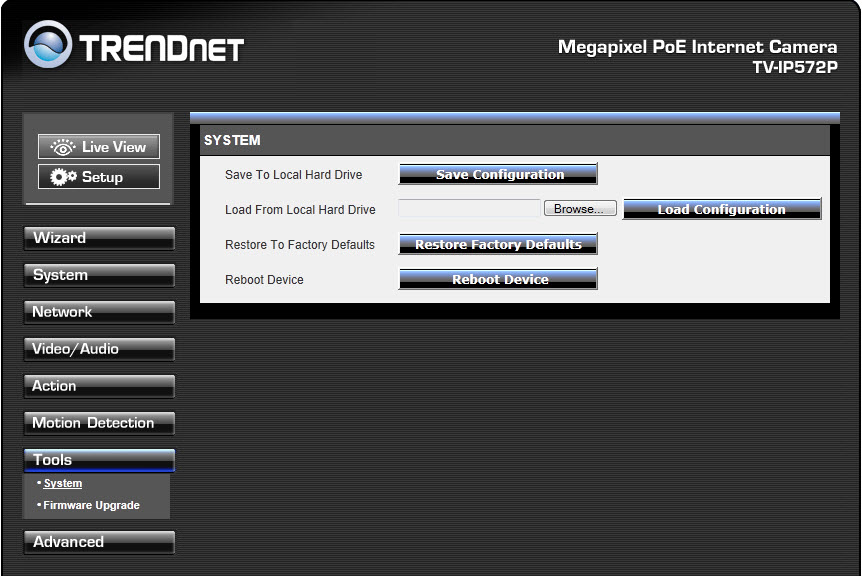
Save configurations and reboot device
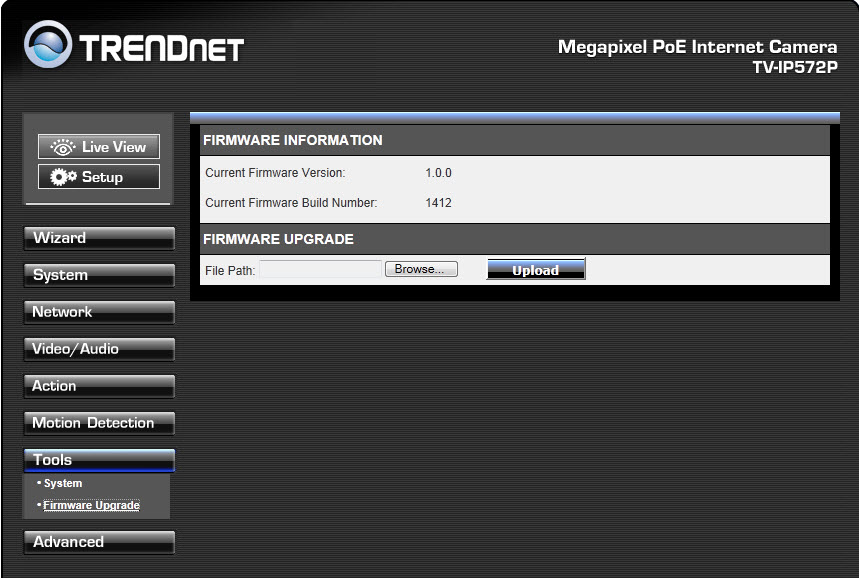
Firmware upgrade

Info about the device
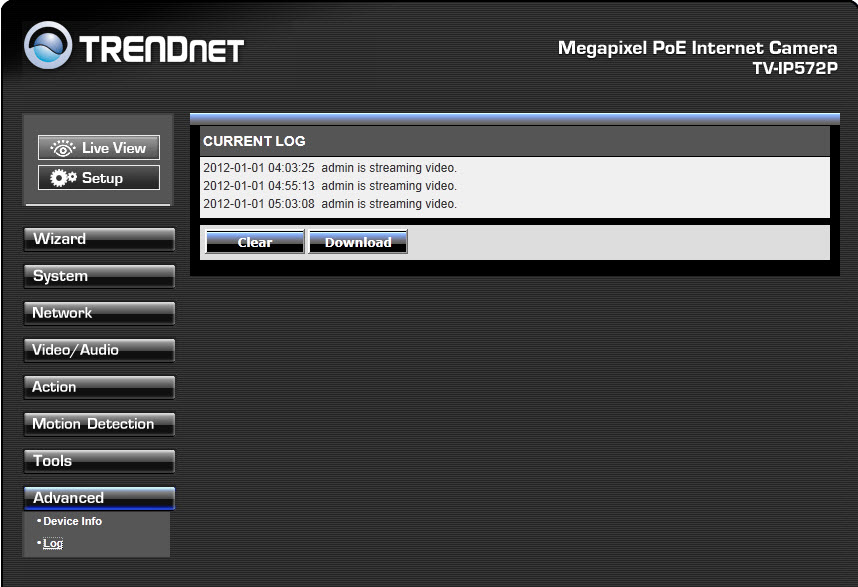
Basic log
Image Quality – Day
I found the image quality of the TV-IP572PI to be pretty good for it’s price range. For comparison’s sake, we’ll look at the control shot of our junkroom, taken with a Nikon D5000 DSLR. We’ll then compare it the TV-IP572PI’s day shot and the AXIS M1054’s day shot.
Figure 5 is the Nikon D5000 DSLR control shot.

Figure 5: Control image from the Nikon D5000 DSLR
Figure 6 is the TRENDnet TV-IP572PI day image

Figure 6: Day image from the TRENDnet TV-IP572PI
Figure 7 is the AXIS M1054 day image

Figure 7: Day image from the Axis M1054
You notice a few things right away. First of all, the 84° field of view from the AXIS M1054 vs the 51.8° of the TV-IP572PI lets you see a lot more of the room. Image clarity is quite a bit sharper on the M1054, but it does cost twice as much. The TV-IP572PI has basically no penetration back in to the furnace room beyond the 20 foot mark, where the control image and the M1054 do provide a view into it.
One thing you might notice though, look at the 15 foot marker. It’s readable in the TV-IP572PI image, whereas it isn’t really in the M1054 image. The wider field of view also does make things look farther away.
Image Quality – Night
For the night shot we need to compare apples to apples. Since the AXIS M1054 camera uses visible LEDs vs. IR LEDS, we really can’t compare it to the TV-IP572PI. Instead, for this comparison, we’ll go back to the D-Link DCS-942L night shot, because the DCS-942L has a comparable 4 IR LEDs. For posterity’s sake we’ll also include the Zyxel IPC-4605N night image, which uses 12 IR LEDS. TRENDnet’s specs say it should be good up to 7.5 meters (24.6 feet), so let’s see how it does.
Figure 8 is the TRENDnet TV-IP572PI night image with 4 IR LEDs.

Figure 8: Night image from the TRENDnet TV-IP572PI with 4 IR LEDs
Figure 9 is the D-Link DCS-942L night image with a comparable 4 IR LEDs.

Figure 9: D-Link DCS-942L night mode image from DCS-942L review
Figure 10 is the Zyxel IPC-4605N night image with 12 IR LEDs.

Figure 10: Zyxel IPC-4605N night vision image
Unfortunately the D-Link and Zyxel reviews were done before I started using the 5 foot markers. However, we can pick out items in the picture which are consistent between all pictures, such as the wall mirror at the door to the furnace room (which is right at 24 feet). In the TV-IP572PI image, the mirror has a sharp edge, whereas it is fuzzy in the D-Link DCS-942L image. Neither camera really has penetration past the 20 foot marker into the furnace room.
The TV-IP572PI image does look sharper and more clear than the DCS-942L image. The Zyxel IPC-4605N by comparison, lights up the room, has nice sharp edges, and sees well back in to the furnace room past 20 feet. But the Zyxel IPC-4605N has 12 IR LEDs to the TV-IP572PI’s four.
Lastly, we’ll look at horizontal field of view with an outdoor shot. Since I’ve been evolving my testing protocol, this is new data. The only comparison I have are the two AXIS cameras. The first image is the TV-IP572PI with it’s 51.8 degree field of view, while the second shot is the AXIS M1054 outdoor image with the 84degree field of view.
Figure 11 is the TRENDnet TV-IP572PI outdoor field of view.

Figure 11: 51.8° Field of View from the TRENDnet TV-IP572PI
Figure 12 is the AXIS M1054 outdoor field of view

Figure 12: 84° Field of View from the Axis M1054
While future reviews won’t have this luxury, these two images were done just minutes apart and were done with the camera’s default image settings vs. trying to adjust for a better picture. The field of view is obvious when you look at the miniature slide on the left and the fence decoration on the right. Response to natural light is also much different between the two pictures.
Bear in mind that the M1054 is twice the cost of the TV-IP572PI, but look at the detail in the far bushes. Leaves are distinct and visible in the M1054 image, whereas the TV-IP572PI image is noticeably darker. Near objects are very distinct in the M1054 image as well, whereas they are darker and barely identifiable in the TV-IP572PI image. Careful placement of the TV-IP572PI in response to light sources, as well as fine tuning of the Image settings may be needed to get the desired result. If a person were standing halfway to the swing in the above image, it’s really a guess as to whether their face would be identifiable due to response to light.
Closing Thoughts
$143 shipped is nice for an HD camera with adequate features, including night vision and Power over Ethernet. What the TV-IP572PI does do, such as motion detection, it does very well. But it doesn’t have all the bells and whistles of the more expensive cameras, but much of that may not be needed in all situations. Performance at night might be a little less than what I would want in a camera, but was good considering it uses only four IR LEDs. In all, this camera is a great bargain if you are looking for an entry-level wired network camera to test the HD waters.