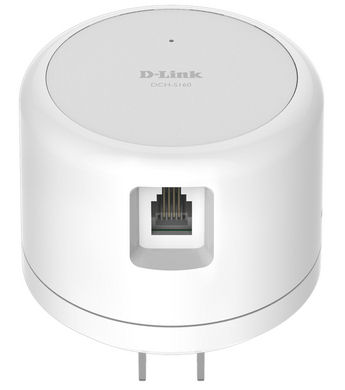
| At a glance | |
|---|---|
| Product | D-Link Wi-Fi Water Sensor (DCH-S160) [Website] |
| Summary | Wi-Fi enabled water sensor |
| Pros | • Easy to set up via WPS •Works seamlessly with products in the mydlink family • Device logs every event • Included standard RJ-11 extension cable allows for flexible placement |
| Cons | • No Web UI or desktop apps – must use smart phone apps • No Email or text notification options |
Typical Price: $70 Buy From Amazon
Introduction
Last summer, I reviewed two of the first products in the mydlink family of smart home products: the DCH-S150 Wi-Fi Motion Sensor and the DSP-W215 Wi-Fi Smart Plug. This week, D-Link announced the availability of two previously-announced new members of the mydlink family: the DCH-S160 Wi-Fi Water Sensor and companion DCH-S220 Wi-Fi Siren. This review will focus on the Wi-Fi Water Sensor.
If you’re a home or condo owner, you already know that water damage can be very expensive to repair. A leaking appliance, a stopped-up air conditioning condensation tube or a burst water heater can cause thousands of dollars of damage if you don’t catch the leak quickly. The DCH-S160 Wi-Fi Water Sensor is designed to notify you immediately when it detects water.
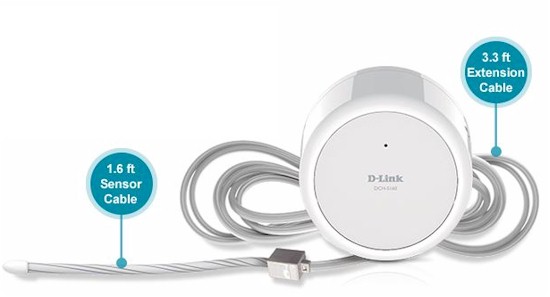
D-Link DCH-S160 with extension cable
The DCH-S160 is a round device measuring 2.56 inches in diameter and 2.07 inches tall. The front and bottom image below shows that the water sensor uses a standard RJ-11 jack and a two prong electrical plug. The sensor ships with a 19 inch water sensor cable that detects water along its entire length. The product also ships with a 39 inch (1 Meter) RJ-11 extension cable to provide some mounting flexibility.
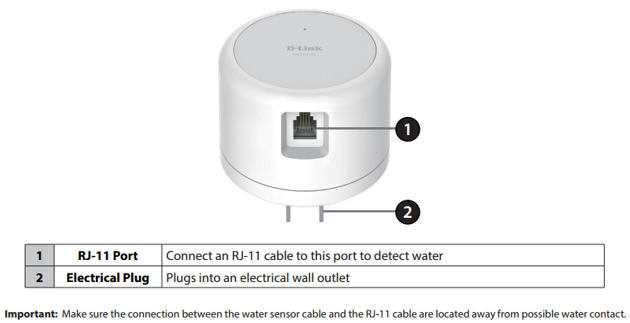
D-Link DCH-S160 front and bottom callouts
On the side of the water sensor, there’s a status LED, WPS (Wi-Fi Protected Setup) button and reset button shown in the callouts below.
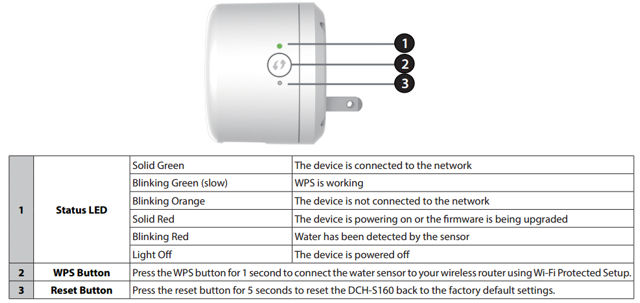
D-Link DCH-S160 side callouts
Setup
Setup of the water sensor is almost identical to other mydlink products. You just need:
- A Wi-Fi network that’s connected to the Internet
- An Android or iOS device
- A “mydlink” account. If you don’t already have one, you can set up an account for free at www.mydlink.com.
- The mydlink Home app, which you can find in the Google Play Store or the Apple iTunes App Store by searching for “mydlink Home”
If you haven’t set up a mydlink product, you’re in for a treat. It’s quite simple. The hardware is installed via the mydlink Home app on your iOS or Android device. Like the other mydlink products, the Water Sensor shipped with a small business card-sized Quick Install Card. The front of the card has instructions and a QR code to help you find the mydlink Home app. The rear of the card has a label that is unique to your device.
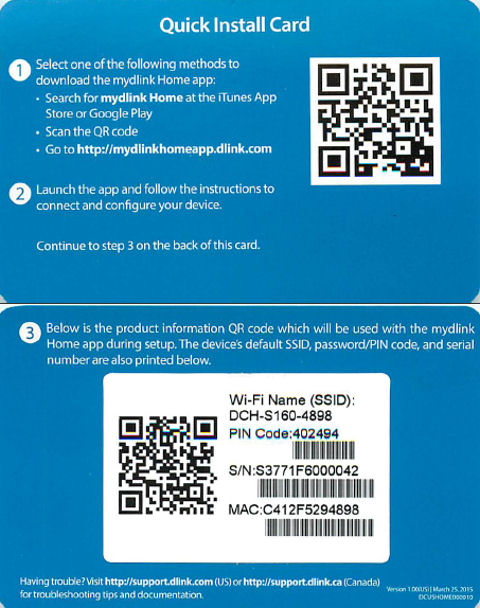
D-Link DCH-S160 Quick Install Card
To install the new device, you scan the QR code for your device from within the mydlink Home app and connect your device to your Wi-Fi network using the WPS pushbutton on your router and the WPS button on your water sensor.
If you run into problems or your router doesn’t support WPS, there are options within the setup program to configure the device manually. The entire setup takes just a couple of minutes. The setup gallery below shows screenshots for each step.![]()
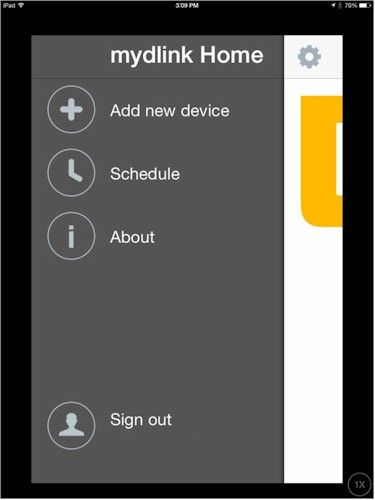
Tap the plus key
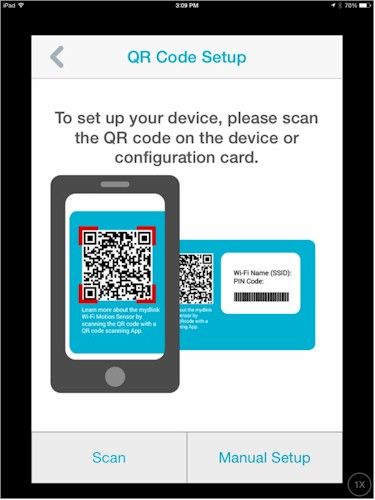
Scan the QR code on the Quick Setup Card. You may have to grant the mydlink Home app permission to use your device’s camera.
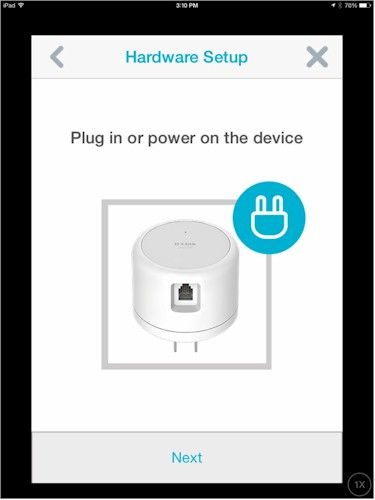
Plug in the device

Wait fo the LED to blink orange
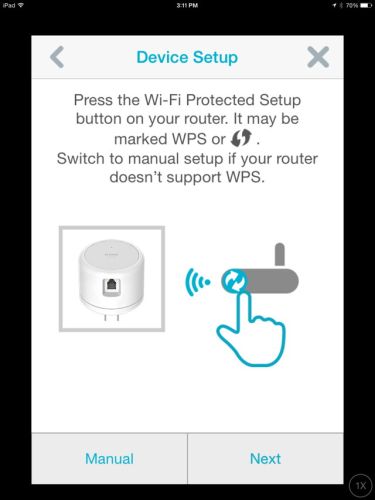
Press the WPS button on your router
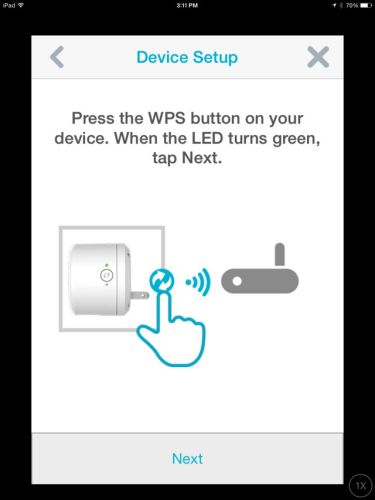
Press the WPS button on your device

Tap Green when the LED turns solid green
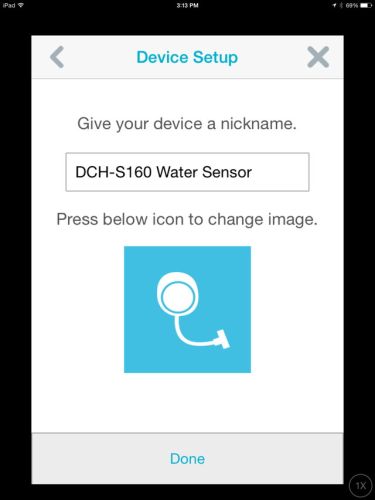
name your device
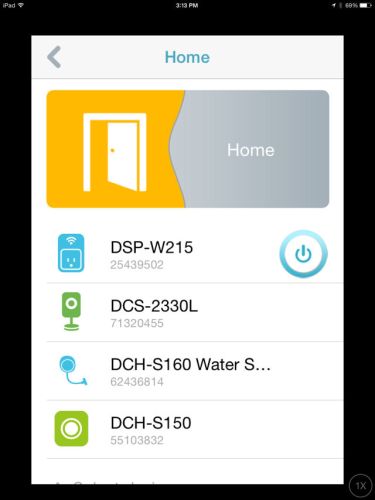
Home page after successful setup
D-Link has also posted a setup video on YouTube.![]()
The screenshot below shows the DCH-S160 landing page as displayed on my Samsung S5. The iPad (which is actually an iPhone app) version looks almost identical. Unlike the DCH-S150 Motion Sensor, there are no configuration options for the water sensor. Of course, that makes sense. There’s no reason to schedule the water sensor and you want it to alert with maximum sensitivity.
The Last detection tab opens up to display a log of water detection events. The Information tab shows the Product name, the Mydlink number, MAC address, IP address, Firmware version and provides an option to remove the device.
Like the Motion Sensor, the Water Sensor can be used alone to provide in-app notifications, or can be used in conjunction with a control device such as the DSP-W215 Wi-Fi Smart Plug.
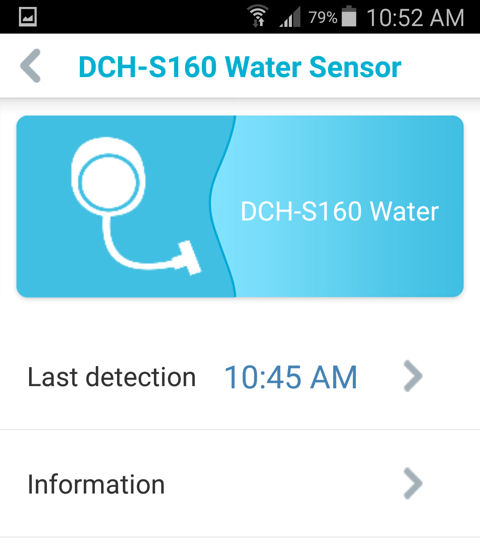
D-Link DCH-S160 Landing Page (Android)
Hands On
I tested the mydlink Home app on both Android and iOS and the user interface was virtually identical. Since I’ve tested other mydlink home products and also have a D-Link DCS-2330L camera linked to a “mydlink Home” account, I have multiple devices. Here’s the Home group shown on my Android phone.
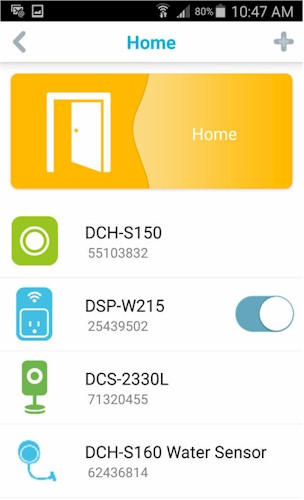
D-Link DCH-S160 Home Page (Android)
To test the water sensor, I created actions within the mydlink Home app on both iOS and Android to turn on a DSP-W215 Smart Switch. Both worked and synchronized across platforms. I plugged in a lamp in my office so that it would be easy to see if a leak was detected. The gallery below walks you through creating the action to turn on the light when water is detected.

Tap the plus key

Scan the QR code on the Quick Setup Card. You may have to grant the mydlink Home app permission to use your device’s camera.

Plug in the device

Wait fo the LED to blink orange

Press the WPS button on your router

Press the WPS button on your device

Tap Green when the LED turns solid green

name your device

Home page after successful setup
For the test, I plugged the sensor into an outlet near my bathroom sink and positioned the sensor cable in the bottom of the sink. I then opened the faucet so that it dripped slowly. The water sensor immediately triggered when the first drop water hit the sensor cable. The sensor beeped and the D-Link logo on the front of the device blinked red in sync with the beeping.
The flashing LED and the beeping continued as long as water was detected. The sensor also turned on the lamp and I got in-app notifications within a couple of seconds on both my iPad and my Android phone.
The beep, specified at 70 dB, wasn’t very loud. So if the sensor had been in a utility closet, I doubt I would have heard it at the other end of the house. Since the sensor can be used to trigger actions on other devices, it’s probably a good idea to use it to trigger either the DSP-W215 Smart Plug or the newly introduced DCH-S220 Wi-Fi Siren to provide additional visual or audible alerts to supplement the in-app notification. The composite image below shows the notification on my iPad (top) and Samsung phone (bottom).
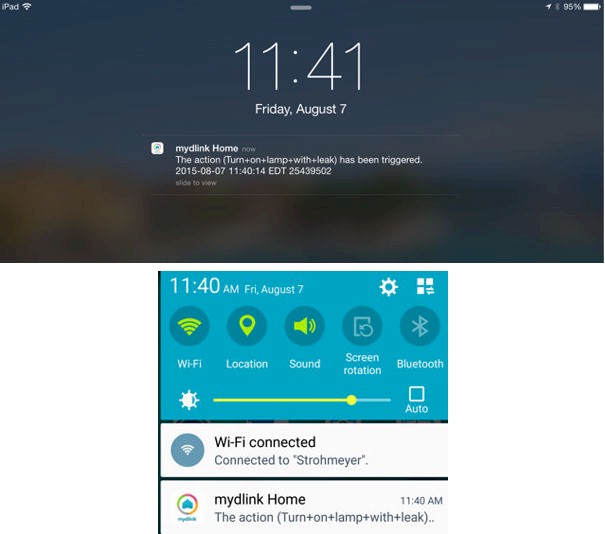
D-Link DCH-S160 water leak notification on iPad and Samsung phone
Closing Thoughts
The DCH-S160 Wi-Fi Water Sensor is a good addition to the mydlink product line. The sensor installed easily and worked seamlessly with the Wi-Fi Smart Switch. I have no doubt it would work well with the DCH-S220 Wi-Fi Siren, which we didn’t test. In all my tests, the water sensor never failed to trigger and seemed quite sensitive. Even rubbing a damp cloth on the sensor cable was enough to trigger it.
There have also been some improvements in the mydlink Home app since my last look. The apps ran smoothly on the iPad as well as an Android phone and Android tablet. Devices installed using the app on one platform appeared in the app on the other platform. However, while the stability of the apps have improved, the mydlink Home app still lacks many of the scheduling and notification options available on other Home Automation products such as Belkin’s WeMo.
As a final test, I wanted to see what would happen if I lost my internet connection. So I pulled the internet connection for the access point that connected all the mydlink products. I left the AP powered so that the devices could communicate with each other and then dripped water onto the sensor. The sensor responded immediately with the normal flashing light and beep. The lamp in my office also turned on. However, I didn’t receive an in-app notification until I restored the internet connection.
Having been responsible for a water leak that damaged my downstairs neighbor’s ceiling, I can attest that catching a leak quickly can save you a lot of money. So I’m going to permanently install the DCH-S160 near my air conditioner. Hopefully, it won’t ever go off. But if it does, I’ll know about the leak long before my neighbor knocks on my front door.
