![]() This article is sponsored by QNAP.
This article is sponsored by QNAP.

QNAP’s recently announced CloudBackup Station offers a comprehensive set of cloud backup options including Amazon S3, Amazon Glacier, Google Drive, RackSpace, HP Cloud, IBM SoftLayer and WebDAV-compatible cloud storage. Here’s a quick how-to for syncing two of the most popular cloud storage services—Google Drive and Dropbox—with a QNAP NAS.
Google Drive offers 15 GB of free storage and 100 GB-30 TB of paid storage running from $1.99/month to $299.99/month. Dropbox offers 2 GB of free storage and 1TB of paid storage for $9.99/month or $99.99/year. Both of these cloud storage services sync files between the cloud and your PCs, tablets and smartphones. With the QNAP Google Drive and/or Dropbox app, your files can also be automatically synced to your QNAP NAS.
![]()
QNAP Sync Applications
The first step is to set up a Google Drive account and / or Dropbox account. You can use a PC, tablet or smartphone for this step. I used a Windows 8.1 PC.
For Google Drive, go to google.com/drive and sign in with your Google account or create one. Click on the link to “Install Drive on your computer” and a small executable file is downloaded that you run to install the program on your PC. For Dropbox, go to dropbox.com and click the download link on the top right. Again, a small executable file is downloaded that you run to install the program on your PC.
Both apps create an icon in the Windows system tray where you can drag files to a folder that automatically syncs the files to the cloud. You can also sync files by copying them via Windows File Explorer to C:\Users\(your name)\Google Drive or C:\Users\(your name)\Dropbox.
The second step is to install the QNAP apps on the NAS. In the QNAP App Center, type Googe Drive in the top left search window to find the Google Drive app and click Add to QTS. QNAP then automatically installs the Google Drive Sync app on the NAS.
To install the Dropbox app, make sure you have the QNAP Python app running or the Dropbox app will fail. The Python app is a default QNAP app, so just make sure it is enabled as shown below. As with the Google Drive app, type Dropbox in the top left search window to find the Dropbox app, click Add to QTS and it will be installed.

Enable Python for Dropbox App
The image gallery summarizes the Dropbox installation process.
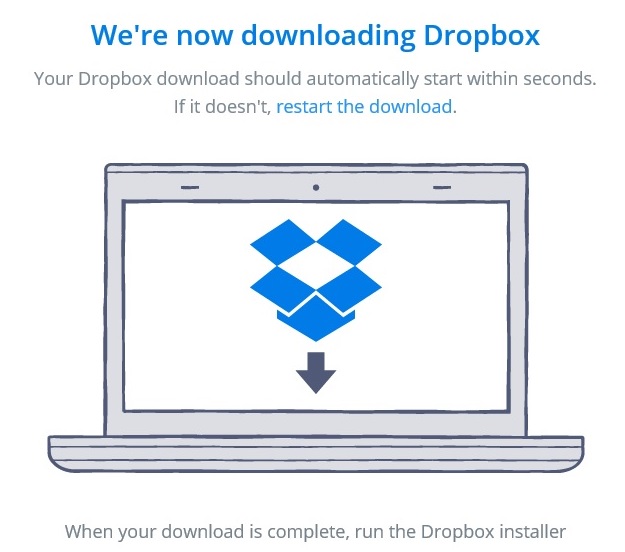
Download and install the app on your PC, tablet, or smartphone.
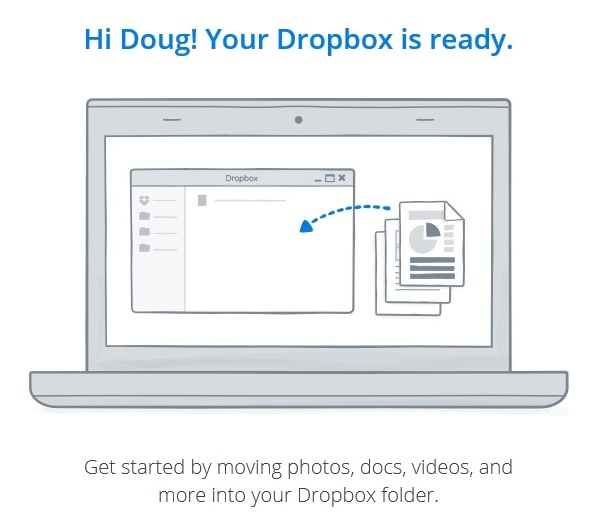
Installation on a PC, tablet, or smart phone is quick!
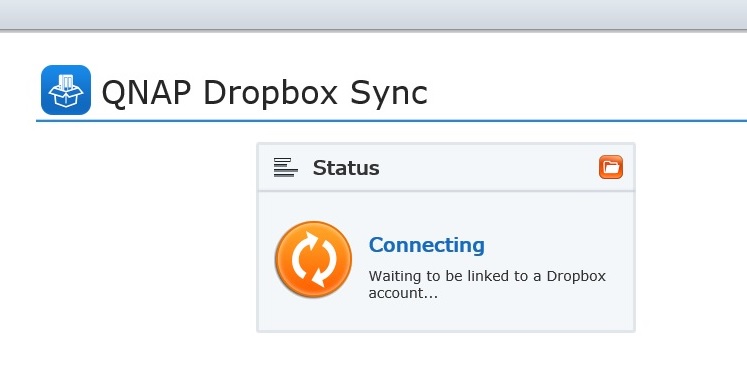
Launch the QNAP app and it will connect to Dropbox.
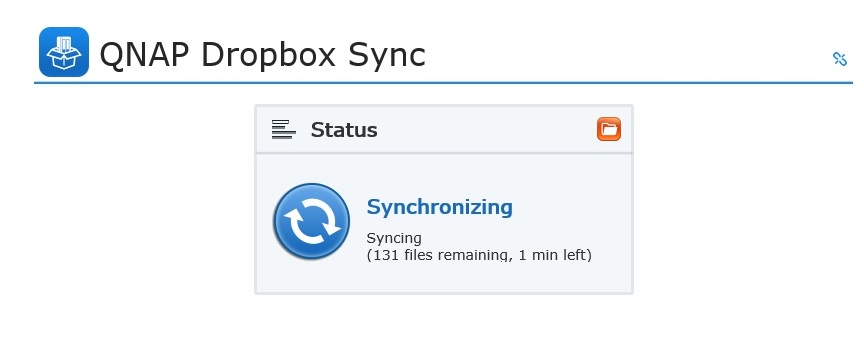
Launching the app to view file sync progress.

Launching the app when file sync is complete.
Once the apps are installed, you’ll see their icons on the QNAP desktop. Clicking on the QNAP Google Drive app launches another browser window and requests your QNAP NAS credentials. You are then asked for your Google credentials. Login and you are presented with a Google Drive Sync page where you can adjust sync schedules, start a manual sync, empty the trash folder, and view logs, shown below.

Google Drive Sync Options
The QNAP Dropbox app has fewer options. Clicking on the Dropbox app will show if a sync is in progress or if file syncronization is up to date. The only configurable options for the QNAP Dropbox app are to view synced files via QNAPs File Station app, or to disconnect/reconnect the NAS to Dropbox.
I found both apps to be no-brainers. Once installed, files created and updated on a PC, tablet, or smartphone are automatically shared and synced to your devices, the cloud and a QNAP NAS. There you have it, a couple more useful tools to use with your QNAP NAS!