| At a glance | |
|---|---|
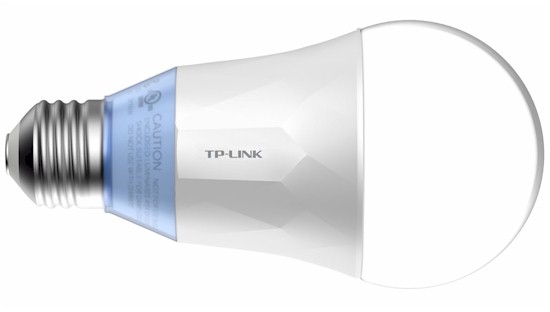
| Product | TP-LINK Smart Wi-Fi LED Bulb with Tunable White Light (LB120) [Website] |
| Summary | 60 Watt equivalent Wi-Fi LED white light bulb with a tunable color temperature range of 2700K to 6500K |
| Pros | • No hub required • Easy setup • Works with Amazon Echo • Android and iOS apps • Supports sunrise/sunset scheduling • Control from anywhere |
| Cons | • Requires Internet connection to work • iPhone only app (no iPad version) • iOS app missing features found on Android app • Can’t control color temperature via Echo (yet) |
Typical Price: $35 Buy From Amazon
Introduction
It’s been awhile since we last reviewed Smart LED light bulbs. In our roundup, we reviewed smart light bulbs from Belkin, GE, Insteon, Philips and TCP, Inc. Each of these smart bulbs relied on a smart hub to communicate to the manufacturers’ “back-end” cloud services that support the bulbs’ scheduling functions.
Since then, new Wi-Fi connected products have been introduced that no longer require a hub to work. One of them is TP-Link’s LB120 Smart Wi-Fi LED Bulb with Tunable White Light. The new TP-Link light bulb line includes two other products, the LB100 and the LB110. These two models are 2700K LED bulbs and have an equivalent light output of 50 Watts and 60 Watts respectively. All three models are dimmable via an Android or an iOS app. Table 1 summarizes the three light bulbs.
| Product | Price | Max Power | Color Temperature | Equivalent | Lumens |
|---|---|---|---|---|---|
| LB120 | $34.99 | 11 Watts | 2700K – 6500K | 60 Watts | 800 |
| LB110 | $29.99 | 11 Watts | 2700K | 60 Watts | 800 |
| LB100 | $24.99 | 8 Watts | 2700K | 50 Watts | 600 |
Table 1: TP-Link Smart LED Product Comparison
As you might suspect for a product aimed at the consumer market, the setup of the LB120 is fairly simple. The quick start guide instructs you to download and run the KASA app from either the Google Play store (Android) or the Apple App store (iOS). You should be connected to your home network when you download and run the app. The app guides you through creating an account at TP-Link, searching for a new device (light bulb), giving the device a “friendly” name, choosing an icon to represent the device and supplying the network key for your home network. In the background, the app searches for the default TP-Link network used by an unconfigured bulb, attaches to it, configures the device with the name and icon, attaches the device to your home network and then re-attaches your mobile device back to your home network. All of this background work is hidden from you. The app finishes by giving you a congratulations screen. There are only two actions you need to take outside of the app:
- Confirming your email account by clicking on a link in an email sent to the configured account’s email address;
- Enabling remote access if you want to control your device(s) from a network other than your home Wi-Fi network or use it in conjunction with an Amazon Echo. (more on the Echo later)
The gallery below shows the device setup using the Android app.
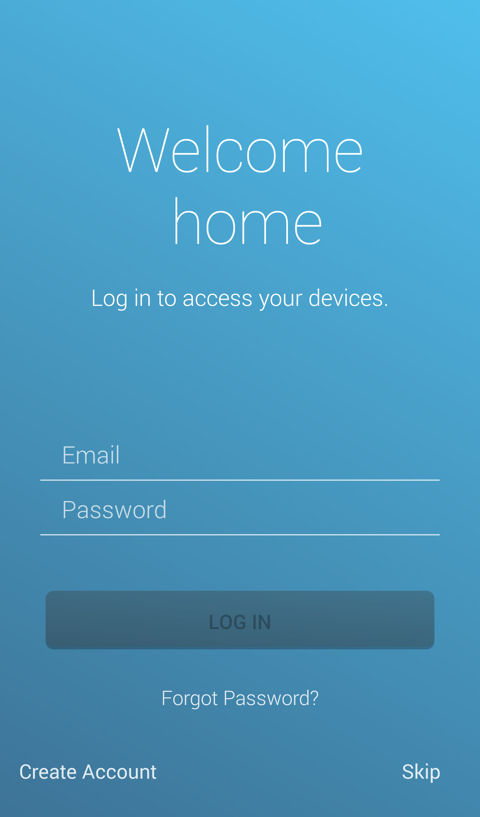
KASA landing screen. Click Create Account if you don’t have one.
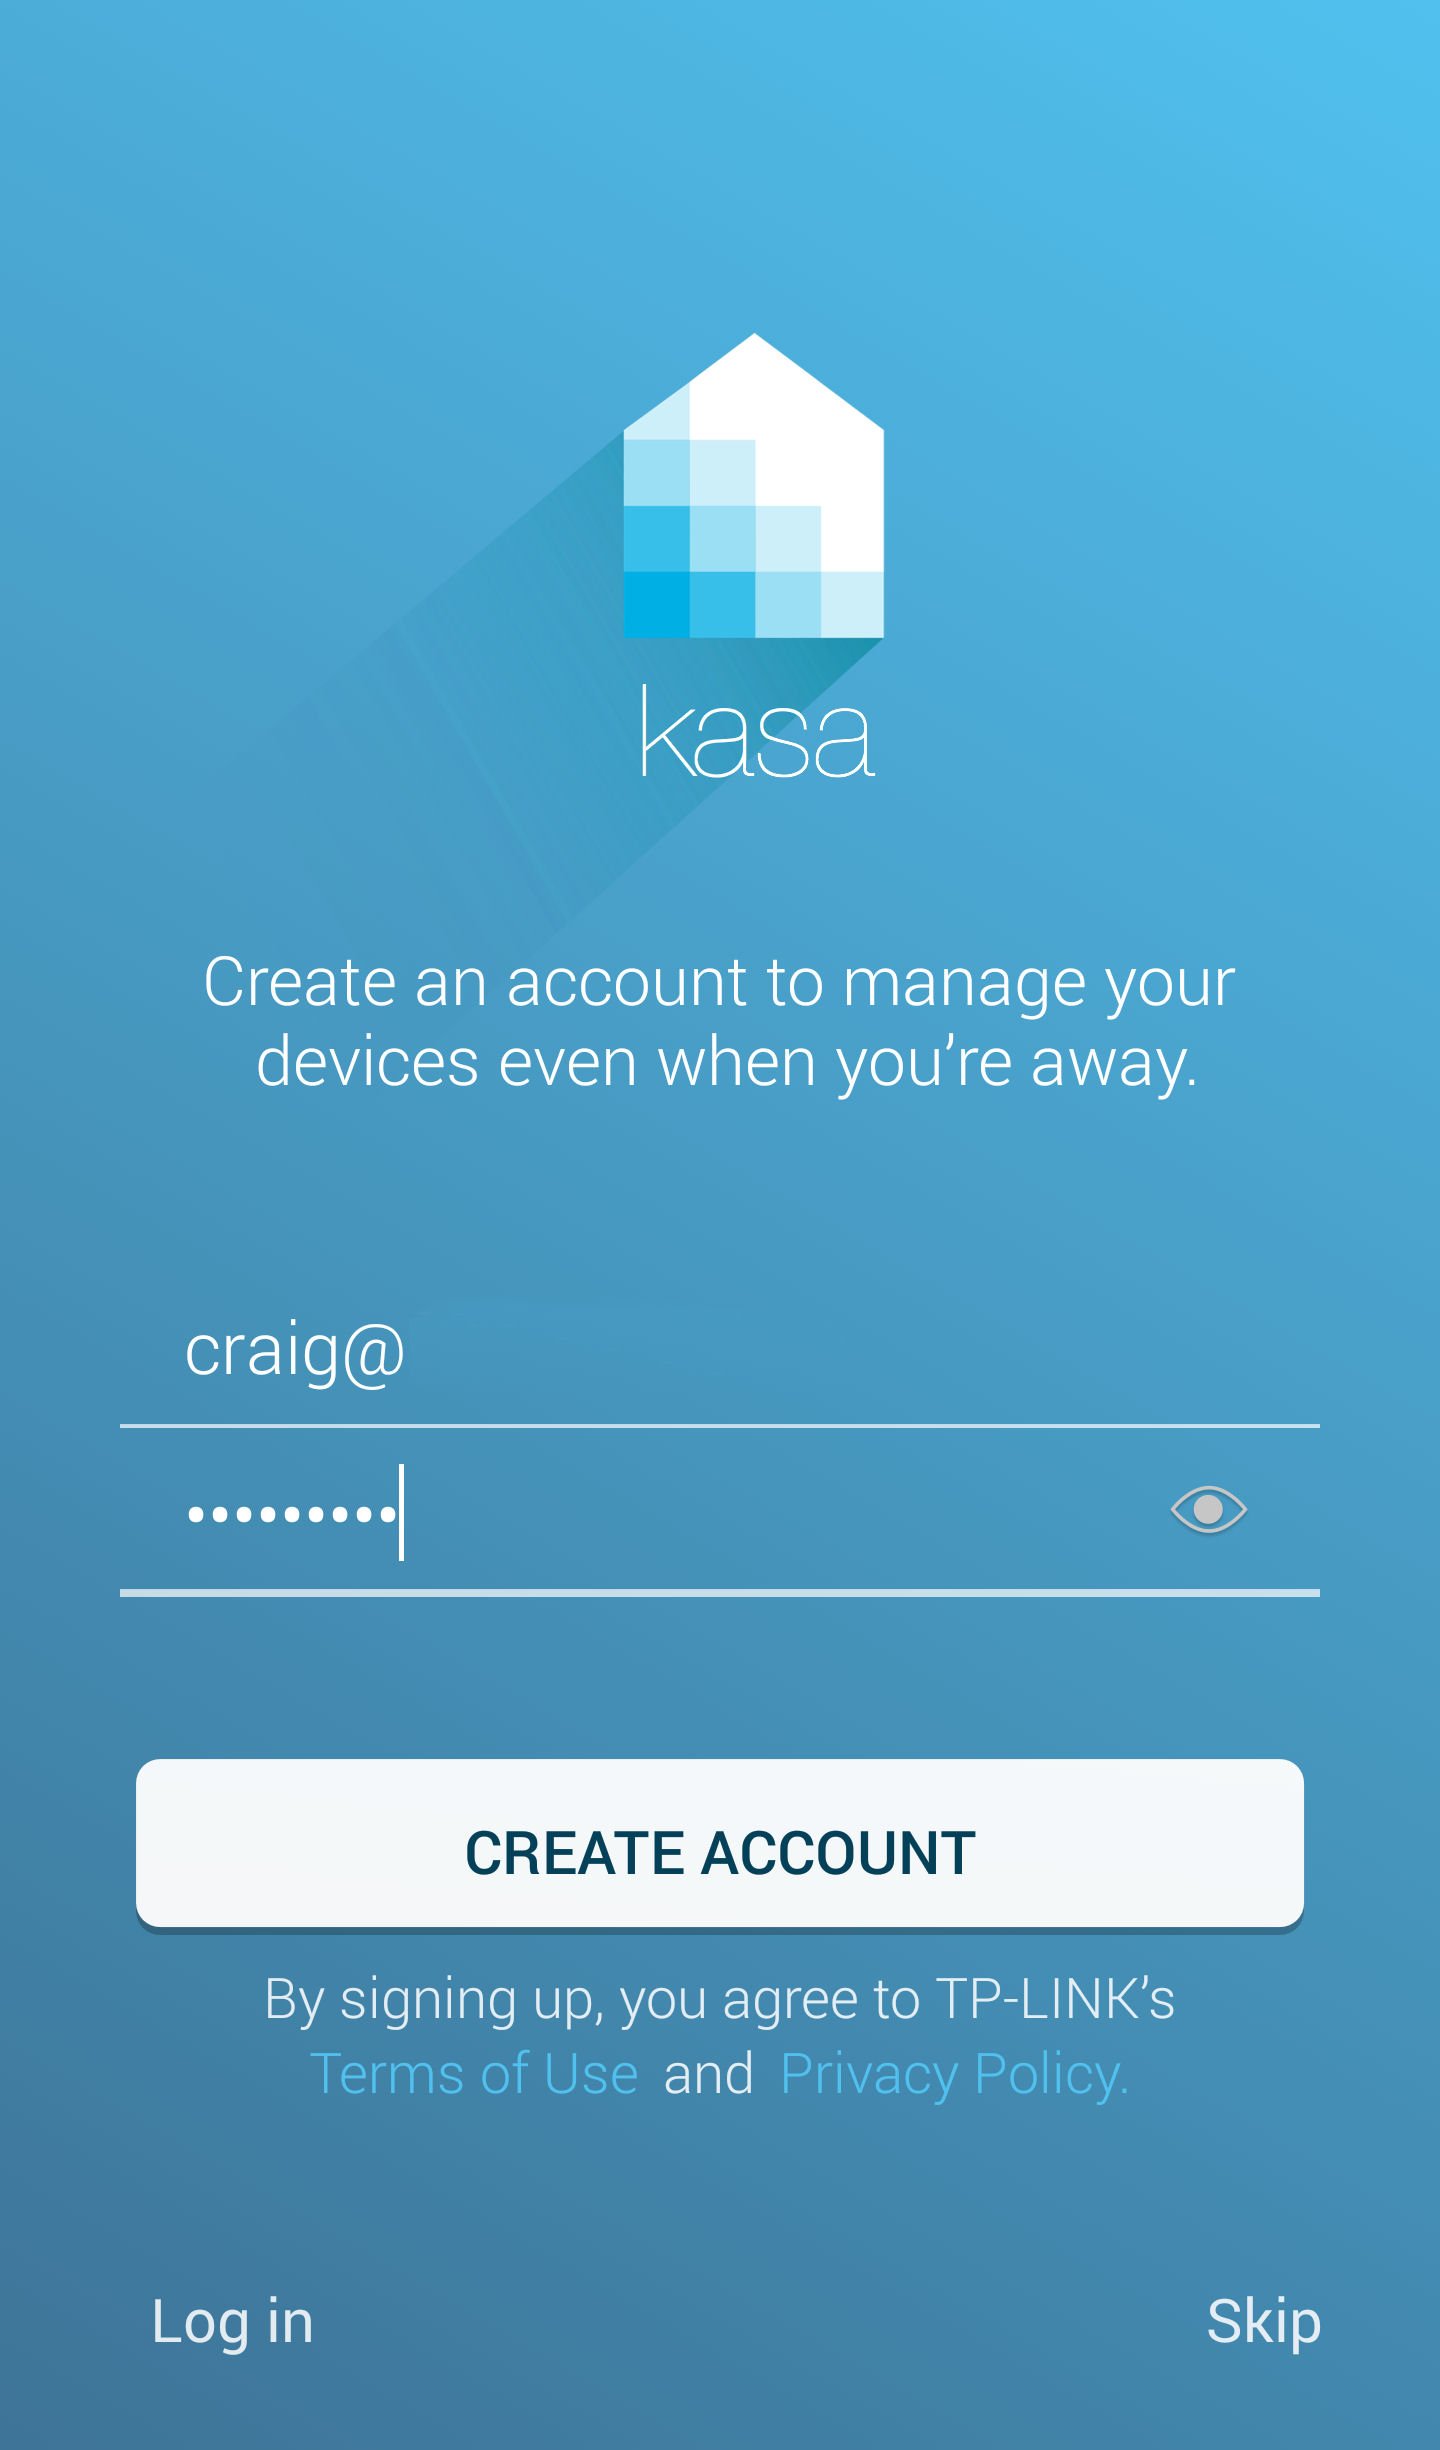
Enter email address and a password for your Tp-LINK account.
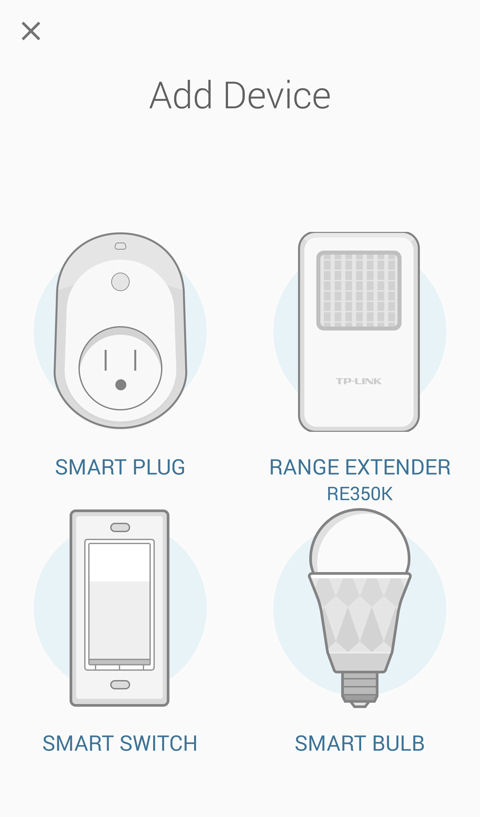
Select a device to add.
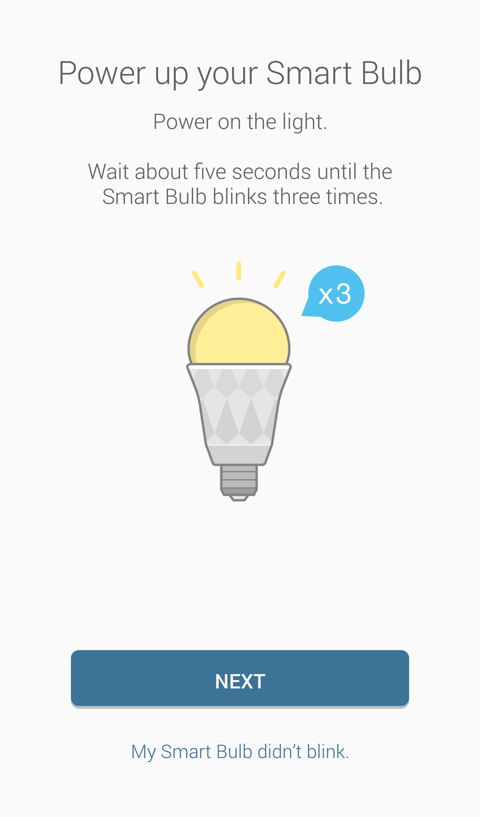
Plug in the light bulg and wait for it to blink 3 times.
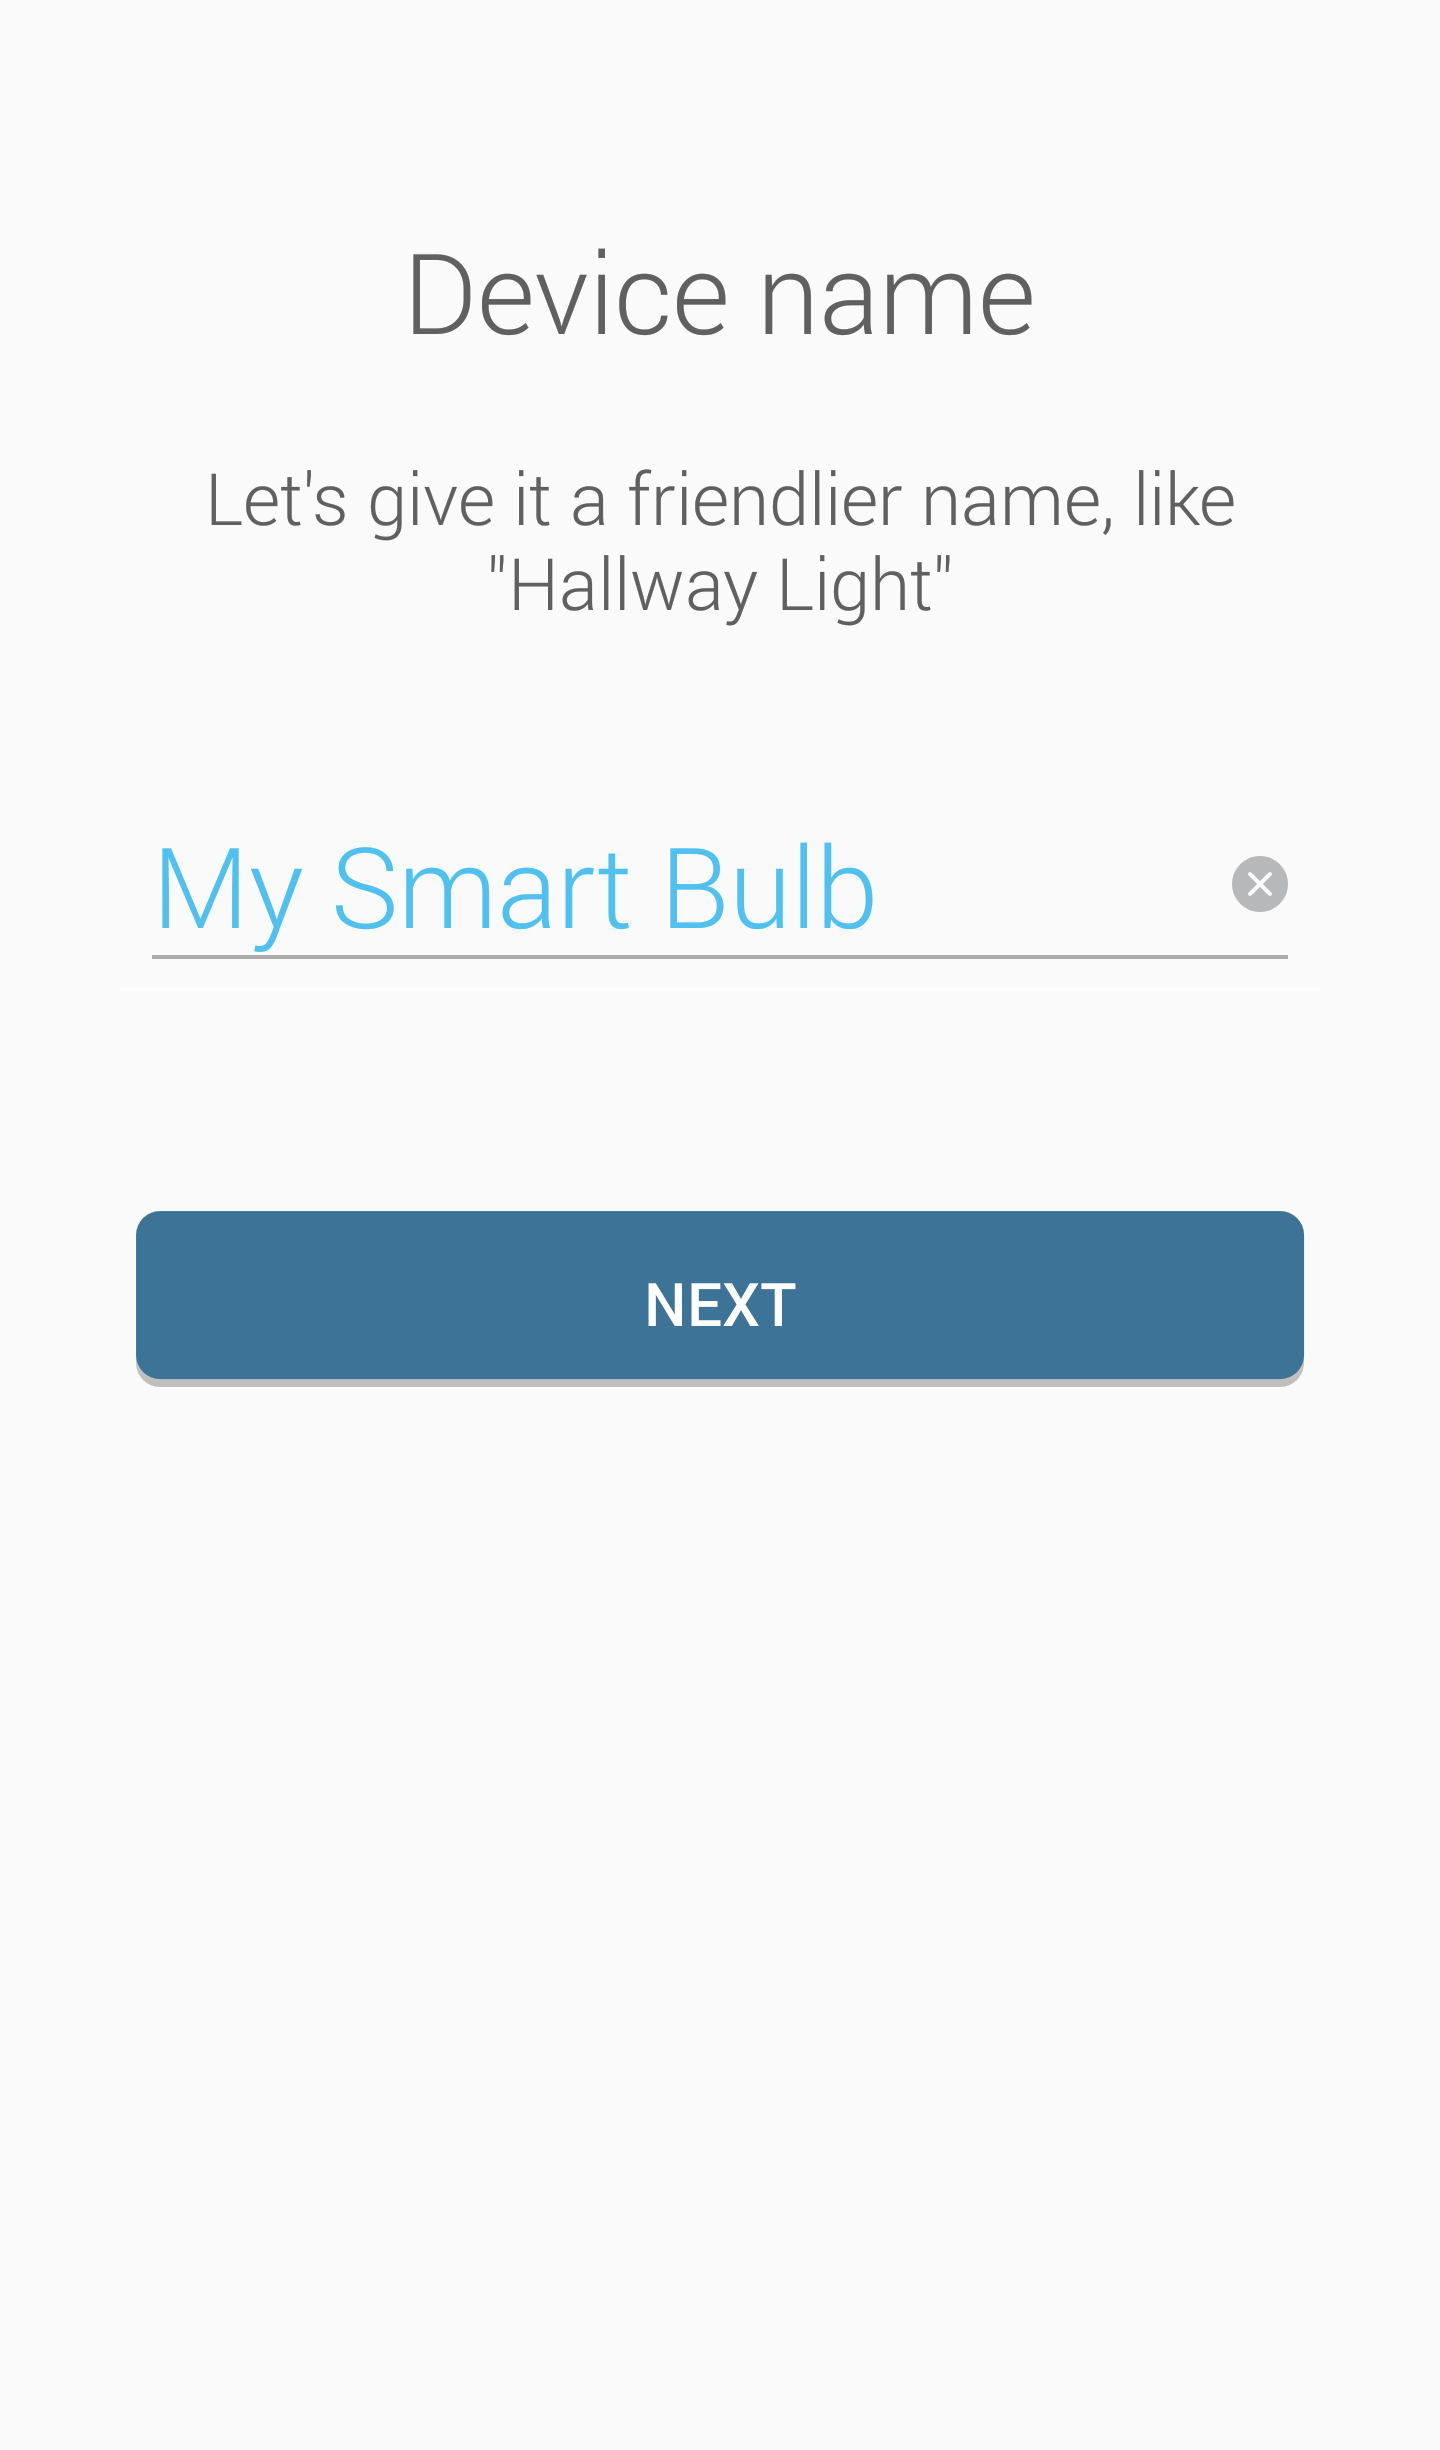
Optionally you can change the device name.
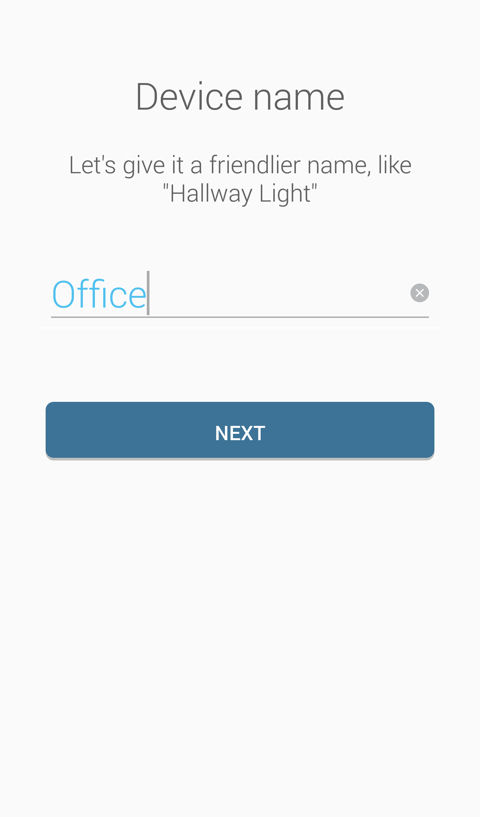
Provide a unique name for the device.
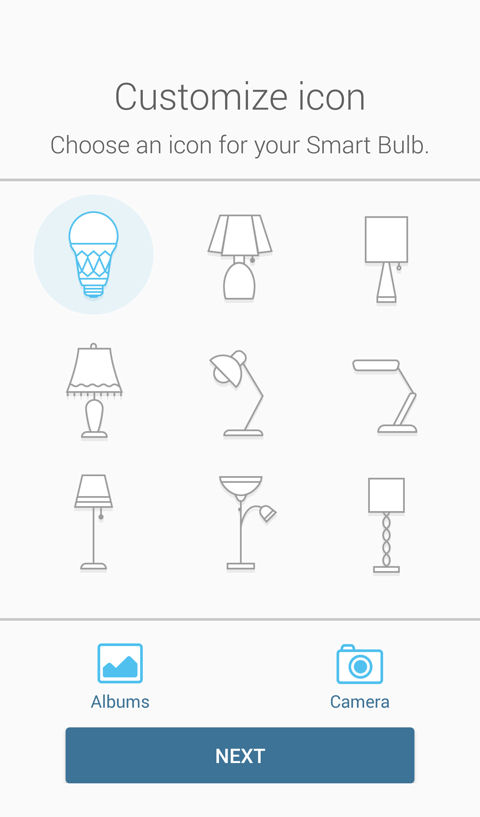
Choose an appropriate icon.
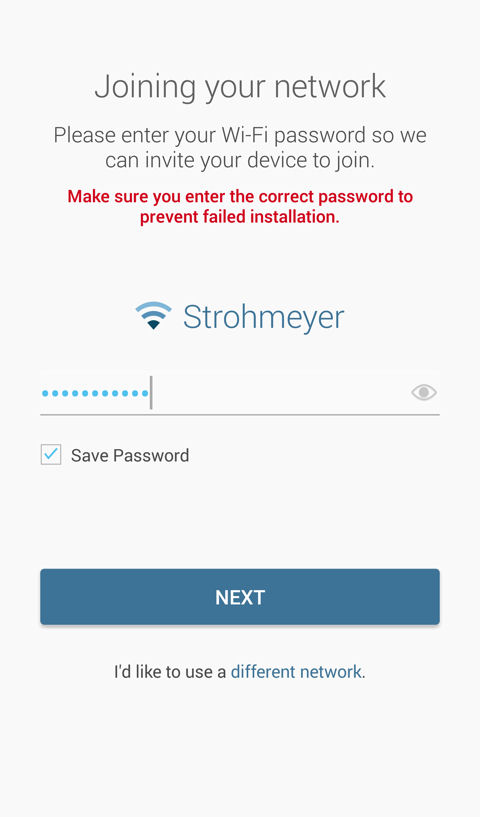
Enter password for your home network.

Kasa is configuring the bulb and adding it to your home network.
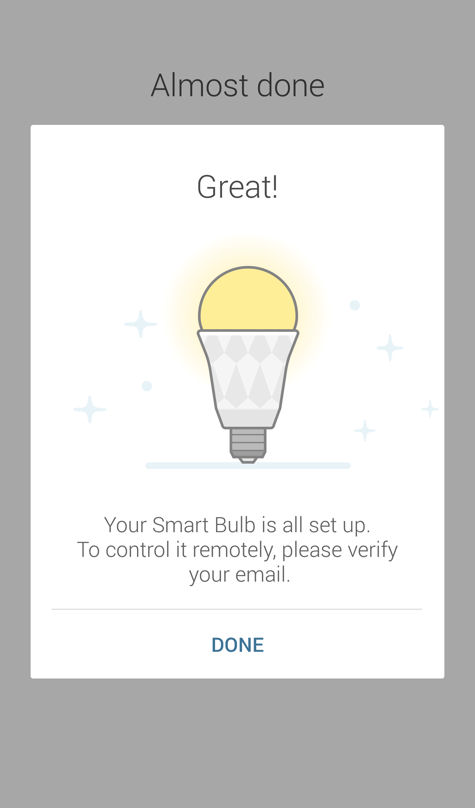
Your bulb is configured and ready to use.
Hands On
The app landing page shows your configured devices. At the top, you can choose either from scenes you created, or to show the device list. Scenes allow you create actions that you want to apply to multiple devices. For example, you could create a scene called “Good Night”. The Good Night scene could be configured to turn off all devices. The composite screenshot below shows the “Scenes” and “Devices” pages. The Devices page (right) shows that the light is on, current brightness, color temperature and next scheduled event. In this case, the next scheduled event is “On at Sunset”.

TP-Link LB120 Scenes and Devices pages
Most of your configuration will be done on the Devices page. If you tap on a device, you arrive at the device configuration page. The composite image below shows the default “White” view on the left and the “Circadian” view on the right. In the White view, you can configure the brightness using the bar at the bottom of the page, or you can change the color of the bulb by dragging your finger around the color screen. Unfortunately, there’s no numerical indication of the color temperature you’re setting. There’s very little lag time between making a change on the screen and seeing it reflected on the bulb. Both color changes and brightness changes are reflected immediately.
The Circadian menu automatically changes both brightness and color temperature throughout the day. In the middle of the day, the light is a fairly bright blueish white light, but by the end of the day, the color temperature has warmed up and the brightness has been reduced.

TP-Link LB120 Configuration pages
On either of the configuration screens, at the bottom, you’ll see icons for Schedule and Usage. Unfortunately, they don’t appear in the current version of the iOS (iPhone only) software. Though I suspect that those features will be added to iOS, currently they are only available in the Android version. With those exceptions, the iOS app and the Android app have the same look and feel to them.
The Schedule feature is quite flexible. The composite screenshot below shows two scheduling options. The option on the left shows the creation of a traditional schedule. You can set the schedule to turn the bulb off, on using the last state (brightness/color) of the bulb or turn it on using the circadian option. Across the middle of the page are four presets that you can configure or you can use a custom color/brightness for the schedule being created.
The “At” part of the screen allows you to configure the scheduled time. By clicking on either the left or right arrow in the left screen, you can choose a dynamic schedule which automatically adjusts for sunrise or sunset. At the bottom of the screen, you can choose which days of the week for the schedule to run. Each configured schedule can be enabled or disabled.

TP-Link LB120 Scheduling
The TLB120 is also able to track energy usage for the current day, previous seven days and last thirty days. It also provides an estimate of daily and yearly energy savings. The screenshot below shows usage for today (left) and for the last seven days (right). Of course, over time these numbers will become more interesting – I’ve only been using the bulb for a couple of days.

TP-Link LB120 Energy usage and savings
It works with Amazon Echo
Being an owner of an Amazon Echo, I was happy to see a label on the back of the product packaging that says that the LB120 (and other TP-Link bulbs) work with Amazon Echo. I’m always looking for new skills to make my Echo more useful.
Setting up the LB120 to work with Echo is fairly simple. The configuration is done within the Alexa app. TP-Link has an excellent FAQ to walk you through each step. The process is only about four steps:
- Search for the KASA Smart Home Skill
- Enable the Smart Home Skill
- Link the Skill to your TP-Link Account
- Search for Smart Home devices.
Once your devices have been discovered, you can control the devices by name or you can create groups of devices that you can control with a single command. Since I’ve reviewed quite a few Smart Home devices, I have several devices from different manufacturers currently running. After enabling and linking the KASA skill and discovering devices, here’s what my device list looks like.

Amazon Echo Smart Home devices including the TP-Link LB120
As you can see, the TP-Link LED (named Office) appears along with several Wink devices and two WeMo Smart switches. Unfortunately, there’s not a WeMo skill that enables discovery/control of WeMo devices that connect via the WeMo hub such as the WeMo LED bulbs and the WeMo co-branded OSRAM Lightify products.
I then created two groups – one for the living room and one named “Everything”. I can turn off all of my linked Smart Home devices using the command, “Alexa, turn everything off”. Of course, the control offered by Echo isn’t as complete as what’s provided by the manufacturer’s mobile apps. For smart LED bulbs, you can turn them on or off, and control the brightness. As of this writing, you can’t control the color temperature of the LB120 using Echo. For more information about the Smart Home commands that Echo responds to, Amazon also has a FAQ that’s worth checking out.
Closing Thoughts
The TP-Link LB120 LED bulb is easy to set up and the KASA app makes using it a snap. But the iOS app needs a refresh to add the missing schedule and usage features found in the Android app. The KASA app supports sunrise/sunset scheduling – a feature that’s on my checklist as I often create schedules that way. I wish it supported creating sunrise/sunset schedules with an offset – ie, Sunset + 30 minutes, but that’s a small nit to pick.
Like most other Smart Home devices, all TP-Link Wi-Fi LED bulbs require an Internet connection to work. I disconnected the Internet connection of the AP that all of my wireless Smart Home devices use and tried to execute a command. The app was unable to execute the command until I reconnected the Internet connection.
If all you want is a basic Wi-Fi controlled light, the LB100 at $25 is the least expensive option out there right now. The closest competitor is the 800 Lumen / 60 W equivalent LIFX White 800 that Amazon shows at $27. It also supports Amazon Echo / Alexa. The TP-Link equivalent is the LB110, currently selling for $30.
However, unless you own an Amazon Echo or Dot, Echo integration won’t mean much to you. For me, being able to control multiple devices from multiple manufacturers via Echo using only my voice adds an entire dimension to Smart Home control. I’ll be checking to make sure that Echo support is a feature of any additional Smart LEDs or switches I purchase in the future.
Buy Smart Wi-Fi LED Bulb with Tunable White Light from Amazon