| At a glance | |
|---|---|
| Product | iHome SmartPlug (ISP5) [Website] |
| Summary | HomeKit compatible Wi-Fi smart plug that also works with iOS and Android apps |
| Pros | • Wi-FiCertified • Doesn’t require a dedicated hub • Siri Voice control of devices, zones, rooms, and scenes |
| Cons | • No iPad app • Android App less functional than iOS app • Lacks scheduling features found in other systems • No email, SMS or in-app notifications • Siri still a work in progress • No IFTTT support |
Typical Price: $0 Buy From Amazon
Introduction
Smart Switches or Smart Plugs, as they are sometimes called, are one of the oldest smart home devices. They let you switch anything plugged into them on and off, controlled by iOS and Android apps.
This review will focus on the first Apple HomeKit Certified smart plug to hit the market – the $39.95 iHome ISP5 SmartPlug. Like the previously-reviewed Belkin WeMo Insight Switch and D-Link DSP-W215 mydlink Wi-Fi Smart Plug, the ISP5 SmartPlug uses Wi-Fi and doesn’t require a dedicated hub in order to work.

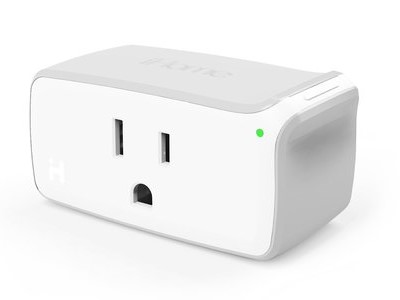
iHome ISP5
Unlike other smart plugs on the market, the iHome ISP5 has a horizontal format, which means it won’t block the second outlet in a standard U.S. duplex socket. The ISP5 is a simple device. It has a single multi-color LED to indicate Wi-Fi status, power indicator in the shape of the iHome logo and a button that doubles as an on/off switch and device reset (when held down for 12 or more seconds). It measures 2.8″ X 1.4″ X 1.4″ (not counting the prongs on the plug).

iHome ISP5 Smart Plug Callouts
Setup
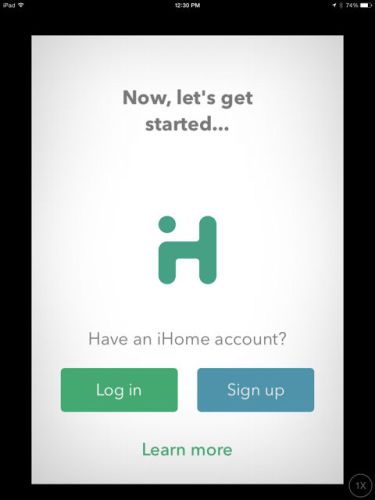
To set up the product, you’ll need to download the iHome Control app from the Apple App store. Be sure to select iPhone app – there’s not an iPad app. As with virtually every other HA product I’ve tested, you have to set up an account with the manufacturer.
The Belkin and D-Link plugs use WPS (Wi-Fi Protected Setup) to provide an easy setup experience. The ISP5 doesn’t support WPS, instead initially creating its own network that the iHome app searches for and connects to. The plug also is limited to connecting to 2.4 GHz networks only.

iHome app connected for setup
Setup didn’t go smoothly. After creating an iHome account, the application recommended I reset the device to factory defaults. I pressed the button and held it for the recommended 12 seconds and the LED alternatively flashed red and green. The discovery of the device and connection went smoothly. However, as I neared the end of the setup, I got a error message “Object not associated with any home (12)”.

Error message received during setup
I assumed the error may have occurred because I previously set up a HomeKit network named Home. Although the network was no longer active, its information must have been stored – maybe on iCloud. An alternate possibility was the firmware was out of date. Late in the setup process, I was prompted to update the firmware. So I updated the firmware, then deleted the iHome Control app from my iPad.
I then reset the ISP5 to factory defaults and re-installed the app. Although the app had indicated all app data was being deleted along with the app, there was still some data found from the first install. I didn’t have to re-register for an iHome account, the setup program “knew” about the SmartPlug and knew it had been reset. I then re-discovered the device and the setup completed without the error message.
Interestingly, when I went to assign the ISP5 a room name, the choices included Living Room, Office and Kitchen, which were room names I used when testing the Insteon HomeKit enabled Hub. The setup program must have also used stored network credentials, as I was never prompted by the setup program for the Wi-Fi WPA/WPA2 PSK for my default network (Strohmeyer).
The gallery below shows screenshots for setting up the device.
Create an iHome account
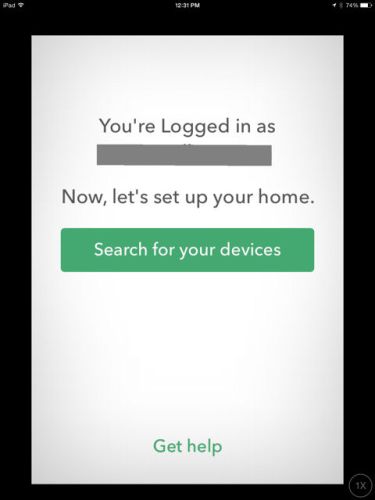
Search for devices
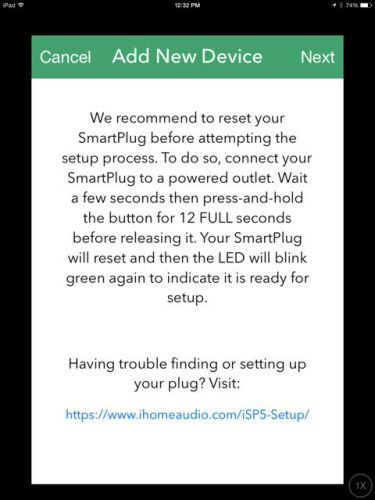
Setup recommends a factory reset
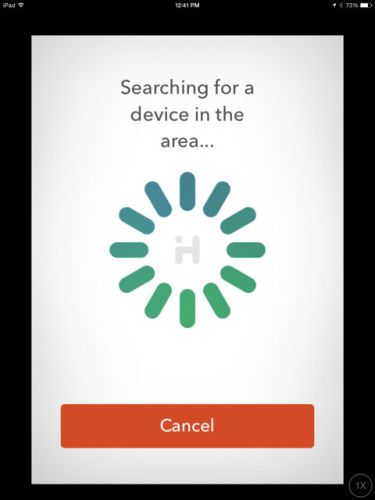
Searching for a compatible device
SmartPlug device found
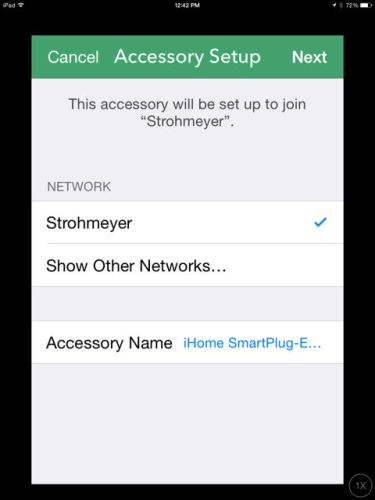
Choose network
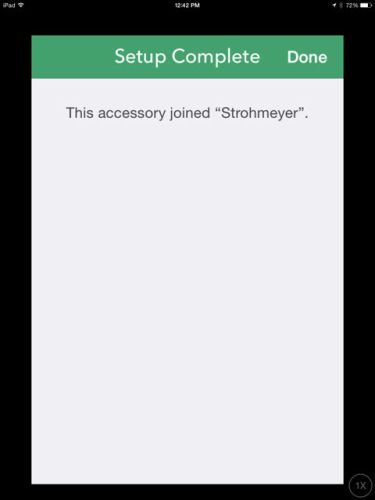
Device joined Network "Strohmeyer"
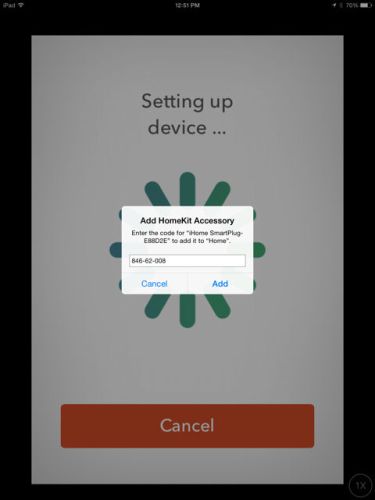
Input code found on Quick Install guide
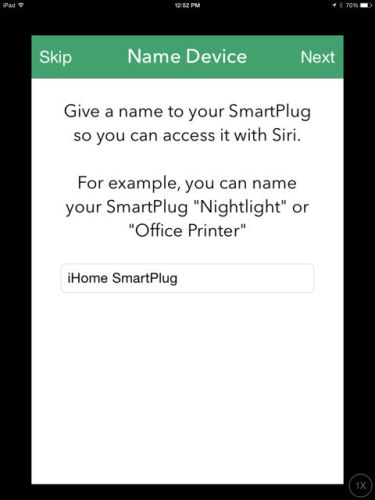
Pick a name
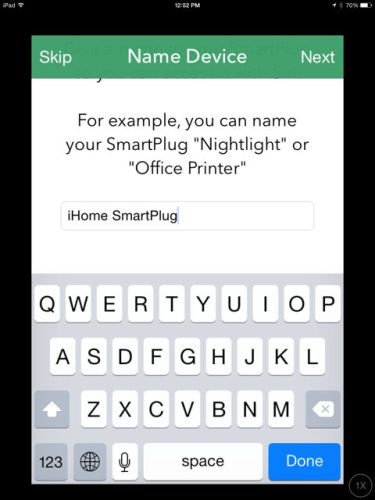
Pick something easy for Siri
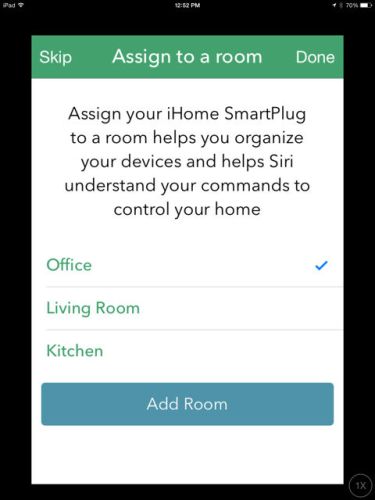
Choose room for the device
Hands On
After you complete the setup, you land at the page shown below when launching the app. Across the top of the page, you have choices for Rooms (left) or Zones (right). Note the plug is assigned to the Office. As noted earlier the room names and zones shown were originally created for the Insteon HomeKit enabled Hub. But none of the Insteon devices appeared in the iHome Control app, I assume because they were not currently active.
Across the bottom of the screen is the navigation bar. By default, you land at “Home”. You can also choose to view/add devices, add/edit scenes, add/edit rules and review settings. Scenes allow you to group devices that span zones. So, for example, you could create a scene called “All off” that would permit you to select devices, regardless of the rooms or zones in which they reside. Since I had only a single SmartPlug, I couldn’t test the scene feature.

iHome ISP5 Control app landing page
Adding rules is quite straightforward. You create a name for your rule, select the device(s) to include, set the on and off time and select the days of the week for the rule to execute. The scheduling rules are pretty “bare bones”. Unlike some other products like WeMo, you don’t have the option of creating a schedule based on sunrise or sunset. Nor can you create a sleep timer turns off the SmartPlug after a certain period of time.
I created several rules and tested them. The light plugged into the SmartPlug turned on and off according to the schedules I created. The gallery below shows the rule creation process.
Create an iHome account
Search for devices
Setup recommends a factory reset
Searching for a compatible device
SmartPlug device found
Choose network
Device joined Network "Strohmeyer"
Input code found on Quick Install guide
Pick a name
Pick something easy for Siri
Choose room for the device
Siri
One of HomeKit’s attractions is you can use Siri to control devices. While reviewing the Insteon products, I found a pretty good summary of the vocabulary that Siri understands. The image below, taken from the Insteon Hub Pro instruction manual, is pretty useful, so I’ve included it again in this review As you can see, the vocabulary is fairly limited.

Siri Commands from the Insteon user guide
To use Siri to control your SmartPlug, you just double tap the button on your iPhone and say the action that you want to perform. The screenshot below shows my first attempt to use Siri with the ISP5 SmartPlug. I instructed Siri to turn on Office since that’s the room assigned to the ISP5. The ISP5 turned on and off properly, but note Siri’s comments that “some of them aren’t cooperating” and “some of them seem uninterested”.
When I asked Siri “which outlets are not interested”, I got the Siri “fail” also shown below. Siri’s response could have been more helpful, since it obviously knew which outlets were not responding. At some point Apple should expand Siri’s vocabulary to allow problem diagnosis.

ISiri executing commands for the iHome ISP5
It occurred to me that perhaps Siri was having problems because some of the other HomeKit devices assigned to “Home” were currently packed away in a box in my closet. So I reconnected the Insteon HomeKit enabled Hub and On/Off module assigned to the Kitchen zone and LED bulb assigned to Office.
I also retried issuing commands to test addressing devices by name, by room and by zone. As shown in the screenshot below, Siri now executed commands to both iHome and Insteon Hub connected devices with no complaints. Frankly, I was pleasantly surprised that Siri worked so well across two vendors’ devices.

Products from two vendors responded to name, location and zone commands
Playing Together
Although Siri seemed to have no trouble controlling HomeKit-enabled devices from multiple vendors, the individual apps from the vendors don’t always work together very well. For example, none of the Insteon devices appear in the iHome App. The iHome Control app seems designed for the ISP5 SmartPlug. In the Insteon app, the iHome ISP5 did appear, but the app wasn’t able to control it.
I wanted to better understand how the apps worked (or didn’t work) together with rooms and zones, so I tried the following:
- I created a “Basement” zone using the Insteon app. The newly created Basement zone appeared in the iHome App.
- I created a “Laundry room” room in the iHome app, but couldn’t add it to the Basement zone which was created with the Insteon app.
- In the Insteon app, I was able to add the Laundry Room, (created in iHome) to the Basement Zone.
- Returning to the iHome Control app, the Laundry room appeared in the Basement Zone
Little Love for Android
The iHome Control app for the Android platform is a significantly de-featured version of the iOS app. According to the ISP5 FAQs, the Android app lacks the ability to create/edit zones, rooms or scenes, which I verified. You are limited to turning the SmartPlug on or off and creating/editing rules. And don’t even think about voice control. Siri, of course, is only for iOS.
The composite screenshot below shows most of the UI for the Android app. The landing page (left) is fairly spartan showing the device(s) at the top and navigation icons for Home, rules and settings. The center screen shows information about the device and rules. You can control the device and enable/disable rules on this page. The right screen shows the “Edit Rules” page.
, info page (center) and rules page (right)")
iHome ISP5 Android landing page (left), info page (center) and rules page (right)
Closing Thoughts
In the crowded market for smart plug / switch / outlet devices, the iHome ISP5, at around 40 bucks, is the least expensive you can buy from a brand-name maker. It works equally well from your local LAN or when you’re away from home without requiring an Apple TV for remote access. It also passed our pull-the-internet-plug test, working just fine with only local Wi-Fi active. Finally, Siri voice control of both the ISP5 and devices connected via Insteon’s HomeKit-enabled Hub worked surprisingly well.
But the ISP5 is also one of the least capable smart plugs, because it lacks the power monitoring features found on the competing D-Link and Belkin WeMo plugs, can’t interact with IFTTT and can’t be triggered by sensors.
Like virtually every other home automation system I’ve looked at, the ISP5 requires its own app. But its iOS app has the advantage of being able to control other HomeKit enabled devices, which is what Apple is counting on to build dominance in the Smart Home space. But HomeKit has a lot of catch-up to do.
It’s true the Belkin WeMo, D-Link mydlink and SmartThings devices currently active in my condo talk to only their own kin. But each vendor’s ecosystem includes not only smart switches / plugs / outlets, but also motion sensors, water sensors and smart LED bulbs. And devices in those ecosystems can work together, with sensors able to interact with switches and also be controlled by IFTTT.
If you’ve decided to cast your home automation lot with HomeKit, the iHome ISP5 SmartPlug is your only option right now for controlling AC powered devices and will be for a little longer. Despite the hype surrounding iDevices’ Switch at CES 2015, you still can’t buy it and there haven’t been any availability updates since January. ConnectSense’s Smart Outlet might be a better bet, if it holds to its currently posted September 2015 ship date. You can pre-order it now for $80, which gets you two controllable outlets, plus a 2.4A USB charging port.