| At a glance | |
|---|---|
| Product | Linksys Wireless-N Extender (RE1000) [Website] |
| Summary | 2.4 GHz N300 wireless repeater with 10/100 port |
| Pros | • Can be wall-plugged or corded • Compact size |
| Cons | • 2.4 GHz only • Only one 10/100 Ethernet port • Can’t be used as access point • Poor performance |
Typical Price: $21 Buy From Amazon
Overview
People with crappy wireless coverage are suckers for products that promise to fix what ails them. "High power" routers are one cure and wireless repeaters, like the Cisco Linksys RE1000 that I’m looking at today are another. Repeaters can help get some sort of wireless signal into dead spots. But due to the way they work, you shouldn’t expect high throughput (more on that shortly).
Inside
Figure 1 shows the inside of the RE1000. The heart of the design is a Broadcom BCM5357 Intensi-fi XLR 802.11n Router Solution. This do-it-all device contains the processor, 2X2 2.4 GHz 802.11b/g/n radio and five port 10/100 switch. It’s also found in Cisco’s Linksys E1200 and E1500 routers.

Figure 1: RE1000 board top
The little RF can hides two SiGe SE2598L 2.4 GHz Power Amplifier with Power Detectors. I didn’t open my test sample up so didn’t see how much RAM and flash it has. If the design is similar to the NETGEAR WN2000RPT I reviewed last fall or the E1200, it would have 32 MB of RAM and 4 MB of flash.
I’ll note that even with lots of vent slots along each side, the front of the Extender got rather warm during operation.
Setup
Cisco doesn’t ship any printed setup instructions with the RE1000 other than those on the sleeve of the setup CD that they nicely provided. The only CDROM I have is on my desktop machine, however, and you need to run the setup wizard from a Windows or Mac OS machine that is wirelessly connected to your network.
I suppose the wireless-connected requirement should have been obvious, because it isn’t mentioned on the CD sleeve or Troubleshooting Guide I pulled off the CD or the User Guide I downloaded from the RE1000’s support page. The sleeve and Troubleshooting Guides both refer only to "networked" computers. Only when I got part way into trying to install the setup program on my Ethernet-connected desktop did I get stopped cold with a message telling me that I had to use a wireless-connected machine.
So I abandoned the wizard and tried the direct approach. I slid off the RE1000’s wall outlet prongs (Figure 2) so that I could use the supplied line cord to sit the RE1000 on my desk. After applying power, I checked for wireless networks using a wireless-connected notebook running Windows 7 and found the RE1000 broadcasting its SSID as LinksysExtenderXXXXX, where the XXXXX are the last five characters of its serial number.

Figure 2: Changing the power connection
Connecting to the RE1000 got me a prompt to start a Wi-Fi Protected Setup session using the PIN entry method. I entered the PIN found on the label that you’ll only see if you remove the plug prongs, so it’s a good thing I did. The WPS session completed after a short wait and I opened my browser (Firefox 5.0.1) to access the RE1000’s admin server, which, judging from the IP I pulled, was at 192.168.1.1.
Unfortunately, all I could get was the error screen shown in Figure 3 until I tried IE 9, which properly presented the login box and the admin pages, upon login.

Figure 3: Firefox 5 error
Once I was logged in, I found the Wireless > Site Survey page, selected my network SSID and then my wireless security passphrase. Of course, once I did that, the SSID I had assigned to the RE1000 during the WPS session was replaced with my main wireless network SSID. So I had to log into my main router’s admin server to look up the RE1000’s new IP address before I could get back to browsing through the rest of its admin features.
Note that after setup was completed, I was able to access the RE1000’s admin server with the formerly-failing Firefox.
I then decided to take a second run at the wizard by first connecting my notebook to its normal wireless connection and downloading the installer from the RE1000 support page. This process ran uneventfully and I’ve documented it in the gallery below.
But an odd thing happened at the end of the process when I clicked on the Network connection tray icon. Try as I might, I could not bring up the normal network selection box when I left-clicked. I still was able to right-click to open the Network and Sharing Center, where nothing seemed amiss. But when I brought up the Wireless Network Connection Status window, the Wireless Properties button was gone!
Disabling and re-enabling the wireless adapter brought back the Wireless Properties button. But left-clicking on the the wireless connection tray icon still produced nothing. Only after a complete reboot did I get back normal operation. So I don’t know what juju the RE1000 installer is working, but it should be more well-behaved.

The big white thing on the left is some sort of light panel that backlights the Cisco logo and indicates connection and WPS status
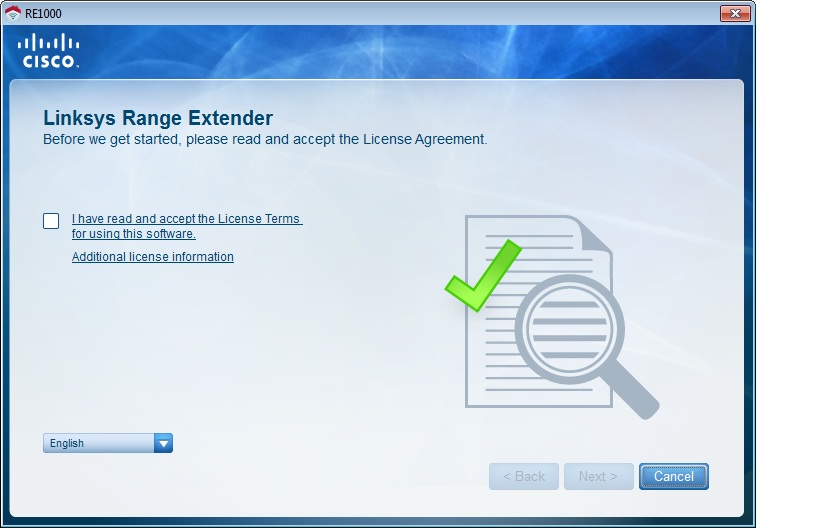
The obligatory Terms checkoff
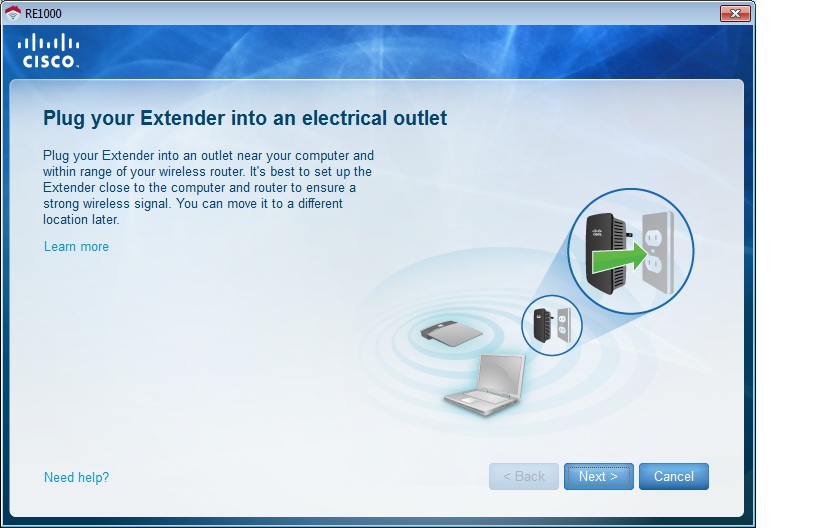
Plug it in first

After a site survey, the Extender is found
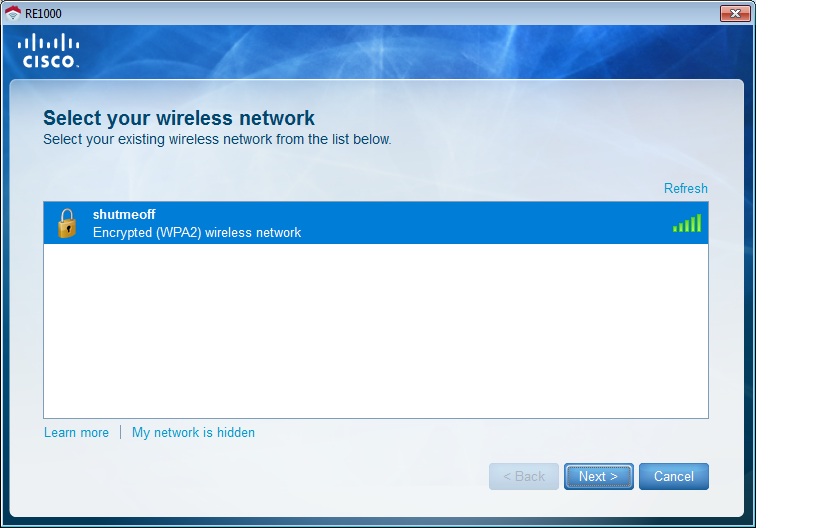
It found my network
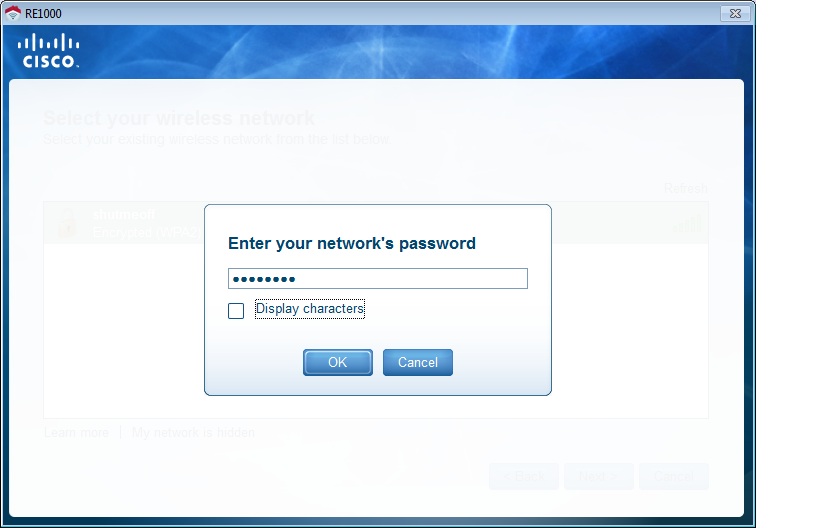
So I entered my WPA PSK
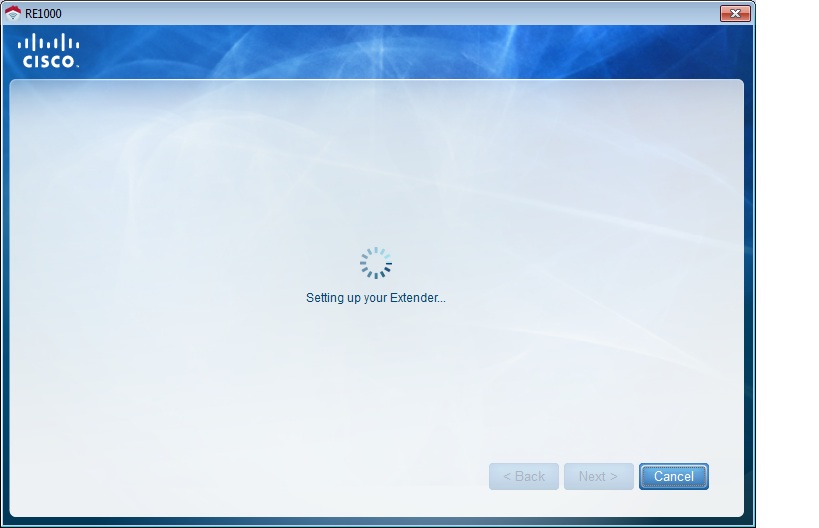
It’s thinking again (connecting to the WLAN)
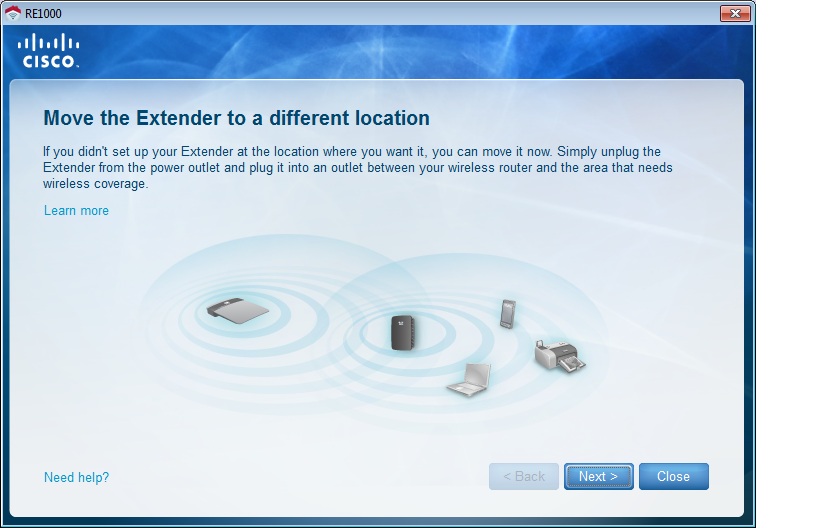
All connected with a helpful hint for RE1000 placement

The wizard runs another connectivity check in case you decide to move your Extender
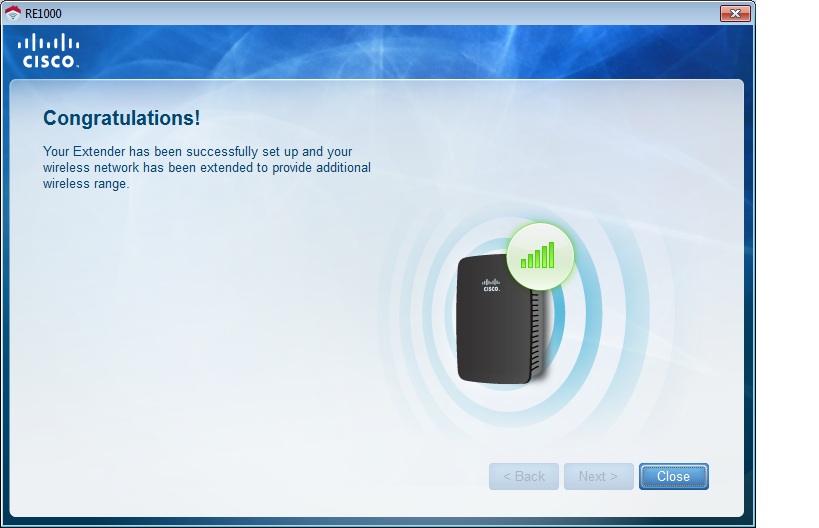
Ta-Da!

Not much here. You might want to set a static IP so that you know where to find the extender.
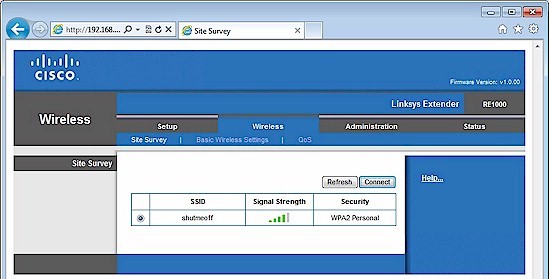
Site survey page with one network found
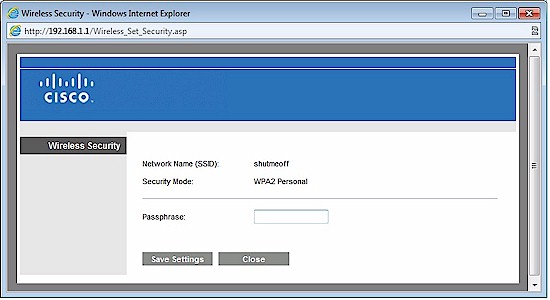
You get this when you click Connect on the previous screen
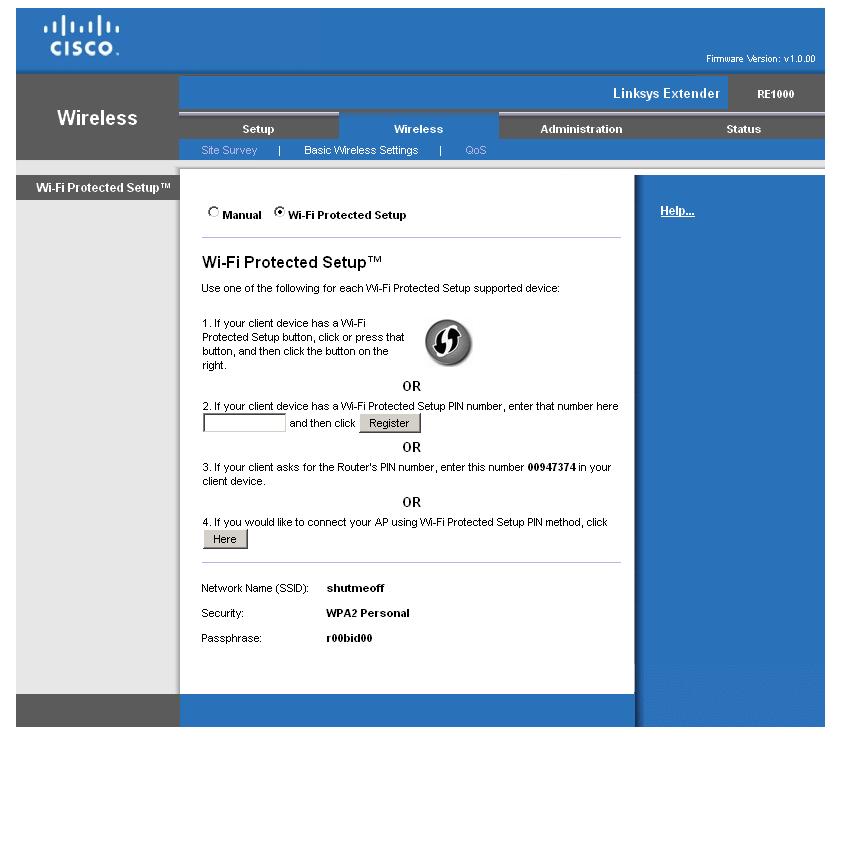
Wireless setup via WPS. Pretty standard Linksys page
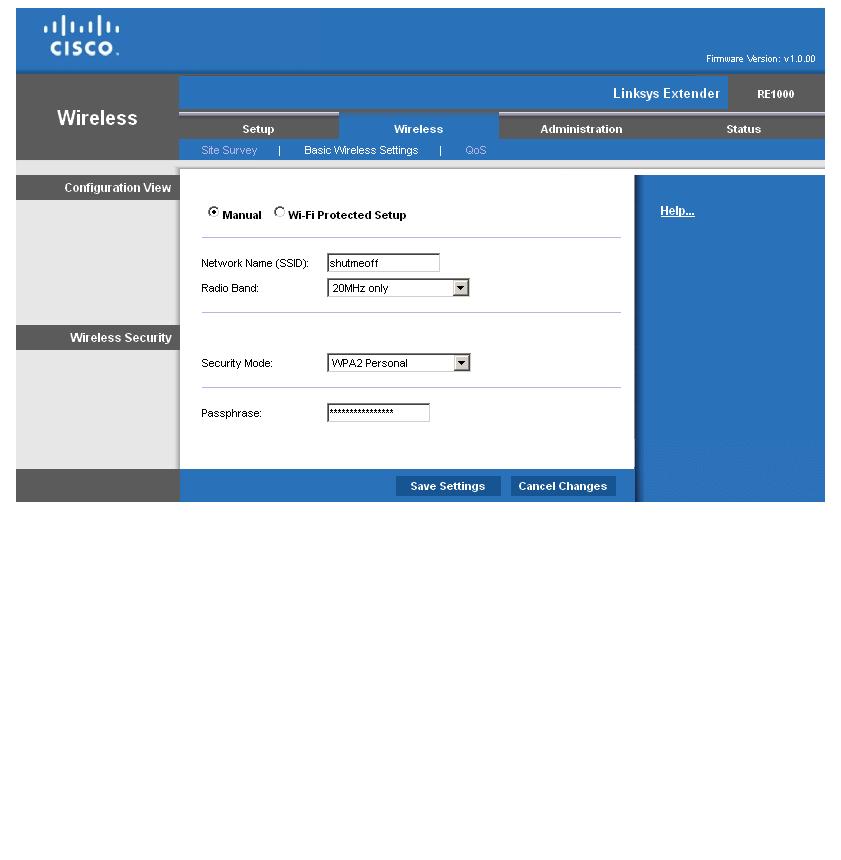
This is it for wireless settings. No transmit power adjust or b/g/n mode selection

Don’t mess with these. WMM must be enabled or you won’t get link rates above 54 Mbps (802.11g speed)
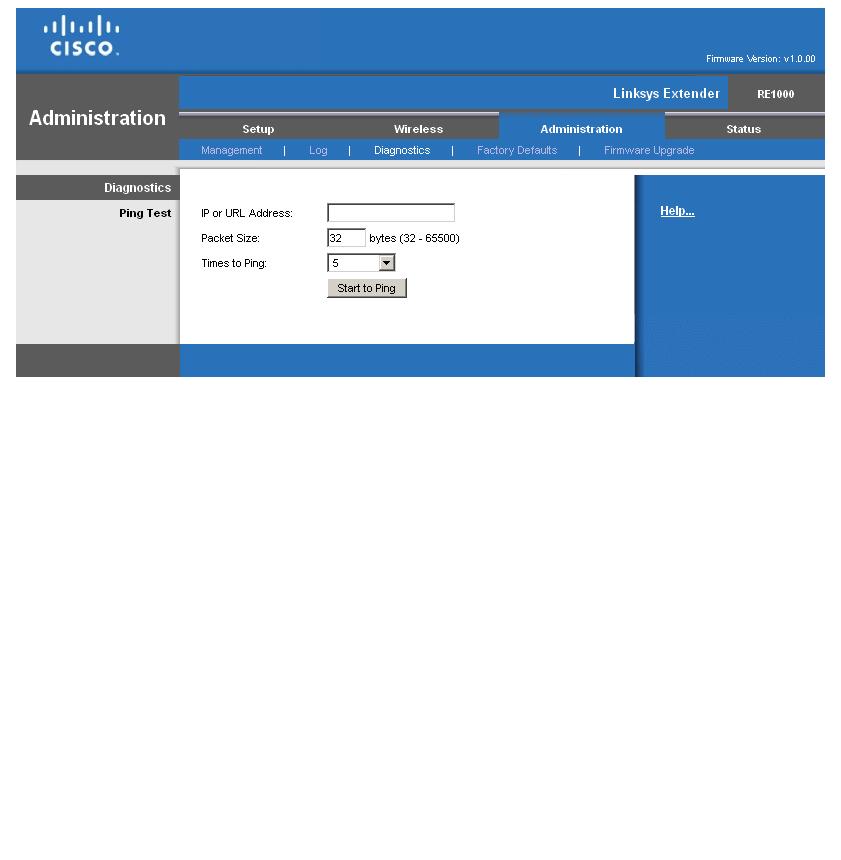
The usual ping utility is thrown in
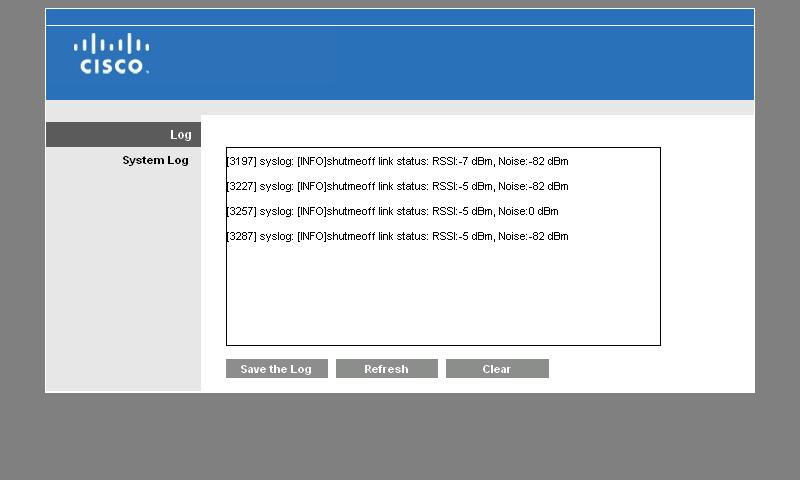
Link status shown in the log
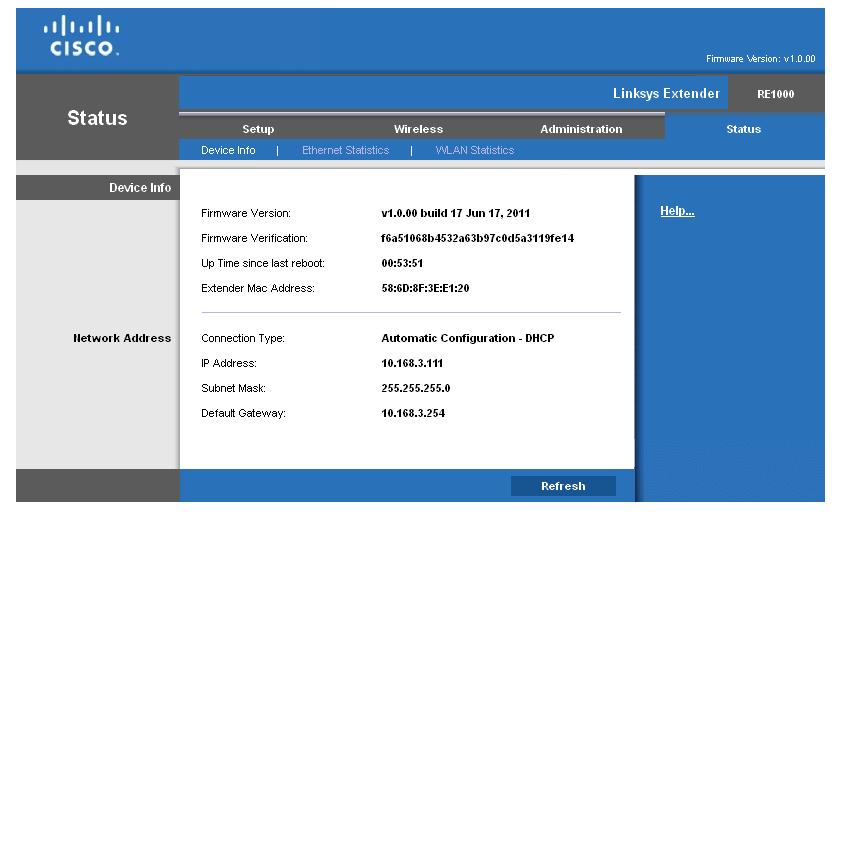
Some helpful device information
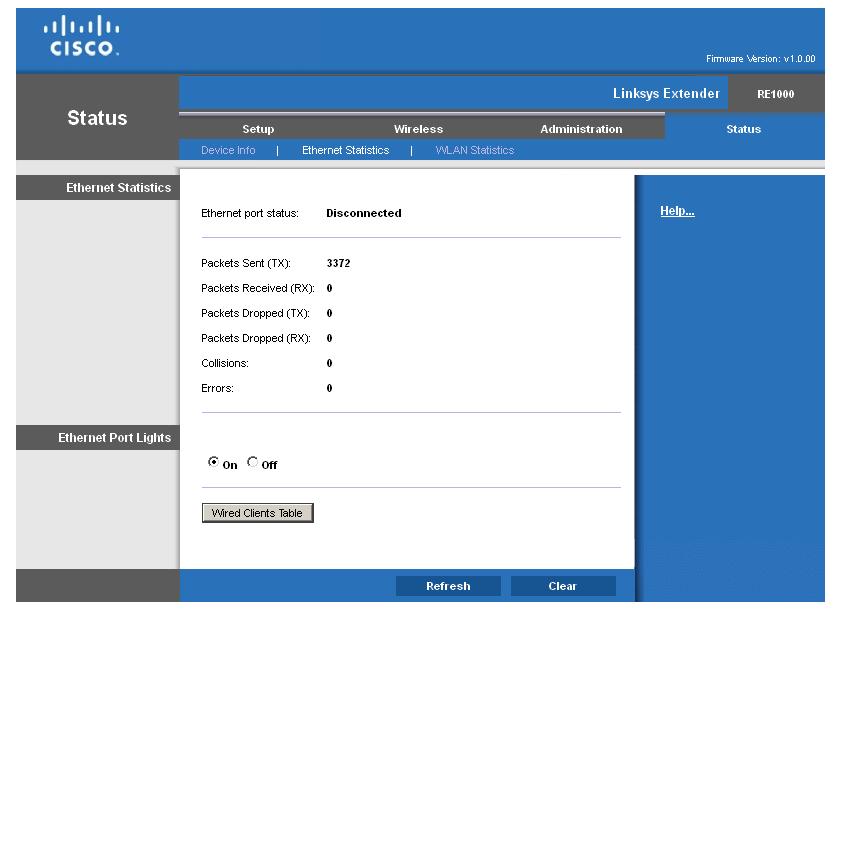
Ethernet stats for when you use the RE1000 as a bridge
Too bad the upstream AP signal strength info isn’t available via a front panel LED on the RE1000
In Use
Once you have the Extender connected to your wireless router, the only thing left to do is to experiment with placing it. Unfortunately, the RE1000 isn’t too helpful about this. Unlike the NETGEAR WN2000RPT, there are no link quality indicators on the device itself and the big ol’ backlit Cisco logo only flashes during a WPS session or if there is an error. But "error" doesn’t include losing connection with your wireless router!
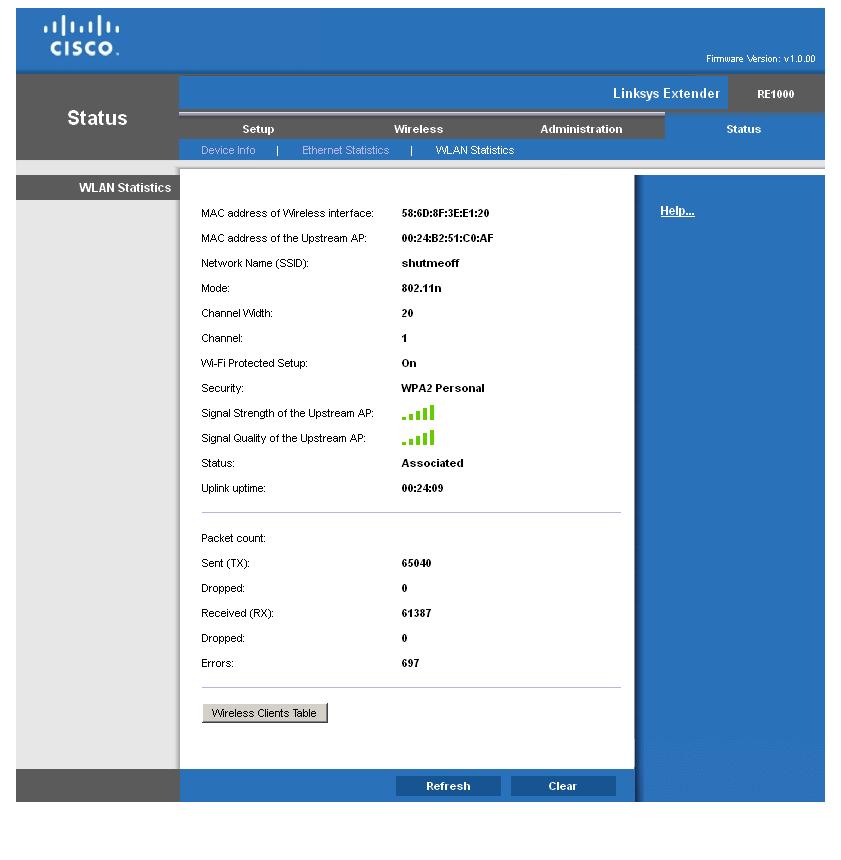
So you’ll either use trial and error to find the right spot for your RE1000, or resort to carrying around a notebook or tablet so you can log into the Extender’s Status > WLAN Statictics page. There you can use the Upstream Signal Strength and Quality graphics shown in Figure 4. Too bad Cisco didn’t include a readout of the Extender’s Link Rate, too.
Figure 4: WLAN statistics page
Or you could simply try a spot midway between your wireless router and the area that you’re trying to improve wireless coverage in. This placement ensures that the repeater receives a strong enough signal to provide good throughput, even after the 50% reduction due to the repeater’s single radio. As explained in the Everything You Need To Know About Wireless Bridging and Repeating series, this reduction is caused by the single radio receiving, then retransmitting data.
Performance
I tested the RE1000’s repeating performance using our standard test client, an Intel Wi-Fi Link 5300 AGN mini-PCIe card in a notebook running Windows 7 Home Premium and version 13.5.0.6 of the Intel drivers. I left all client-side defaults in place. The Extender was running Ver.1.0.00 (Build 17) firmware and associated with the NETGEAR WNDR3700 (original version), which is my current home router. The WNDR3700 is set to neighbor-friendly 20 MHz bandwidth mode (Up to 130 Mbps, in WNDR3700-speak), Channel 11 and secured via WPA2 / AES.
The WNDR3700’s normal location is a lower level Utility room near the center of my home, which provides excellent coverage, even in my Location E and F "dead zones". So to properly test the RE1000’s wireless extension power, I relocated the WNDR3700 to the normal router test location in my office and reduced transmit power down to 25%. The last step was done to ensure that the test client would associate with the RE1000 and not the main router. It also matches the test conditions I used in the WN2000RPT review, so that we can fairly compare the results.
I started with the Extender and WNDR3700 in my office to run through the setup wizard. After setup, I took baseline measurements using IxChariot running a throughput.scr script using TCP/IP.
Figure 5 shows downlink performance with wireless client connected directly to the WNDR3700 (_direct), then with the client connected to the RE1000 via Ethernet (_bridge), which provides essentially the same throughput (~ 55 Mbps). Finally, performance with the client wirelessly connected to the WNDR3700 via the Extender (_repeat) averaged just shy of 24 Mbps—less than half the bridged and direct-connected values. (This is the 50% retransmit "tax" I talked about earlier.)
Uplink tests produced slightly lower direct-connected and bridge results that you can see in the IxChariot plot.
 performance - downlink")
Figure 5: Location A (same room) performance – downlink
I then moved the Extender to an upstairs hallway location, about halfway between the WNDR3700 and my dead-zone kitchen test location E. Figure 6 shows the approximate locations of the WNDR3700 (Lower Level) and RE1000 (Upper Level). Yes, those are teeny WN2000RPTs shown in the floor plan—I was too lazy to redo the diagram.

Figure 6: Test locations
Figure 7 summarizes the results with the relocated RE1000. The top trace (_bridge) is throughput of the test client connected to the RE1000 via Ethernet. This shows 18 Mbps of throughput available directly to Ethernet connected clients or available to be repeated to wireless clients.
The next test listed (_repeat) is repeated performance from wireless client through the RE1000 to the WNDR3700. Again, the throughput loss is well over the expected 50% with a yield of only 5 Mbps. Variation is also high with frequent drops to near zero throughput.
In fact, I had trouble completing the tests in this mode. The test notebook kept getting disconnected, which was suprising given its strong signal level back to the RE1000. So I had to rerun tests a few times to get complete runs.
 performance - downlink")
Figure 7: Location E performance – downlink
Next test shown (_direct) is throughput with the client directly associated to the WNDR3700, i.e. without repeater and with the WNDR3700’s transmit power still at 25%. As expected, this produces the lowest throughput of 1.3 Mbps.
The last trace listed (_direct_fullpower) is throughput with the wireless client again associated directly with the WNDR3700, but with the WNDR3700’s transmit power back up at 100%. The 6 Mbps seen here is just about as good as the repeated performance!
Uplink tests produced similar results that you can see in the IxChariot plot.
Closing Thoughts
The bottom line is that Cisco didn’t do a very good job with the RE1000. About the only thing it has going for it is its small size and ability to be wall-plugged. In the things that matter most for a repeater—ease of installation and performance—the RE1000 just doesn’t cut it.
Although the WN2000RPT gets higher marks for ease of setup and bridging performance, Table 1 shows that it is just about as ineffective in producing decent repeated throughput.
| Test Description | RE1000 (Mbps) |
WN2000RPT (Mbps) |
|---|---|---|
| Bridge Throughput | 18 | 27 |
| Repeater Throughput | 5 | 7 |
Table 1: Location E Performance comparison – downlink
As I said at the top, wireless repeaters just aren’t very good at what they’re supposed to do. You’d be much better off spending a bit more and trying a powerline-connected AP like D-Link’s DHP-W306AV. Or grab a pair of relatively inexpensive 200 Mbps HomePlug AV adapters and any old router you have lying around converted to an AP.