| At a glance | |
|---|---|
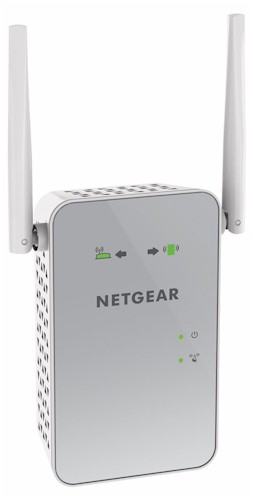
| Product | NETGEAR AC1200 WiFi Range Extender (EX6150) [Website] |
| Summary | Mediatek-based AC1200 wall-plugged wireless extender with Gigabit port |
| Pros | • Can be used as access point • Unique positioning visual aid • ‘FastLane’ can increase available wireless throughput |
| Cons | • ‘FastLane’ limits operation to single band client connection • Some instability in 2.4 GHz throughput |
Typical Price: $86 Buy From Amazon
Introduction
NETGEAR’s EX6150 AC1200 WiFi Range Extender is the first of the three AC wireless extenders announced at CES 2015. As the name indicates, it’s an AC1200 class extender supporting maximum link rates of 300 Mbps in the 2.4 GHz band and 867 Mbps in 5 GHz.
The two radios can extend both bands simultaneously or be configured in what NETGEAR calls "FastLane", which uses one radio as a "backhaul" to the router or AP being extended while the other is used to connect clients. This avoids the 50% retransmission throughput penalty imposed by the basic wireless extension process.
"FastLane" has lately lost some of its appeal, however. Other new extenders, like Linksys’ RE6700 I just reviewed, can avoid the retransmission penalty for clients connecting on both bands, making the backhaul decision on a packet-by-packet basis. On the NETGEAR, you select which radio to use for backhaul and the setting is static, changing your simultaneous dual-band extender into a single-band device.
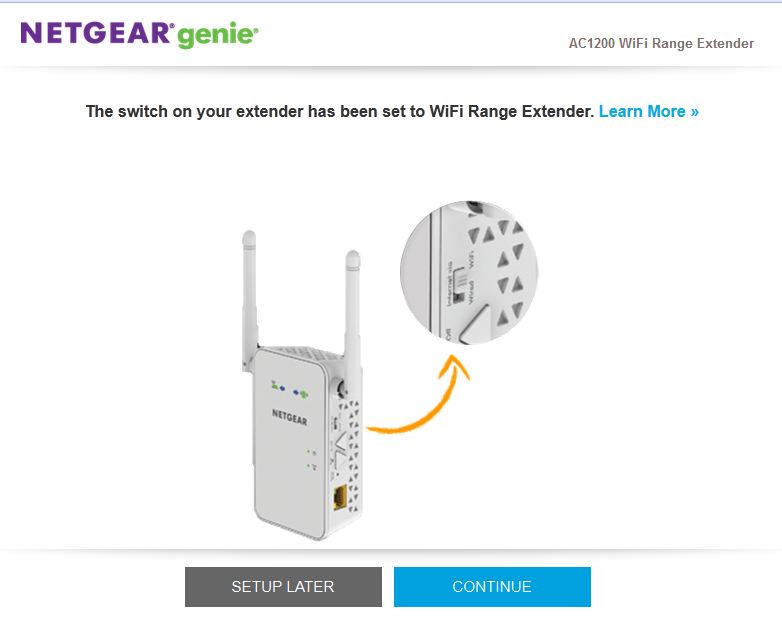
The callout diagram below shows the EX6150 can be used as a mini dual-band access point by flipping a switch. There is also a power switch, another welcome feature. The single Ethernet port is Gigabit and supports LAN connection in AP mode and client connection when used as an extender.

NETGEAR EX6150 callouts
The EX6150’s antennas aren’t upgradeable and there is no USB port to support ReadySHARE USB storage and printer sharing. Unlike the Linksys RE series extenders, the EX6150 doesn’t have an audio output jack to support DLNA streaming. It does, however, retain the four LED placement indicators introduced on the EX6100. Check that review for more on how the indicator system works.
Inside
NETGEAR didn’t block the internal FCC doc photos, but the FCC photos weren’t clear enough to allow identifying all key components. So I opened up the EX6150 after testing was completed. The design consists of power and signal boards connected by a four-pin connector, tucked neatly into the case. Like in the EX6100, the two-board assembly is completely removable, because the power board connects to the AC plug prongs via spring-loaded contacts.
Unlike the EX6100’s inside / outside antenna design, the EX6150 uses two external dual-band dipoles that can’t be upgraded. The router SoC, RAM and both radio SoCs are thermally connected to an RF shield cover via adhesive pads. The RF cover is in turn thermally connected to a metal heat spreader plate. (Sorry for the fuzzy picture. For some reason my camera wouldn’t focus properly.)

NETGEAR EX6150 main board
The components summarized in Table 1 show a MediaTek design centered around MediaTek’s MT7621ST router SoC that provides the CPU and gigabit Ethernet port. The other NETGEAR extenders we’ve so far reviewed are also listed for comparison. This is the first time I’ve seen a Mediatek based extender with a separate processor SoC. Note both radios have external power amplifiers.
| EX6150 | EX6100 | EX6200 | |
|---|---|---|---|
| CPU | MediaTek MT7621ST router SoC | MediaTek MT7620A WiSoC | Broadcom BCM4708A or BCM4708A1 (guess) |
| Switch / Ethernet | In MT7621ST | Realtek RTL8211E Gigabit Ethernet Transceiver | In BCM4708A |
| RAM | 64 MB Winbond W9751G6KB-25 | 64 MB Winbond W9751G6KB DDR2 | ? |
| Flash | 16 MB Macronix 25L12853F | 8 MB Macronix MC25L6406 | 8 MB |
| 2.4 GHz Radio | – Mediatek MT7602EN 2×2 11bgn radio – Skyworks SKY85300-21 2.4 GHz WLAN/Bluetooth Front End (x2) |
In MT7620A | Broadcom BCM43217 2×2 802.11b/g/n transceiver + unidentified 2.4 GHz power amps (markings 088649E310) |
| 5 GHz radio | – Mediatek MT7612EN 2×2 11ac radio – Skyworks SKY85712-21 5 GHz WLAN Front End |
– MediaTek MT7610EN 1×1 11ac radio – Skyworks SE5003L1 5 GHz power amp (x1) |
Broadcom BCM4352KMLG + Skyworks SE5003L1 5 GHz, 23dBm Power Amplifier with Power Detector (x2) |
Table 1: NETGEAR EX6150 key components
There are more internal photos in the gallery on the next page.
Features
The EX6150’s web admin interface has been freshened and made more mobile friendly. The gallery below shows all the setup screens with commentary.
The setup process itself remains pretty much the same as the EX6100 and EX6200’s. Setup can be done completely over a wireless connection with a tablet or even smartphone. You just connect to the single default SSID for both bands (NETGEAR_EXT) and launch your browser. If you’re not automatically redirected to the setup wizard, entering http://mywifiext.net in your browser address bar should get you there.

A warm and fuzzy start for setup
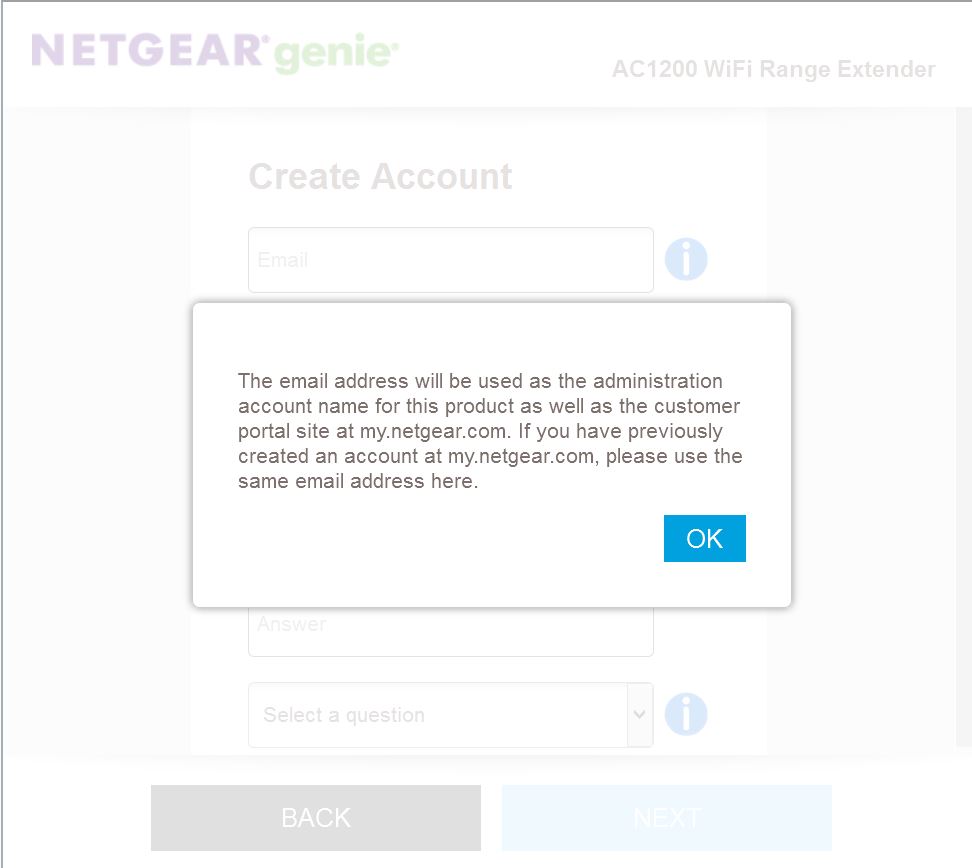
Your email address is now used as your username for admin access
Your email gets sent to NETGEAR when you opt in to register the product
If you click SETUP LATER you can get to the admin screens and set up manually. The Wizard is still available, however.
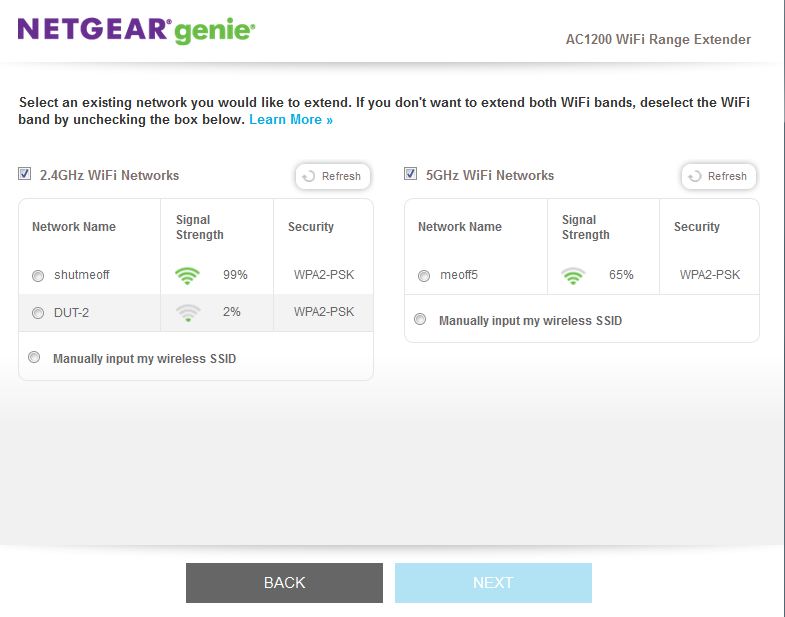
The site survey provides signal strength
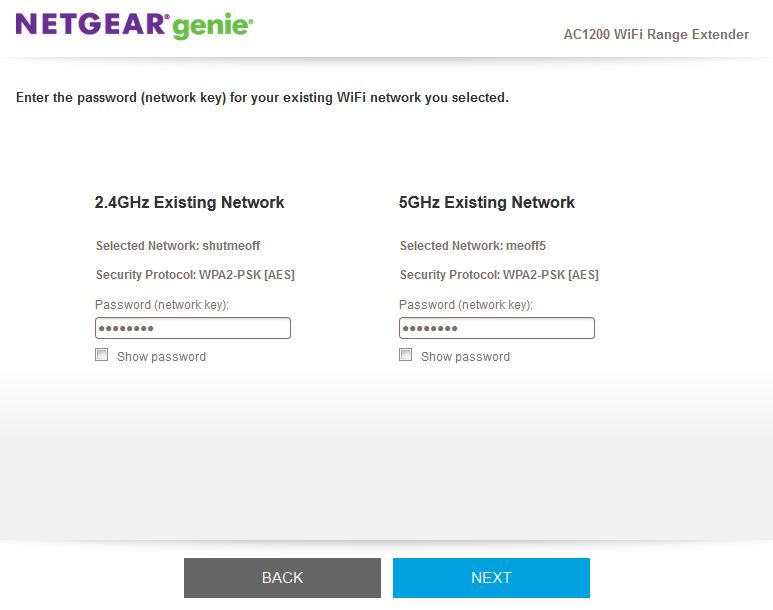
Enter your network WPA/WPA2 key here
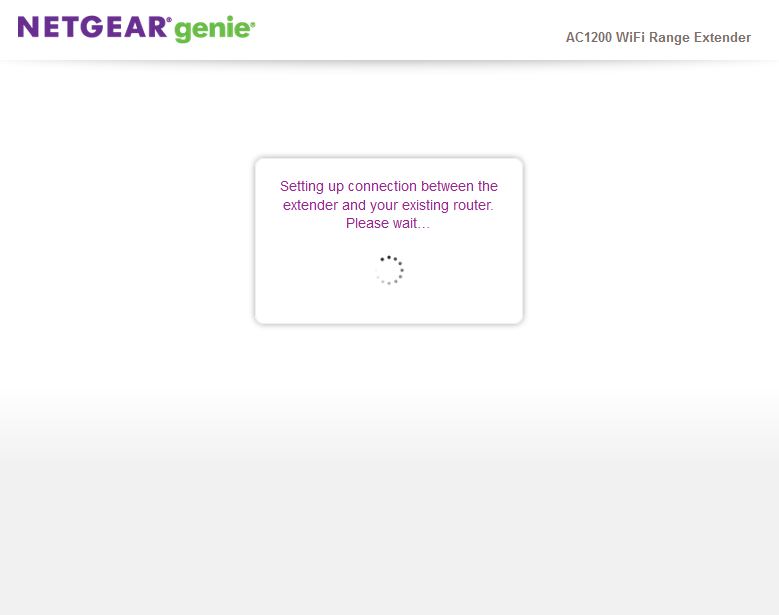
You’ll see this screen for about 30 seconds.
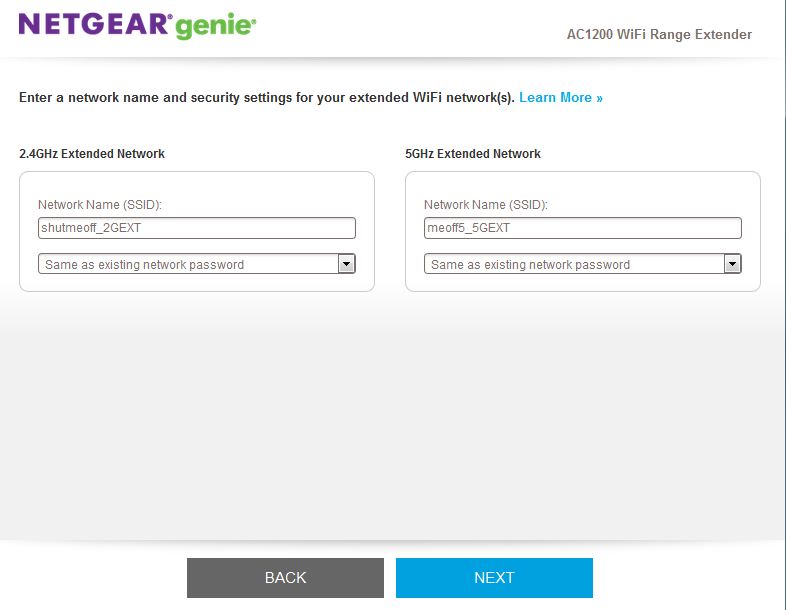
Unique extender SSIDs are created by default. But you can change this.
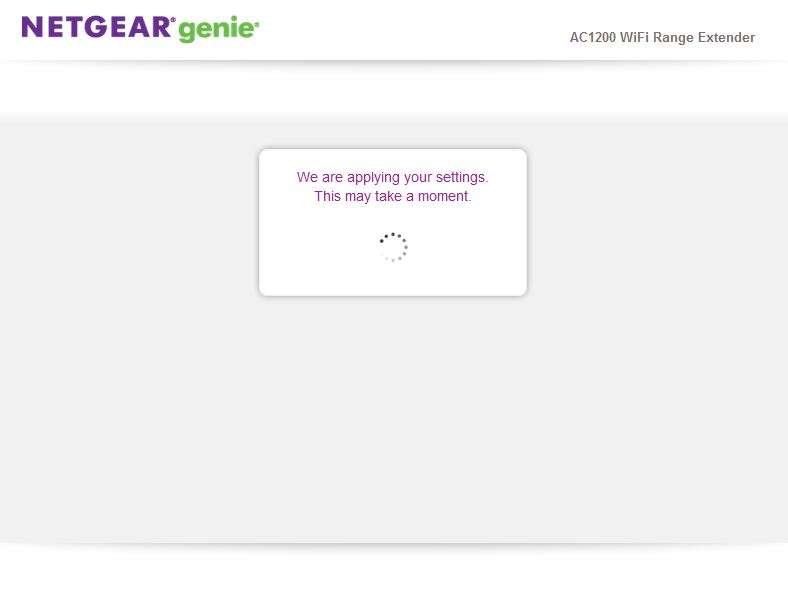
Another 30 second or so pause
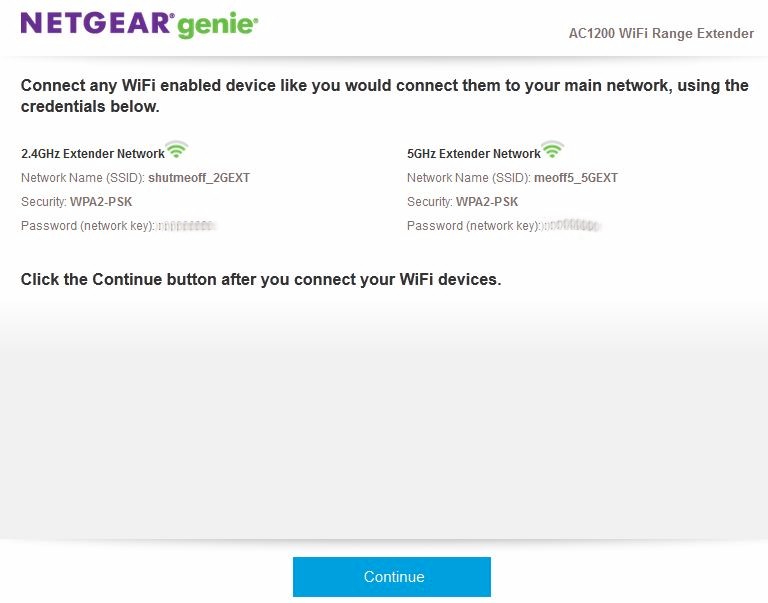
Since the default NETGEAR_EXT SSID has gone away, you need to reconnect to an extender SSID to continue
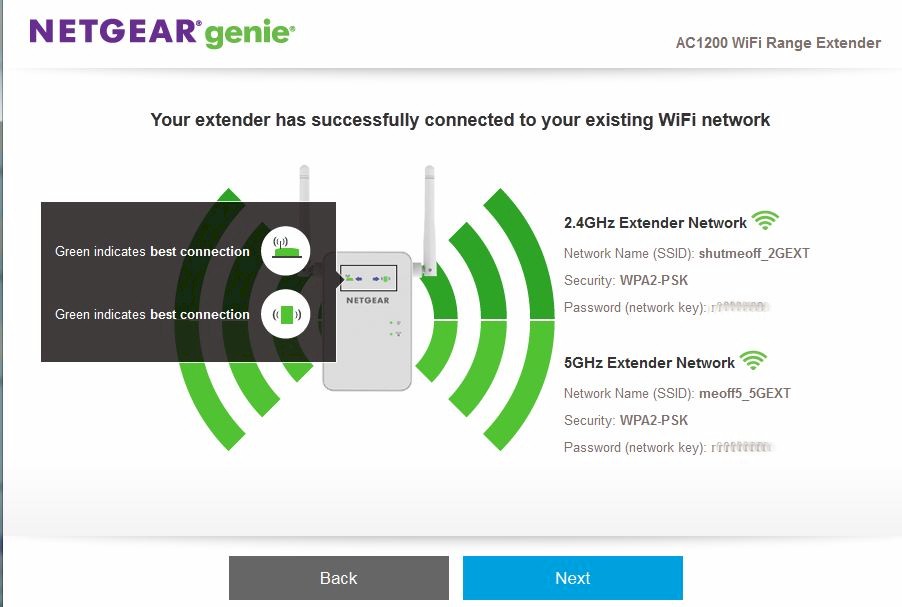
Once you successfully reconnect, you’ll see this screen
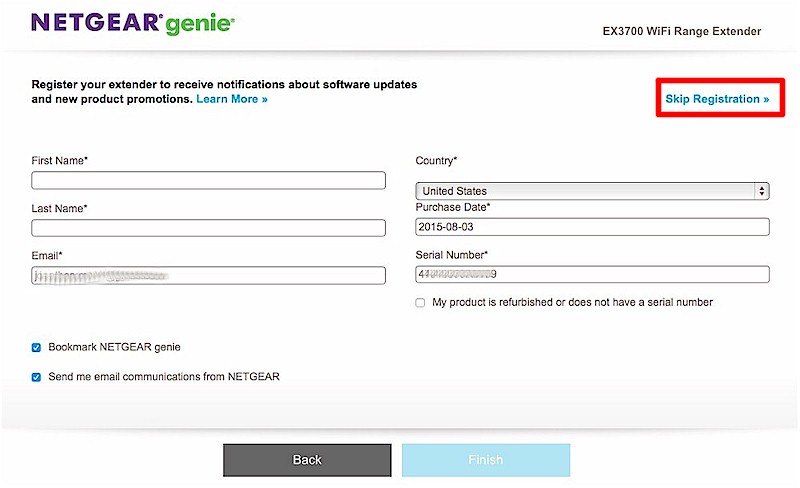
This is the opt-in registration screen that sends your email to NETGEAR. You can skip this step.

To reach the EX6150 admin you need to be directly connected to it and log in
You have to be directly connected to the EX6150 to access the admin. If you forget and try to access the admin URL http://wifiext.net otherwise, you get this handy reminder screen.
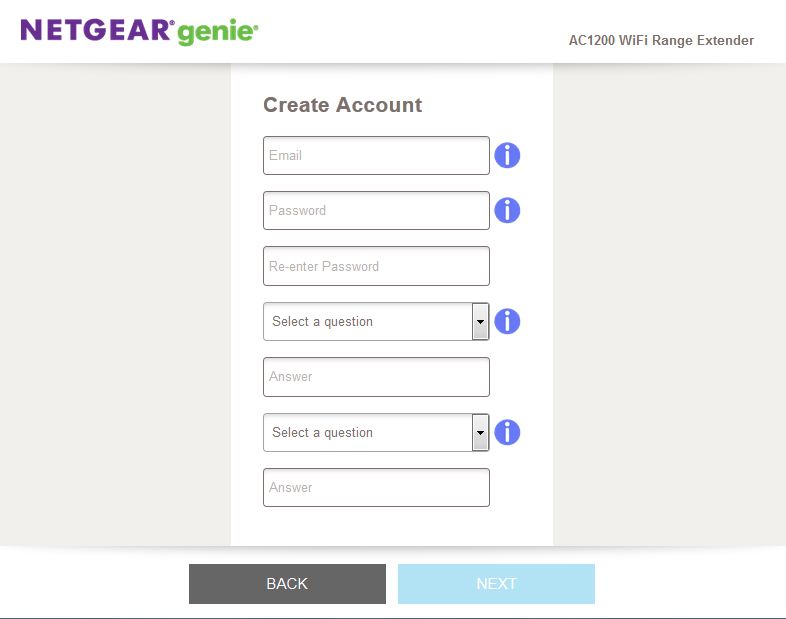
A new "feature" is the requirement to create an account using your email address as your username. There is no way to get past this to run the wizard or access the normal admin screens. I asked NETGEAR about this and they said the reason for the new requirement is that "many… security threats take advantage of the fact that people rarely change the default user name and password" for admin access. "By forcing people to create an account, it helps to minimize the exposure to security threats."
Create account
NETGEAR says the email stays local to the product until the user registers the product via the screen below, which appears after the wizard is complete. You have the option to skip registration, via the highlighted link.
Opt-in registration
The EX6150’s feature set is essentially the same as the EX6100’s. So if you don’t find a description here of something you’re looking for, check that review. I was happy to find both signal strength (although only in graphic form) and link rate for both bands’ backhaul connections (aka Connection to Existing Network) in the new Status screen that greets you upon admin login.

Status page
When you switch to access point mode, you get more a few more wireless settings, including the ability to set channels.

Access point wireless settings
The gallery has more admin screenshots with commentary and internal hardware photos as promised earlier.
A warm and fuzzy start for setup
Your email address is now used as your username for admin access
Your email gets sent to NETGEAR when you opt in to register the product
If you click SETUP LATER you can get to the admin screens and set up manually. The Wizard is still available, however.
The site survey provides signal strength
Enter your network WPA/WPA2 key here
You’ll see this screen for about 30 seconds.
Unique extender SSIDs are created by default. But you can change this.
Another 30 second or so pause
Since the default NETGEAR_EXT SSID has gone away, you need to reconnect to an extender SSID to continue
Once you successfully reconnect, you’ll see this screen
This is the opt-in registration screen that sends your email to NETGEAR. You can skip this step.
To reach the EX6150 admin you need to be directly connected to it and log in
You have to be directly connected to the EX6150 to access the admin. If you forget and try to access the admin URL http://wifiext.net otherwise, you get this handy reminder screen.
Performance
Our standard extender test procedure was used to test the EX6150, which was running latest V1.0.0.14_1.0.54 firmware. Our standard extender client, a NETGEAR A6200 AC1200 class USB adapter was connected to the test client laptop and its internal Intel Centrino 6300 adapter disabled.
I made sure the extender was using 20 MHz bandwidth in 2.4 GHz and 80 MHz in 5 GHz for testing. Channels 6 and 153 were set in the base router for 2.4 GHz and 5 GHz respectively and were also used for the extended connections.
The wired results in the Benchmark Summary are what we measured with the test laptop’s wireless disabled and connected to the EX6150 Ethernet port. This shows the throughput available to be extended. The extended results represent throughput measured at the wireless client from base router and through the EX6150.

NETGEAR EX6150 Benchmark Summary
Following the 50% wireless extender/repeater throughput reduction rule of thumb, we would expect the "extended" results to be around half "wired". Table 2 summarizes the throughput decrease for both bands and directions. We’ll come back to this when we look at the IxChariot plots.
| Link | Wired | Extended | % Decrease |
|---|---|---|---|
| 2.4 GHz downlink | 27.2 | 24.7 | 9 |
| 2.4 GHz uplink | 36.7 | 21.1 | 43 |
| 5 GHz downlink | 80.3 | 52.6 | 34 |
| 5 GHz uplink | 135.3 | 71 | 47 |
Table 2: Extended throughput difference
During each test, I noted link rates, which are summarized in Table 3. The link rates indicate good 2.4 GHz connections, since both are the maximum rates for 2×2 2.4 GHz with 20 MHz bandwidth. Neither 5 GHz connection shows the 867 Mbps maximum. But you’d expect signal levels at the same location for 5 GHz to be lower than 2.4 GHz.
| Link | 2.4 GHz | 5 GHz |
|---|---|---|
| Client to Extender | 144 | 526 |
| Extender to Base Router | 130 | 526 |
Table 3: Test Link Rate Summary (Mbps)
For a look at how steady throughput is, we’ll turn to the IxChariot plots. Each is a composite of the test plots for the wired test (extender_eth) and wireless (extended).
2.4 GHz downlink shows high variation for both measurements, but much higher for the extended plot. I confess I don’t know what’s going to cause extended throughput to have maximum values just about the same as at the extender.

NETGEAR EX6150 throughput – 2.4 GHz down
The 2.4 GHz uplink plot is more like I’d expect; stable throughput in both cases, with extended throughput lower than throughput received by the the extender.

NETGEAR EX6150 throughput – 2.4 GHz up
Performance – more
5 GHz downlink shows the extender link with high variation at the start of the run, then settling down. Extended throughput is 34% lower.

NETGEAR EX6150 throughput – 5 GHz down
The 5 GHz uplink plot is the clearest example of expected extender throughput, with the extended link 47% lower than the extender.

NETGEAR EX6150 throughput – 5 GHz up
FastLane Performance
I also tested the EX6150’s "FastLane" feature. The first plot shows extended wireless throughput using the 2.4 GHz radio to connect back to the base router and the 5 GHz radio to connect to the extended test client. I suspect the instability shown is coming from the 2.4 GHz backhaul, since previous plots using 5 GHz radios only were nice and steady.

NETGEAR EX6150 extended throughput via FastLane w/ 2.4 GHz backhaul
Switching over to using 5 GHz backhaul provides higher net throughput in both cases, but not very stable connections. The big dropouts in 2.4 GHz link again indicates some unhappiness somethere in that chain.

NETGEAR EX6150 extended throughput via FastLane w/ 5 GHz backhaul
Seems to me the 2.4 GHz connection is the weak link in both FastLane configurations and overall for the EX6150.
Closing Thoughts
The EX6150 earns a SmallNetBuilder Ranked #1 award, because it had the highest results in all ranked performance categories.
![]()
But given the EX6150’s 2.4 GHz wonkiness, I’d also give Linksys’ RE6700 a look. Although it doesn’t produce the EX6150’s higher 5 GHz throughput, its 2.4 GHz performance is as good or better. The RE6700 also provides a pass-through power outlet, CrossBand technology that supports simultaneous opposite-band backhaul on both bands and DLNA audio streaming.
